Proxmox Virtualization For LA Deployments - AtlasOfLivingAustralia/documentation GitHub Wiki
Introduction
During the Living Atlas of Tanzania 2020 March Workshop, we setted up several bare-metal servers from scratch and we deployed there all the main LA modules. For that we used Proxmox Virtualization Platform. We also start to write this document to help others to create a production or testing LA environment with Proxmox.
Proxmox is a virtualization technology that utilizes LXC containers or KVM to create and manage virtual machines. It is fast and easy to install and has great technical support. We used LXC instead of a full KVM virtualization that is not required.
Initial installation
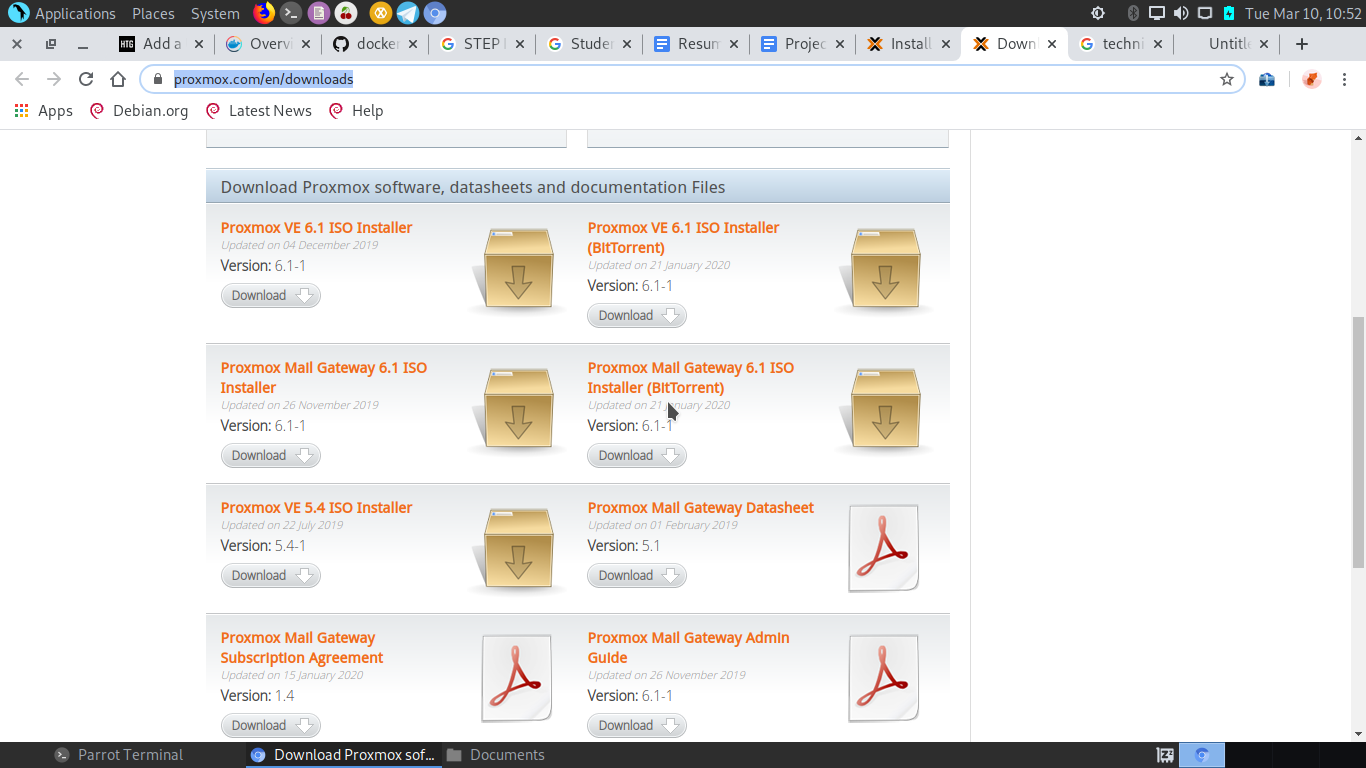
Download Proxmox ISO image
The proxmox iso can be found here. This provides the set of proxmox software that are available for and the type of proxmox server required.
Boot ISO from Usb
The Project server was connected with a public IP and is located at Dar-es-Salaam Institute of Technology. The following are instructions to boot from live Usb and install Proxmox. We setted up also and additional server in Costech (Tanzania Commission for Science and Technology) with the idea to setup a cluster.
- The first step to installing
Proxmoxis downloading the installation ISO from their website (https://www.proxmox.com/en/downloads), and make a bootable USB stick out of it. For this tutorial, we assume you know how to do this.

-
Make sure virtualization support is turned on in the BIOS of the server. The Intel version of this is called
VT-dorVT-x. TheAMDversion is calledAMD-V. If your server for some reason does not support this, you can unfortunately not make use of the full power ofProxmox. Unfortunately, this is probably the hardest part of the tutorial. Turning virtualization support on will be different on every server/motherboard thus making it very difficult for us to show how this is done. Usually this option is turned on by default, but it is a good idea to check this. You can google “[motherboard name] virtualization bios” to see how to do this for your specific motherboard. -
Insert the earlier created bootable USB drive into the server and boot from it. You should see this:
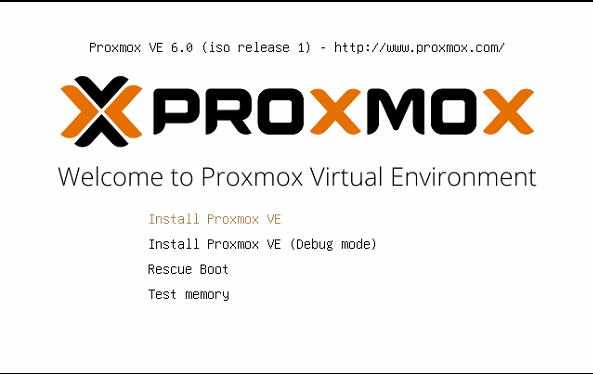
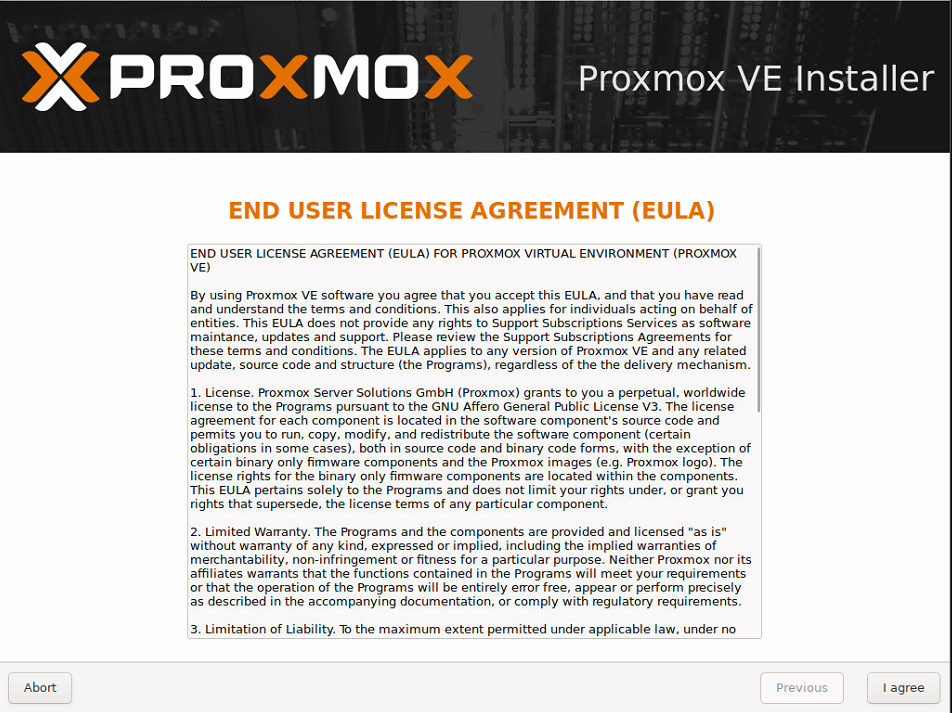
- Now press [Enter] on “Install Proxmox VE”. After a few seconds you should see a screen with the user licence agreement. After reading the User Licence Agreement, press “I agree”.
- Now select the physical disk you want to install
Proxmoxon next to “Target-Harddisk”. We recommend NOT installingProxmoxon a USB device. Unlike some hypervisor operating systems you may have heard of,Proxmoxdoes not run from memory. This means that if you installProxmoxon a USB drive, it will cause a lot of wear, and your USB drive might fail sooner than expected. Press “Next” after selecting the right hard drive.

- Enter your Country, Time zone and Keyboard Layout accordingly. Press “Next”.

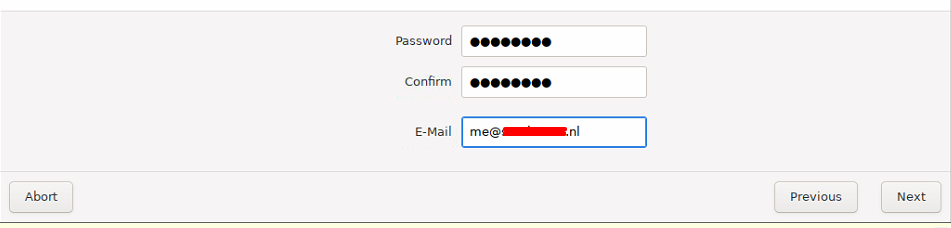
- Enter a password for your root account with a valid email address. This email address will be used by
Proxmoxfor important notifications. Press “Next”.
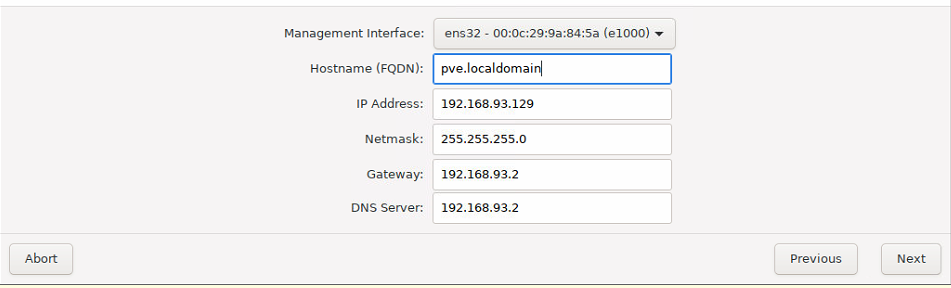
- Enter your preferred network settings.
Proxmoxshould automatically detect these settings, so you can press “next” without changing anything, and it should work fine. For now, we will not make any changes to these settings.
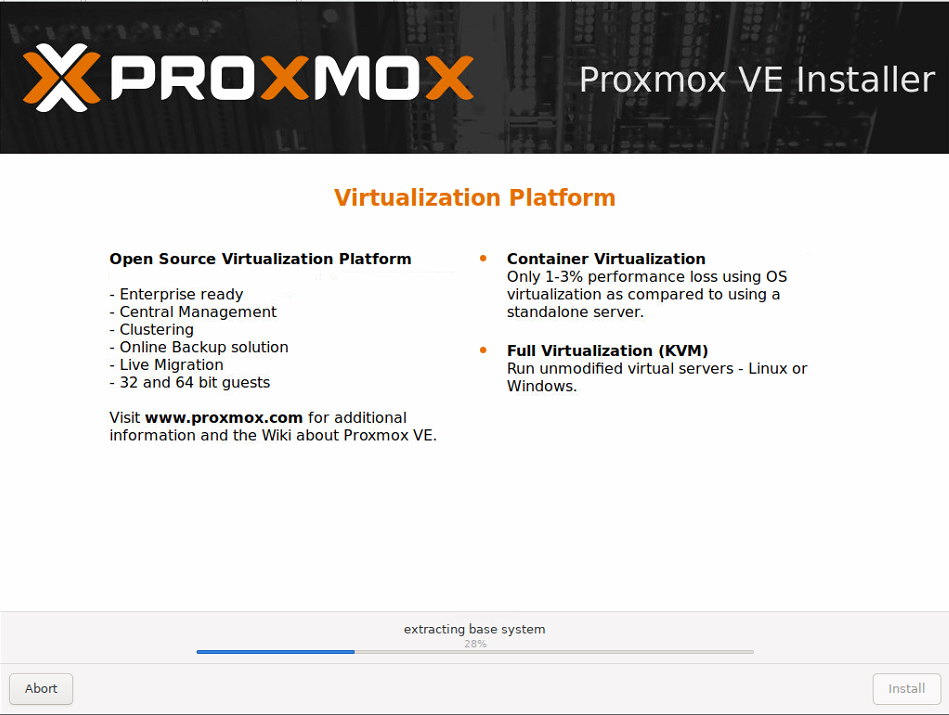
- The next step of the installation will be a summary of your settings. Make sure they are all ok and then press install. ProxMox will now install itself on the selected hard drive.
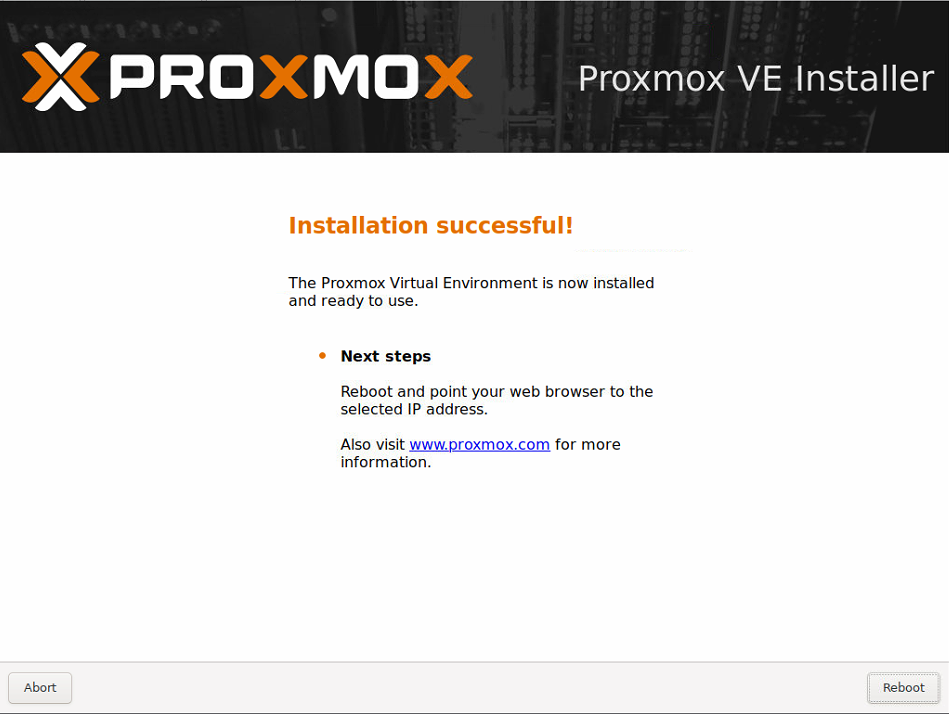
- The last screen of the installation should say that it was a success. Press “Reboot”.
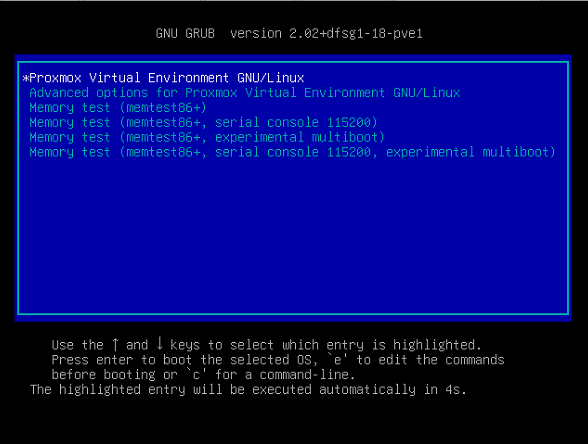
- After the system reboots, you will see the GRUB blue screen with several startup options. Do not press any button.
Proxmoxwill continue to boot normally after a few seconds.
- The next screen should be a console showing the IP address chosen during the installation of
Proxmox. To access theProxmoxUI, use a browser on a different computer on the same network to navigate to the IP Address and the specified port as shown on theProxmoxserver. Make sure to use “https” as well.

- Once you access the
ProxmoxUI on another computer in the same network you will be greeted with a login screen. Log in with the username “root” and the password you chose during the installation.
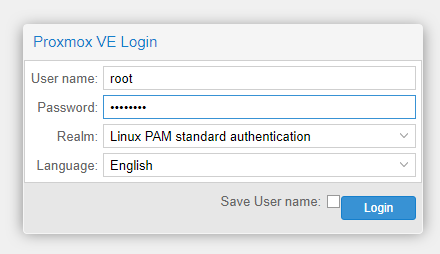
Congratulations, your Proxmox install is now complete and working.
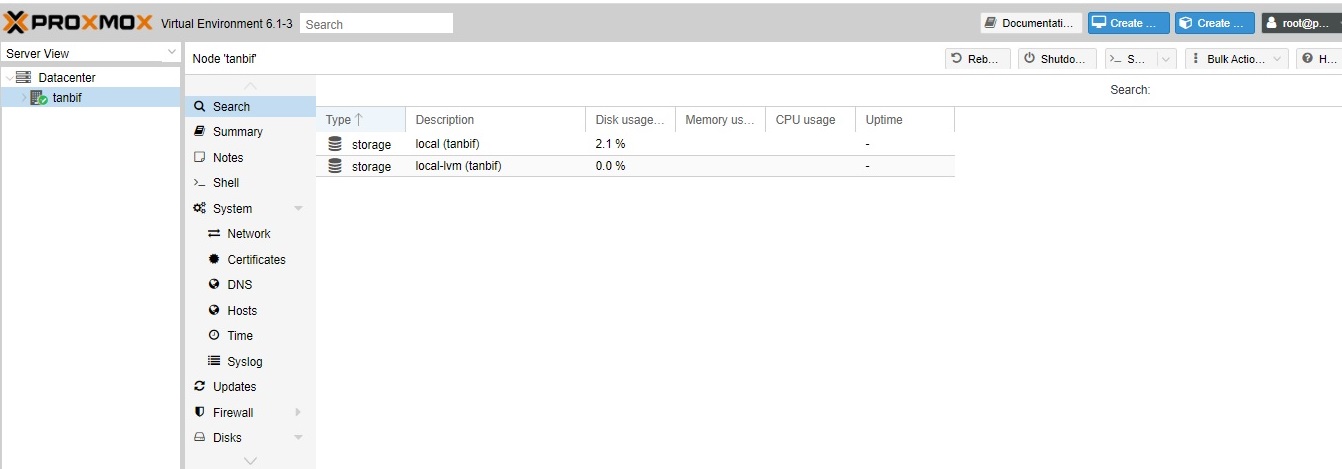
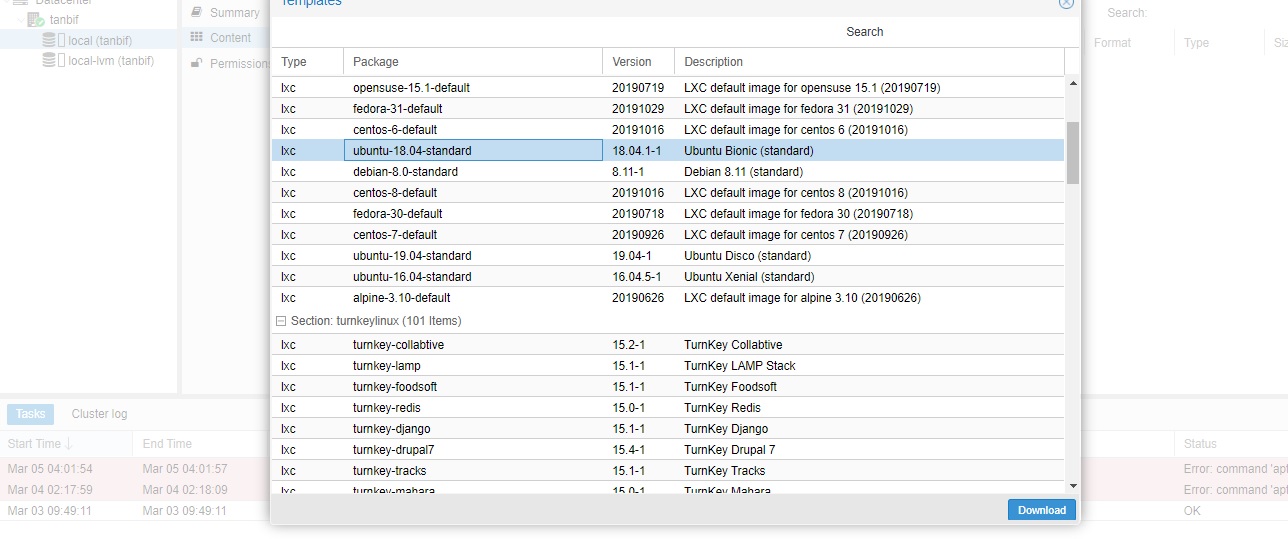
Creating virtual machines
In order to install some LXC container you need first to download the Ubuntu templates:
In the upper-right button we can start to create a LXC container with that template with some host name that you prefer (in this case 'freshwaterhub' as we were configuring some Biocache HUB in Costech server). We recommend to add here a public ssh key and a password so later is easy to run ala-install using that ssh key.
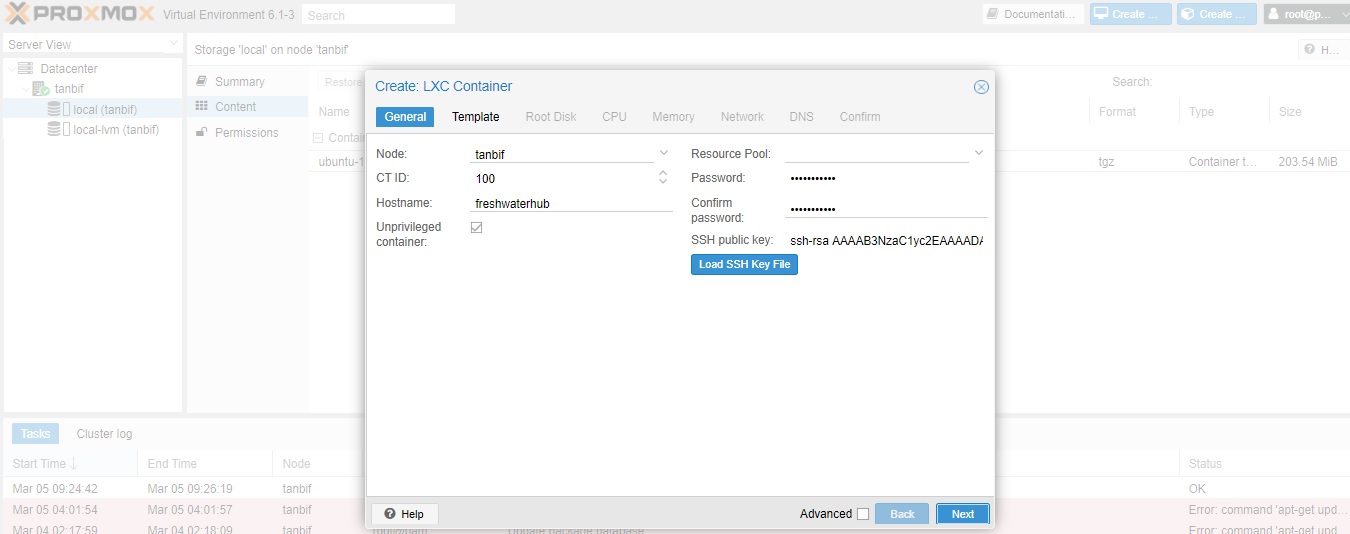
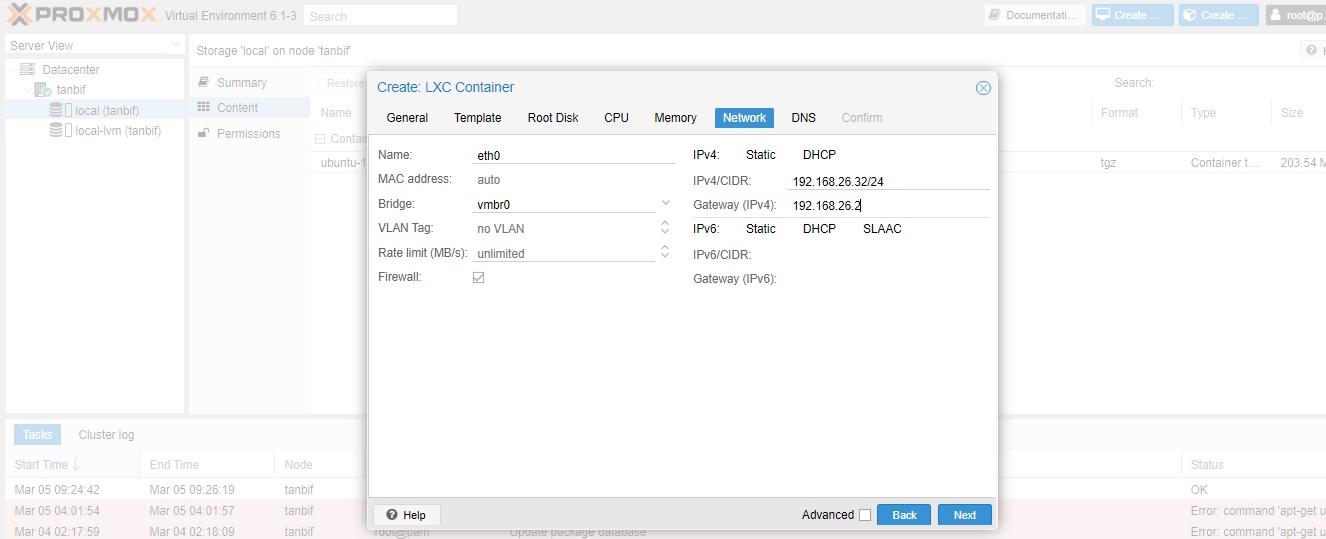
Later you have to choose the hardware resources of your container (number of cores, memory, etc) and configure the networking:
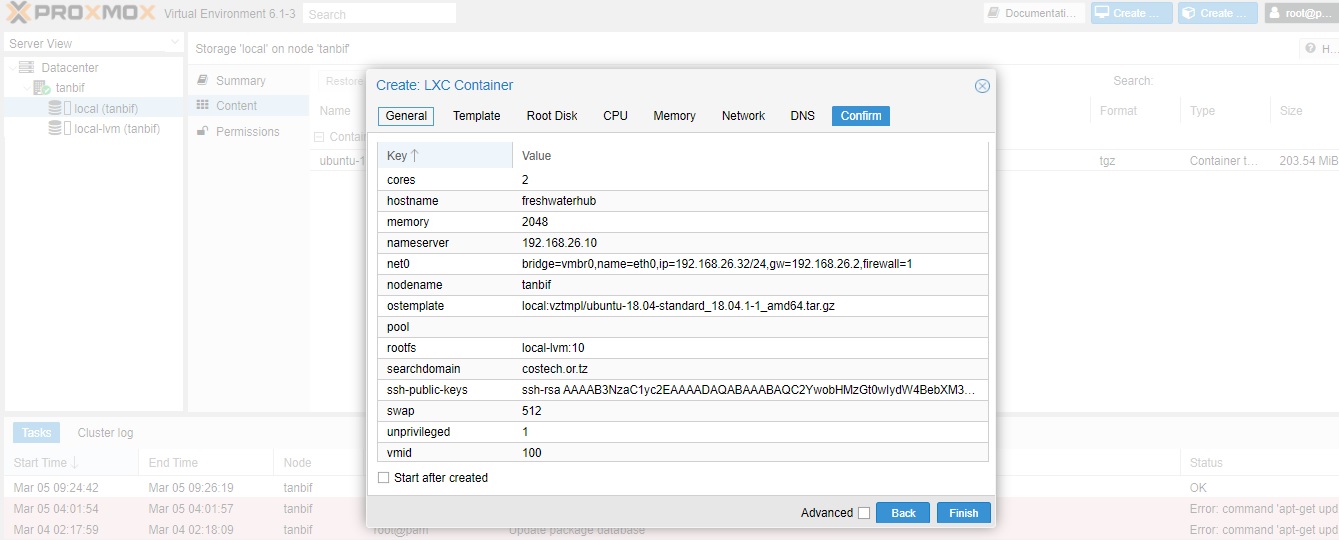
Here a summary of our selections before creating the container:
Postinstall required steps
On some containers, those with SOLR or Cassandra, we need an extra setup in order to allow a higher open files limits.
so we do:
sudo echo "lxc.prlimit.nofile = 65535" >> /usr/share/lxc/config/common.conf.d/10-prlimits.conf
and later we setup each /etc/security/limits.conf of the containers as usual. More info in the Proxmox forum.