Getting Started - ArthurHeitmann/F-SERVO GitHub Wiki
Download & Installation
- Download latest version from the releases
- Extract to some folder
- Run F-SERVO.exe
Optionally install
Python
Python is needed if you want to view and edit ruby scripts or mcd (UI localization) files. Download it from python.org.
Blender
If you want to look where entities, trigger boxes and more are positioned in 3D and also move them around in 3D, you should get blender with the Nier2Blender2Nier addon. Download blender from here.

The NPCs, items, chests and more placed by scripts, visualized and editable in blender
Nier2Blender2Nier (N2B2N) is an addon for editing Nier 3D models and for interacting with quest scripts. Download the custom_bones branch of N2B2N from here. To download it, click on the green <> Code button and then Download ZIP and follow the installation instructions.
In addition you should download and enable the Pre-imported Asset Library, to see actual 3D models of entities, instead of placeholders. Also you should get the 3D model of the entire map to actually know where in the world entities are.
Extracting game files
The game files are inside .cpk files in your [Nier installation]\data folder. You have to extract them once, but don't have to repack them. To see what is in all the files, take a look here.
There are several options for unpacking cpk files. You can either use F-SERVO directly or CriPakTools or Nier CLI. Short description + instructions:
F-SERVO
Built in, no additional downloads needed.
To extract a single file, drag & drop a file into F-SERVO and select where you want to extract it.
To extract multiple files at once, from the sidebar, go to "Tools", press "Select files to extract", select cpk files, (optionally change additional extract options), press "Extract Files".
Nier CLI
Nier CLI doesn't have an UI, but requires less steps. To extract cpk files, select all cpk files and drag & drop them onto the nier_cli.exe. This will extract them into the same folder. You have to move the new extracted folders to a different folder (important).
CriPakTools
CriPakTools has a GUI, but can only extract one .cpk file at a time. To do so, open CriPakGUI.exe, open a cpk with File > Open CPK and then Extract Files.
Basic Usage & Layout
Opening files
There are 3 ways in which you can open files:
- Drag & drop into the left sidebar. This will add it to the File Explorer.
- In the File Explorer click on the folder icon in the tool bar. Will have the same result as 1.
- Drag & drop into the center main area. This will (when possible) directly open the file, without adding it to the sidebar.
Layout
Left sidebar
File Explorer
List of open files. Selecting some files will show editable properties in the bottom panel. Right clicking files gives you all sorts of special actions.
Search
Allows you to search for text through many files or lookup some special IDs. More information here.
Center area - open files
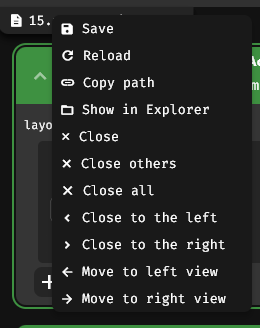
Open files will be added here as tabs. Through the right click menu you can move files to a side view, reload, open in windows explorer and more.
Unsaved files will have a circle icon on the right side.
Title bar

In the title bar you have Undo/Redo (works about 90% of the time :) ), Save All Files, Settings and Auto Translate Toggle.
Right Sidebar
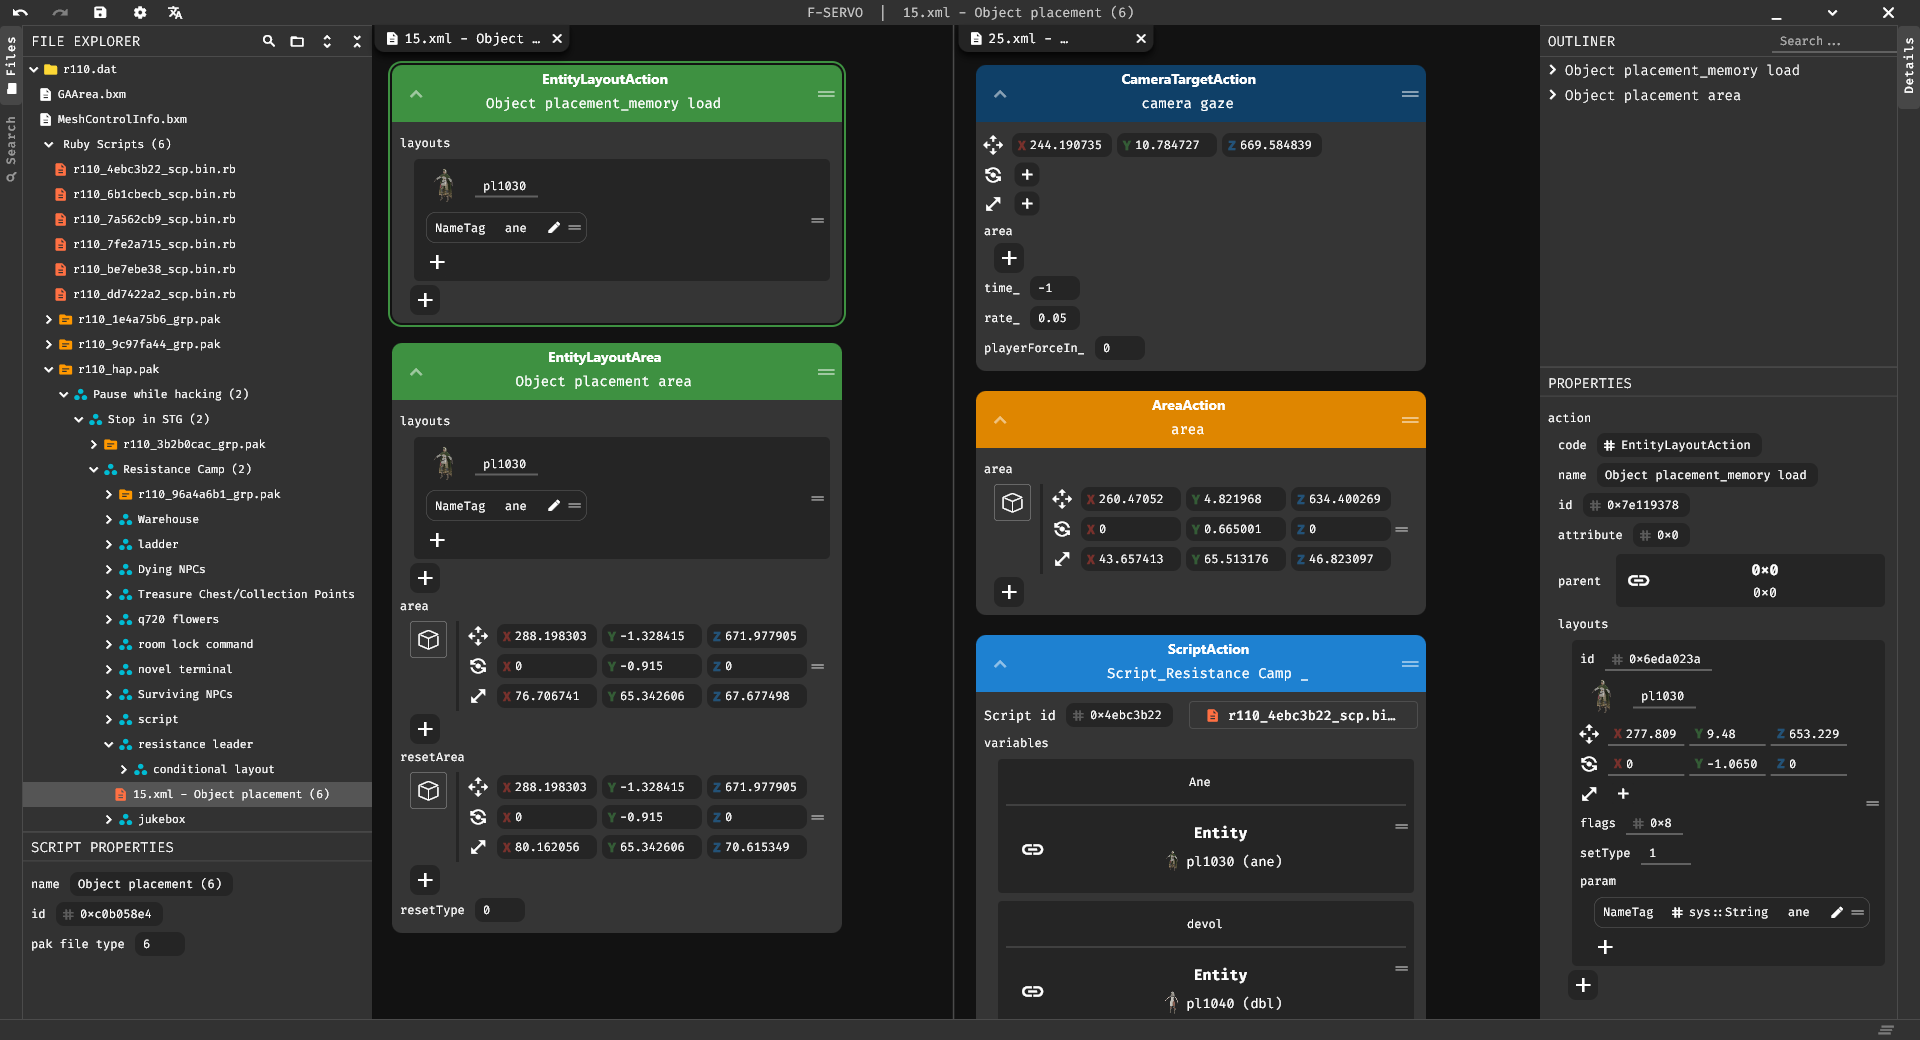
The right sidebar is primarily only used when editing XML script files. It shows a list of all actions in the file (click to jump to them), and details on the current selection.
If you don't need the sidebar you can resize or close it by clicking on the Details tab.
Settings

Before starting to open and edit files you should first go through the settings.
Most important settings
Data export path
Set this to your [Game installation]\data folder. When saving DAT files or files inside them this will automatically save them to the right folder, so that you don't have to manually copy files around.
Prefer opening some files in VS Code
If you have VS Code installed you should enable this. The text editor in F-SERVO is very basic :).
Indexing Paths
Here you should add folders of your extracted game files. I'd recommend to only add the data002/012/100.cpk folders to reduce the indexing time.
Indexing is recommended for editing XML files, since they use many ID based references. The indexing process will find all IDs in all files so that you can quickly jump to them.
Need for music & sound modding
WAI extract Directory
When opening the data/sound/WwiseSteamInfo.wai all audio files will be extracted to that folder.
Wwise CLI Path
Here you should select the installation folder of Wwise 2014. This is needed for converting WAV files to WEM (the games audio format).
You can download Wwise from here.
The default installation path should be C:\Program Files (x86)\Audiokinetic\Wwise v2014.1.6 build 5318\