00. Getting Started with Corstone for Arduino - ArmDeveloperEcosystem/Corstone-for-Arduino GitHub Wiki
-
AWS account
- If you don't have an AWS account, you can follow the AWS "How do I create and activate a new AWS account?" guide to create an AWS account.
- SSH client
- VNC client
You can register for Free AWS EC2 CPU Credits to try out Arm Virtual Hardware on AWS.
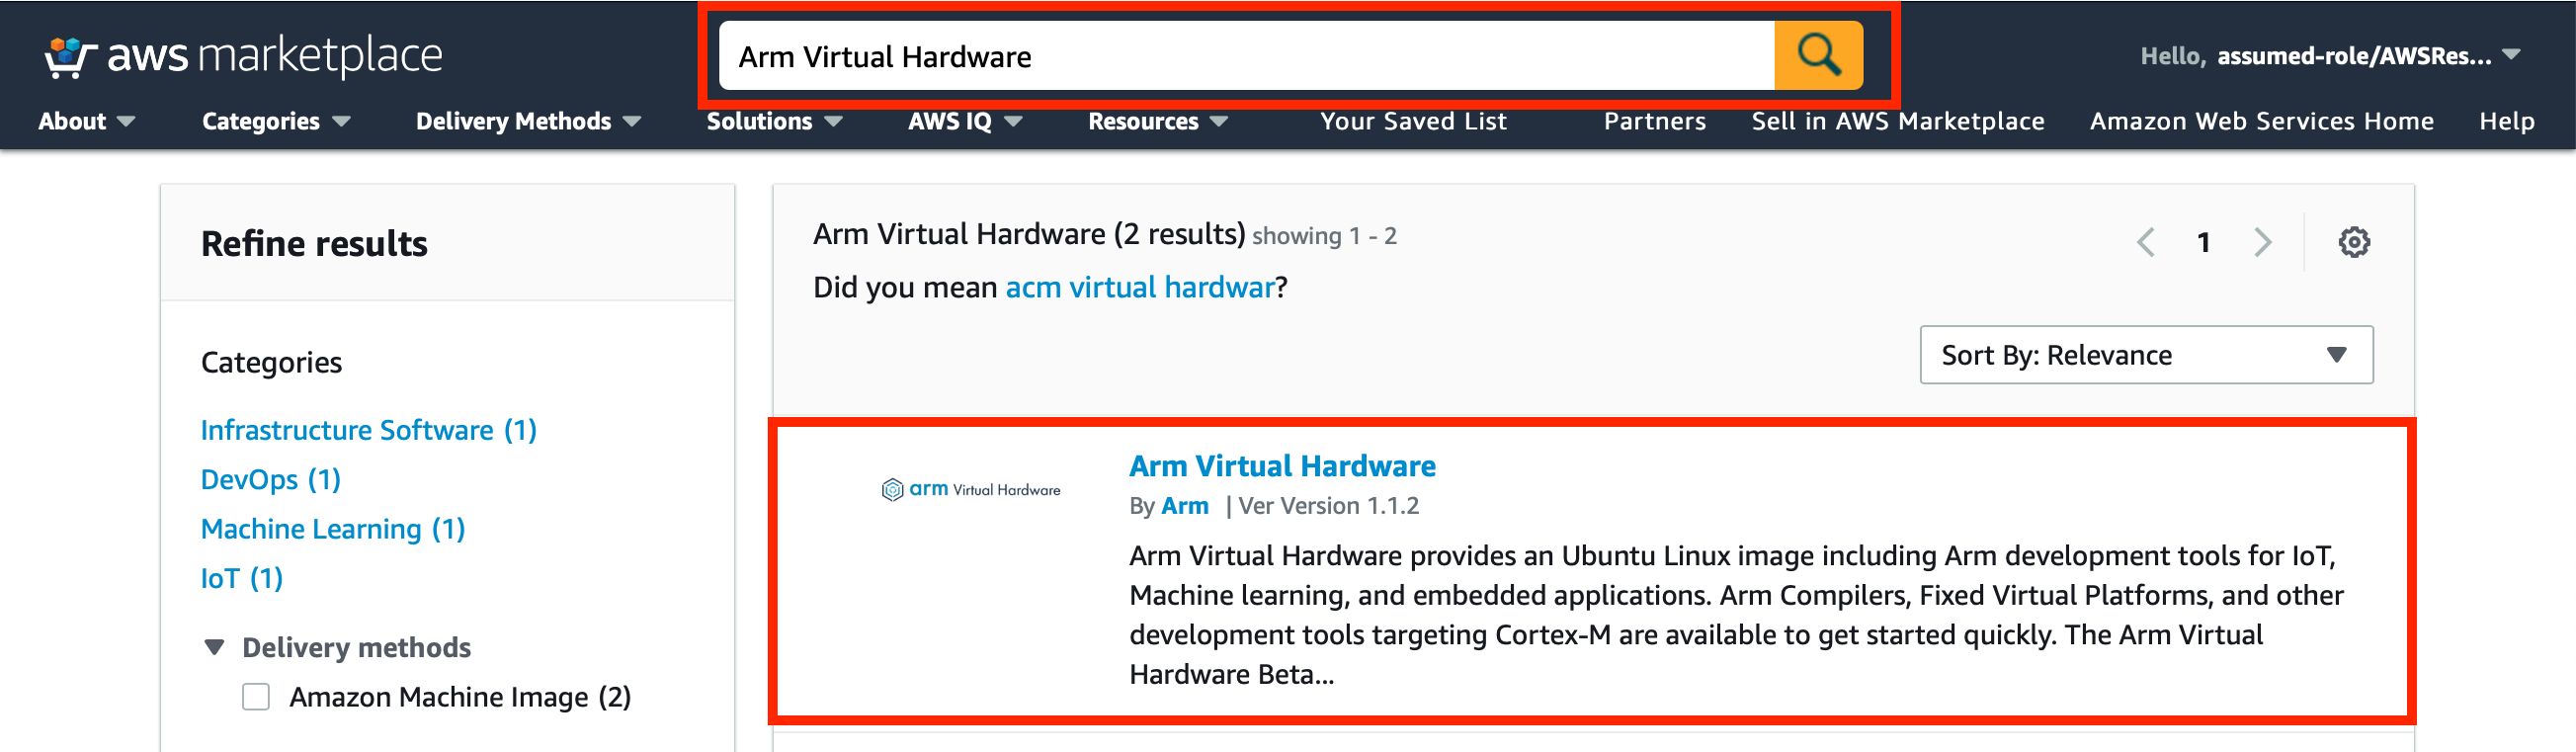
- Open AWS Marketplace and search for
Arm Virtual Hardware. - Click on
Arm Virtual Hardwareto open the product page.
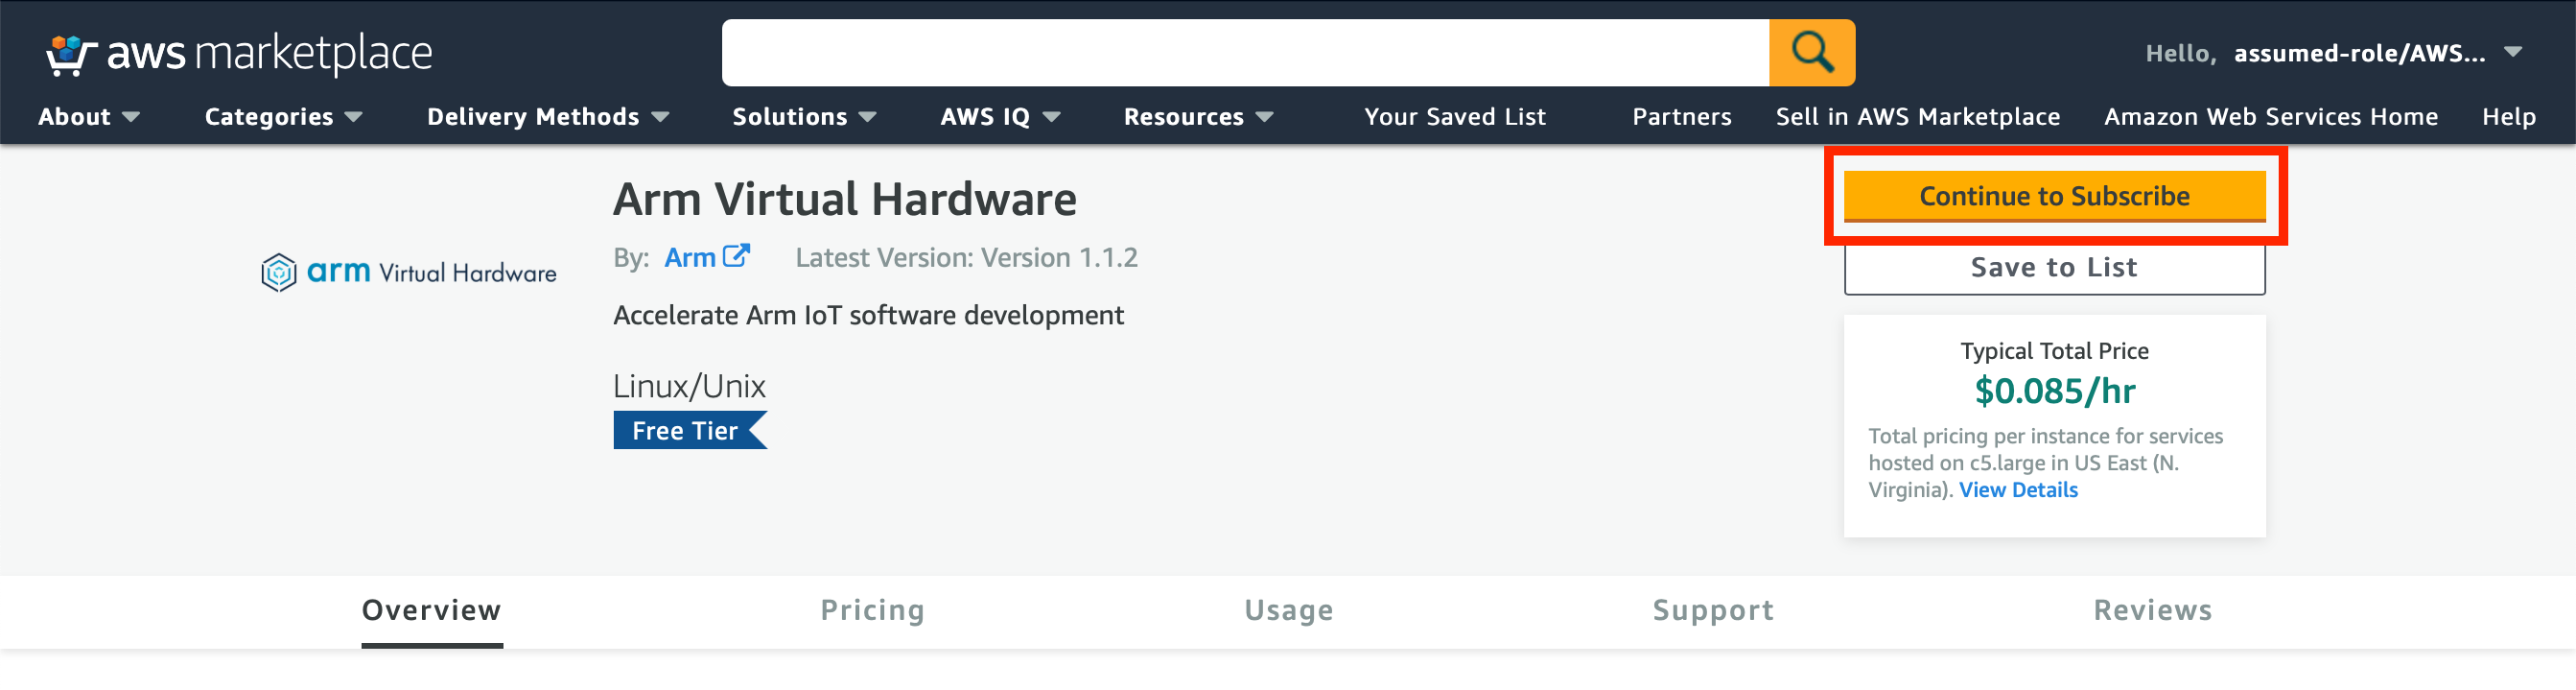
- Click the
Continue to Subscribebutton to activate the product.
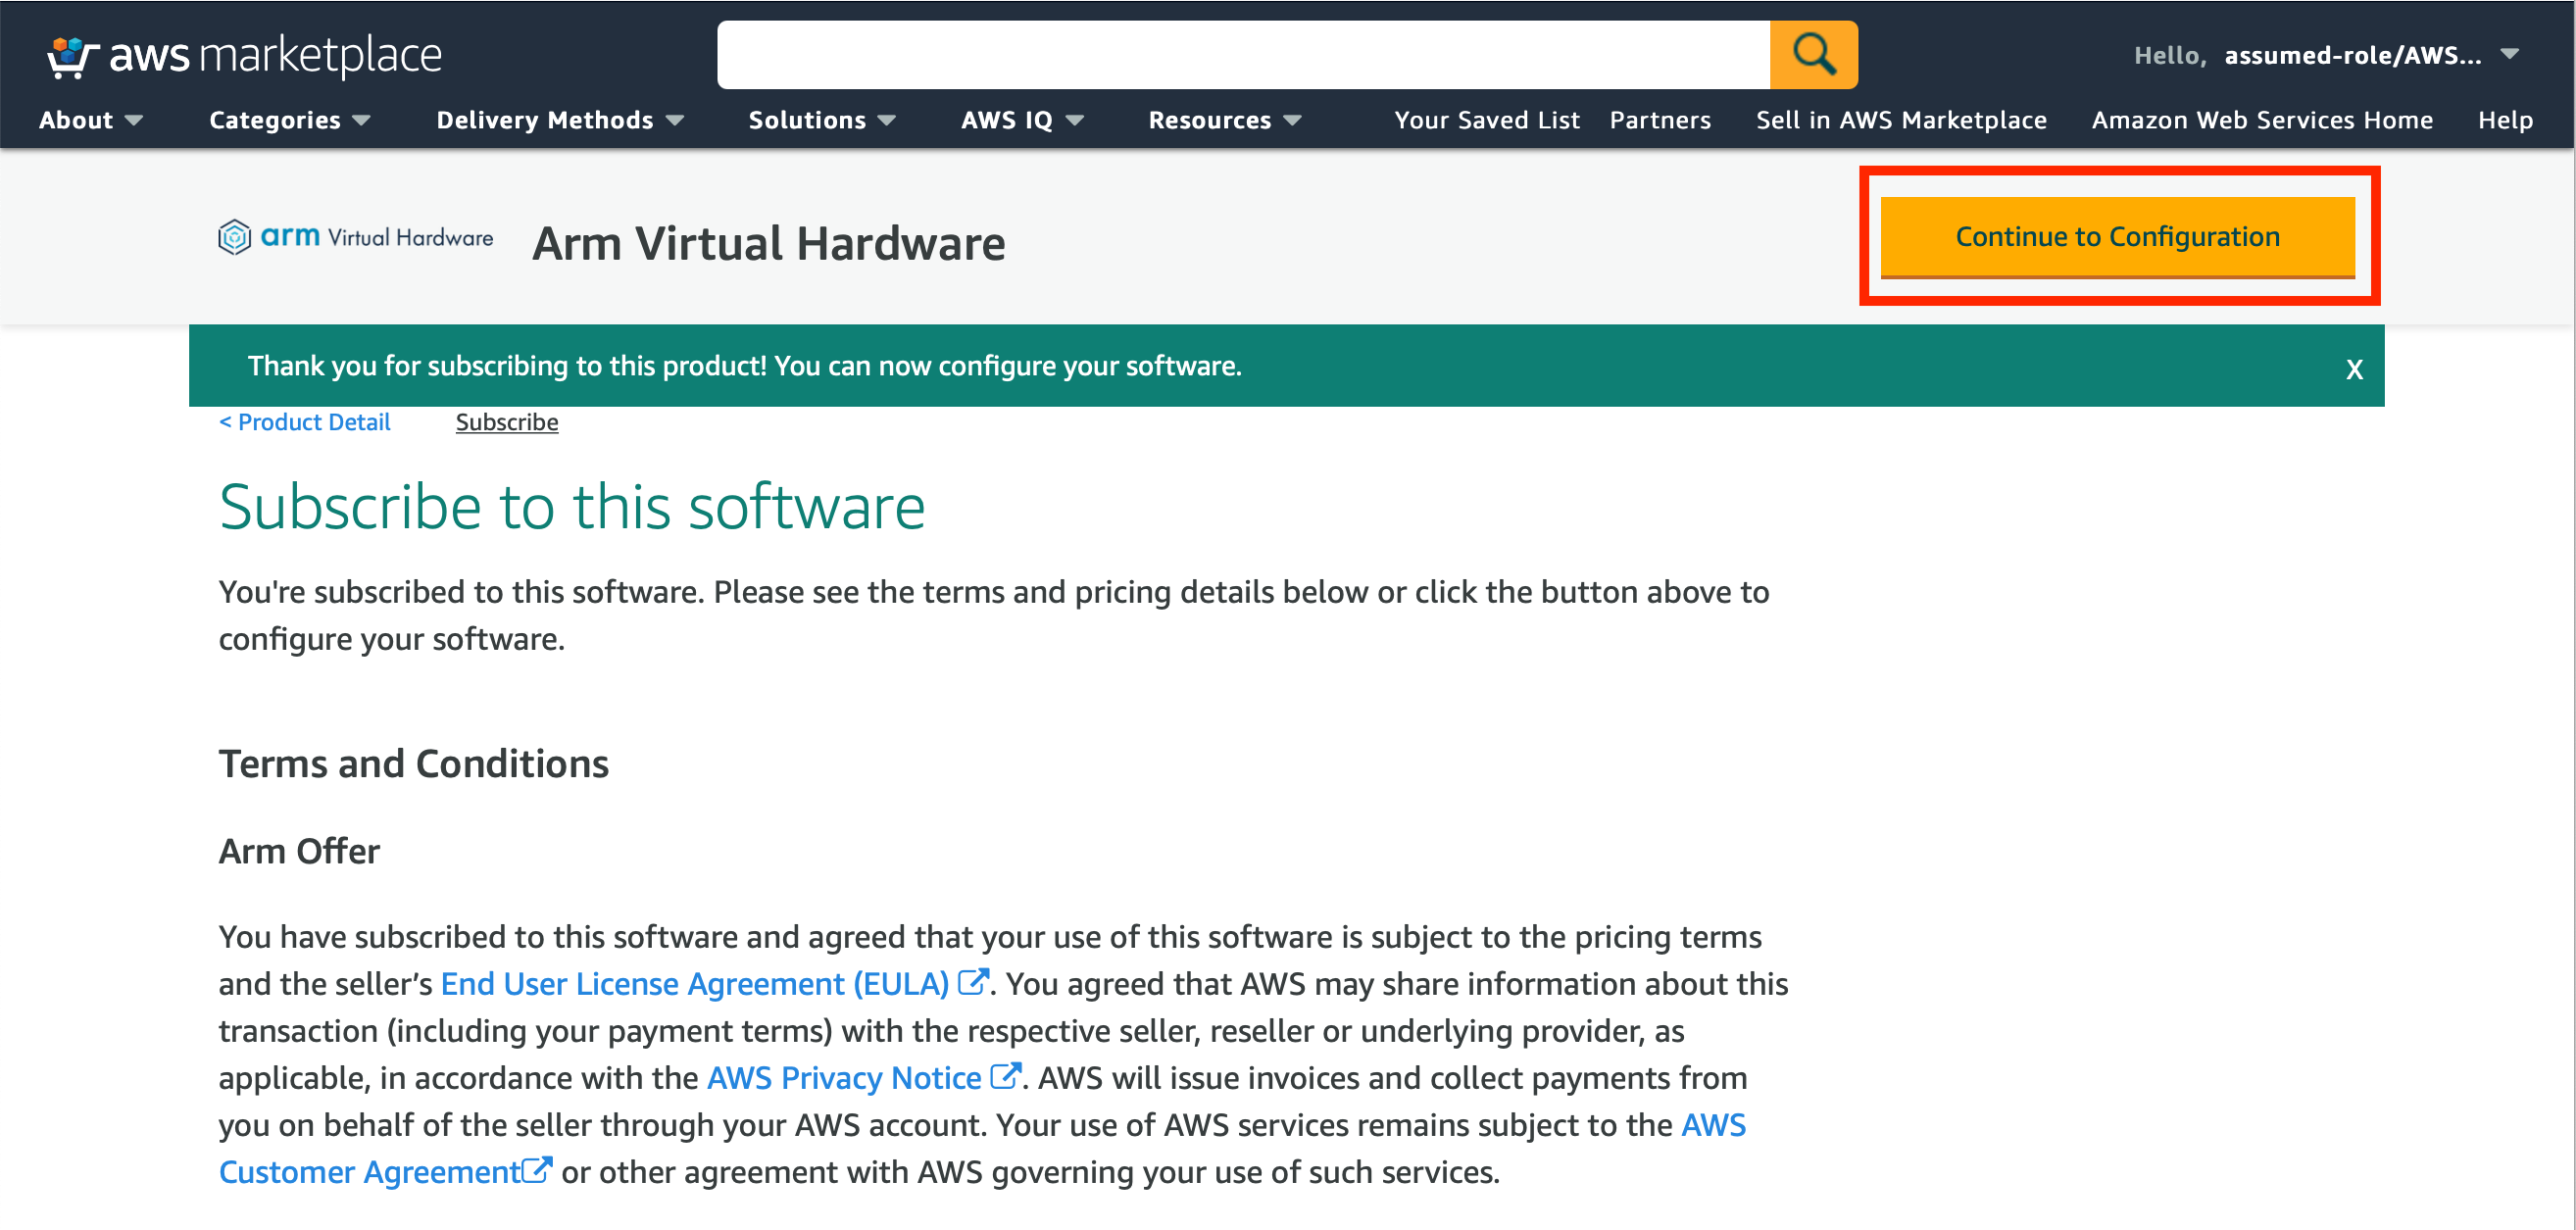
- Read the Terms and Conditions.
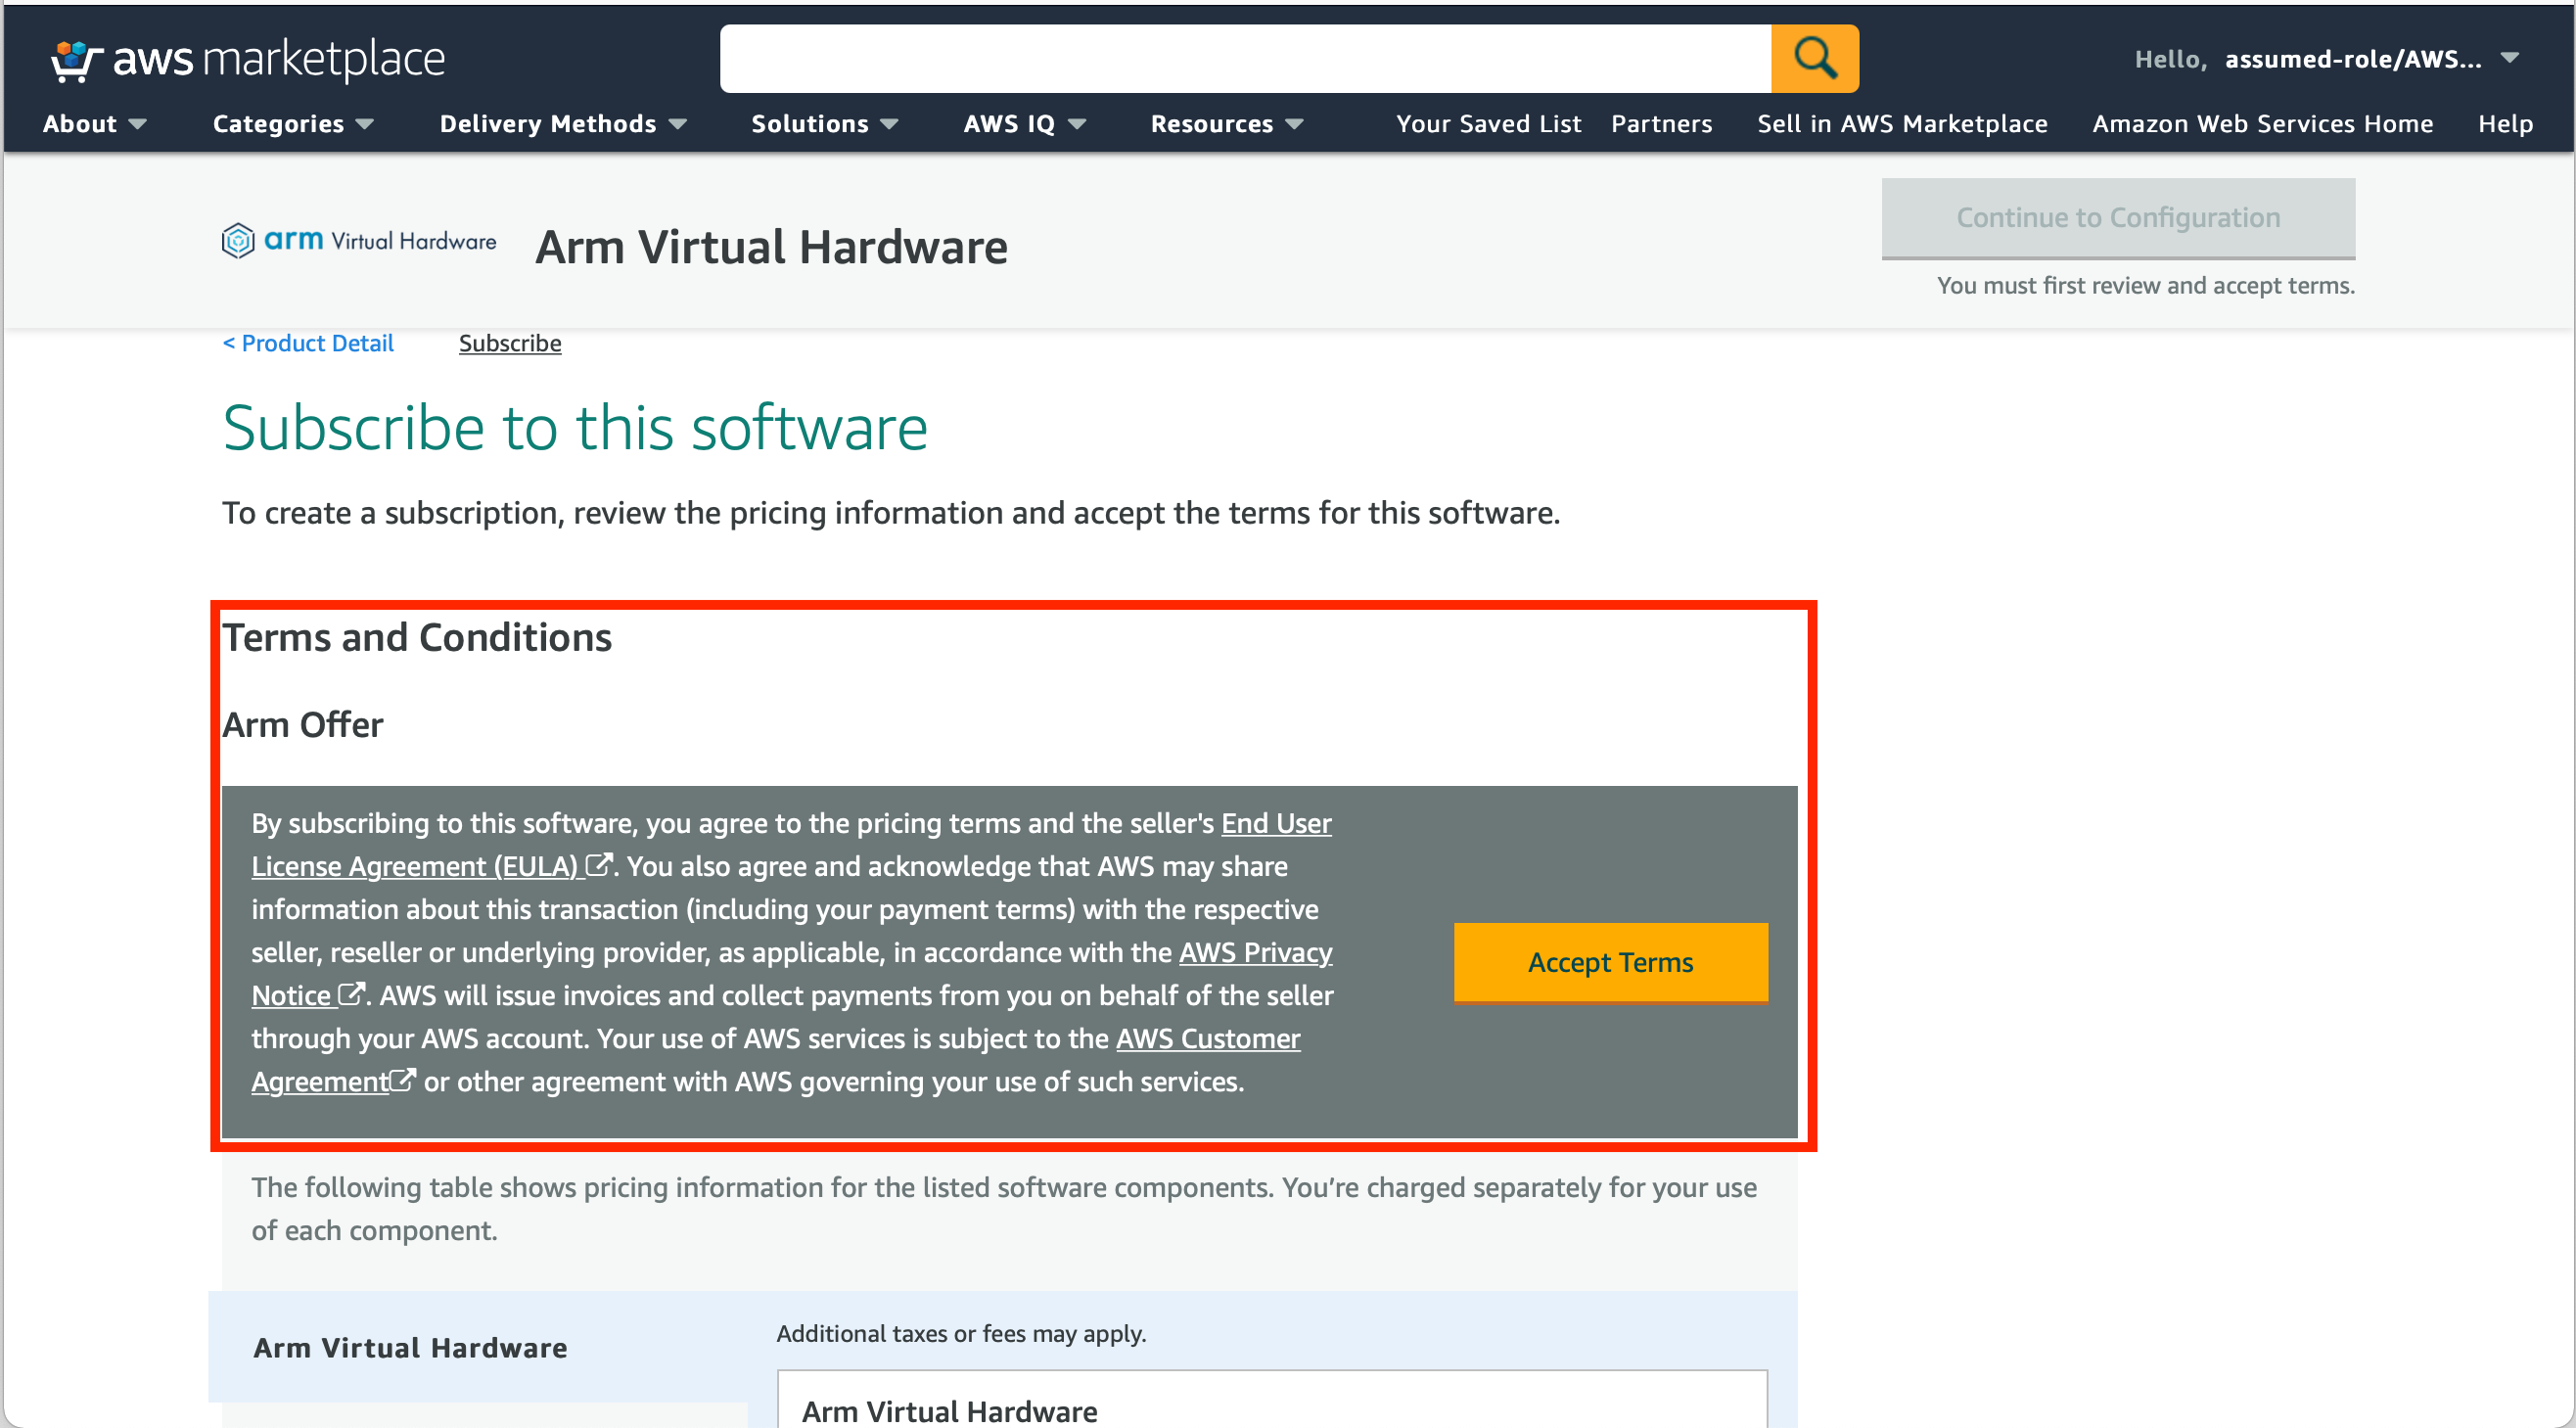
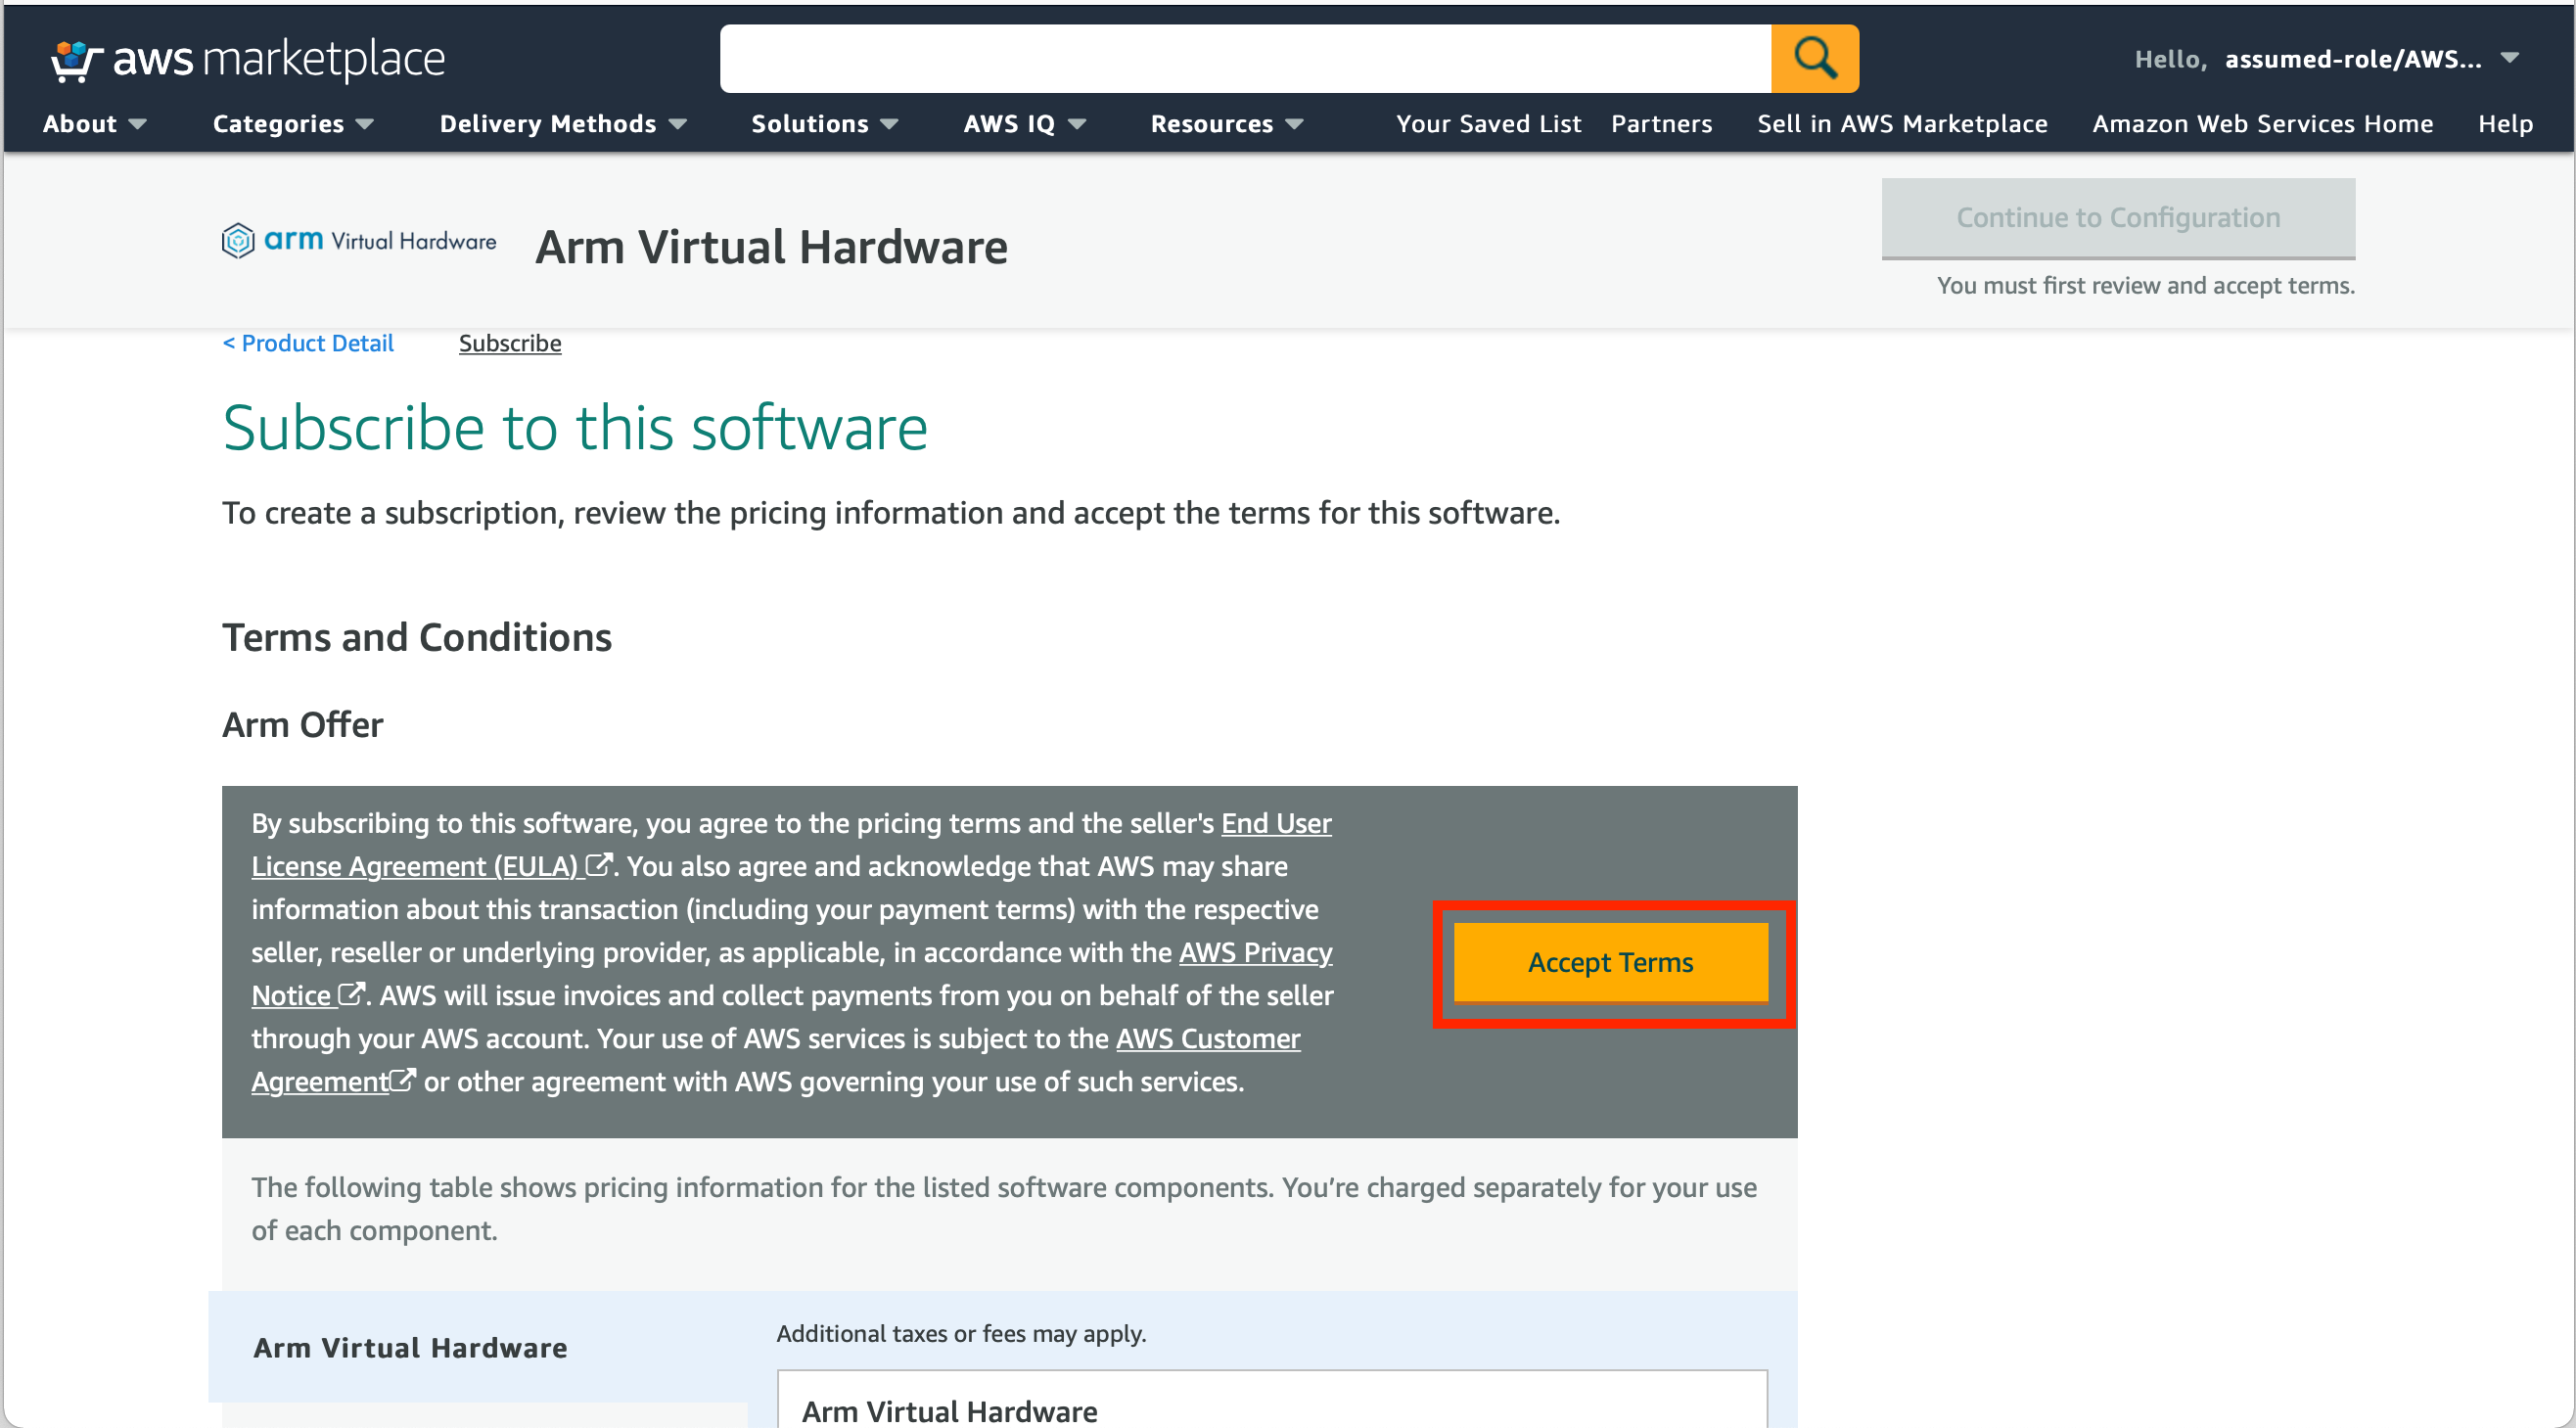
- If you agree with the Terms and Conditions, click the
Accept Termsbutton.
- Click the
Continue to Configurationbutton
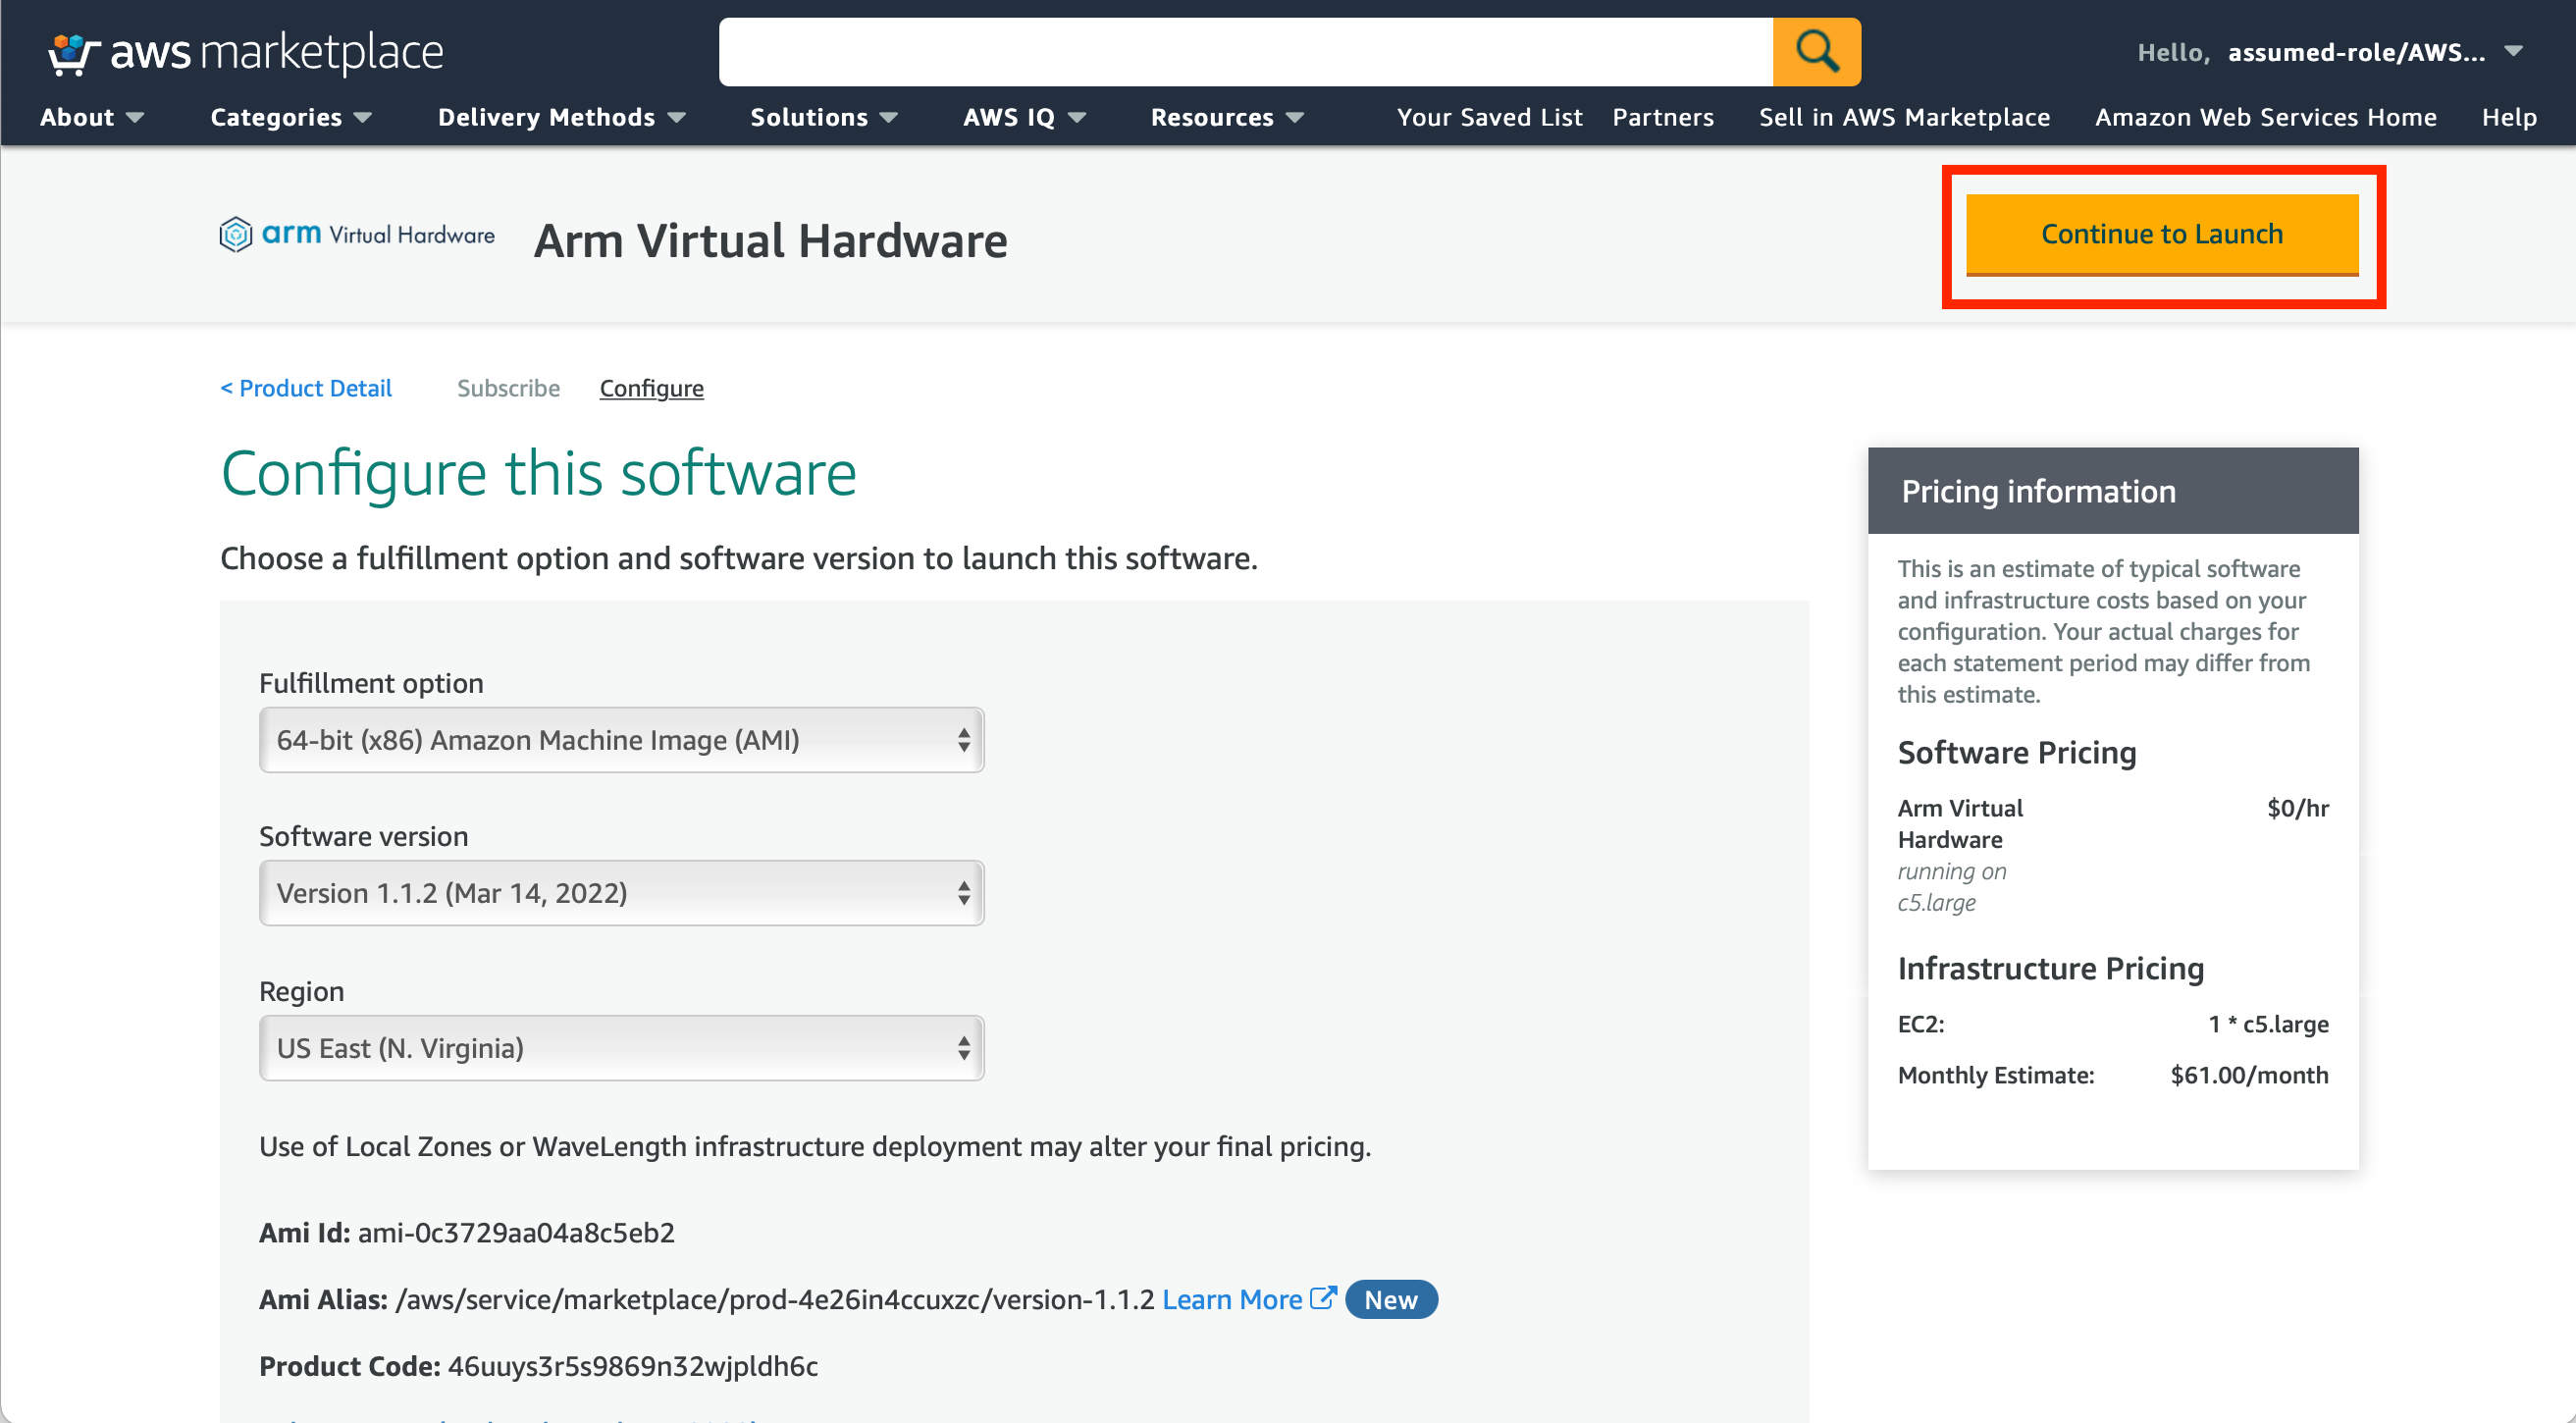
- Click the
Continue to Launchbutton.-
Note: We recommend using at least a
c5.largeinstance type.
-
Note: We recommend using at least a
- In the
Key Pair Settingssettings, select an existing or create a new key pair.- Note: The EC2 key pair will be used late to securely access the AWS EC2 instance over SSH.
-
Note: If you create and download a new key pair, you will have to make the file read-only using
chmod 400 <path/your/pair/key.pem>
- Click the
Launchbutton to start the EC2 instance.

Note: AWS will charge you by the hour while the EC2 instance is running. You can stop the EC2 instance by visiting the EC2 Console, selecting the instance, click the Instance State dropdown menu -> Stop instance menu entry.
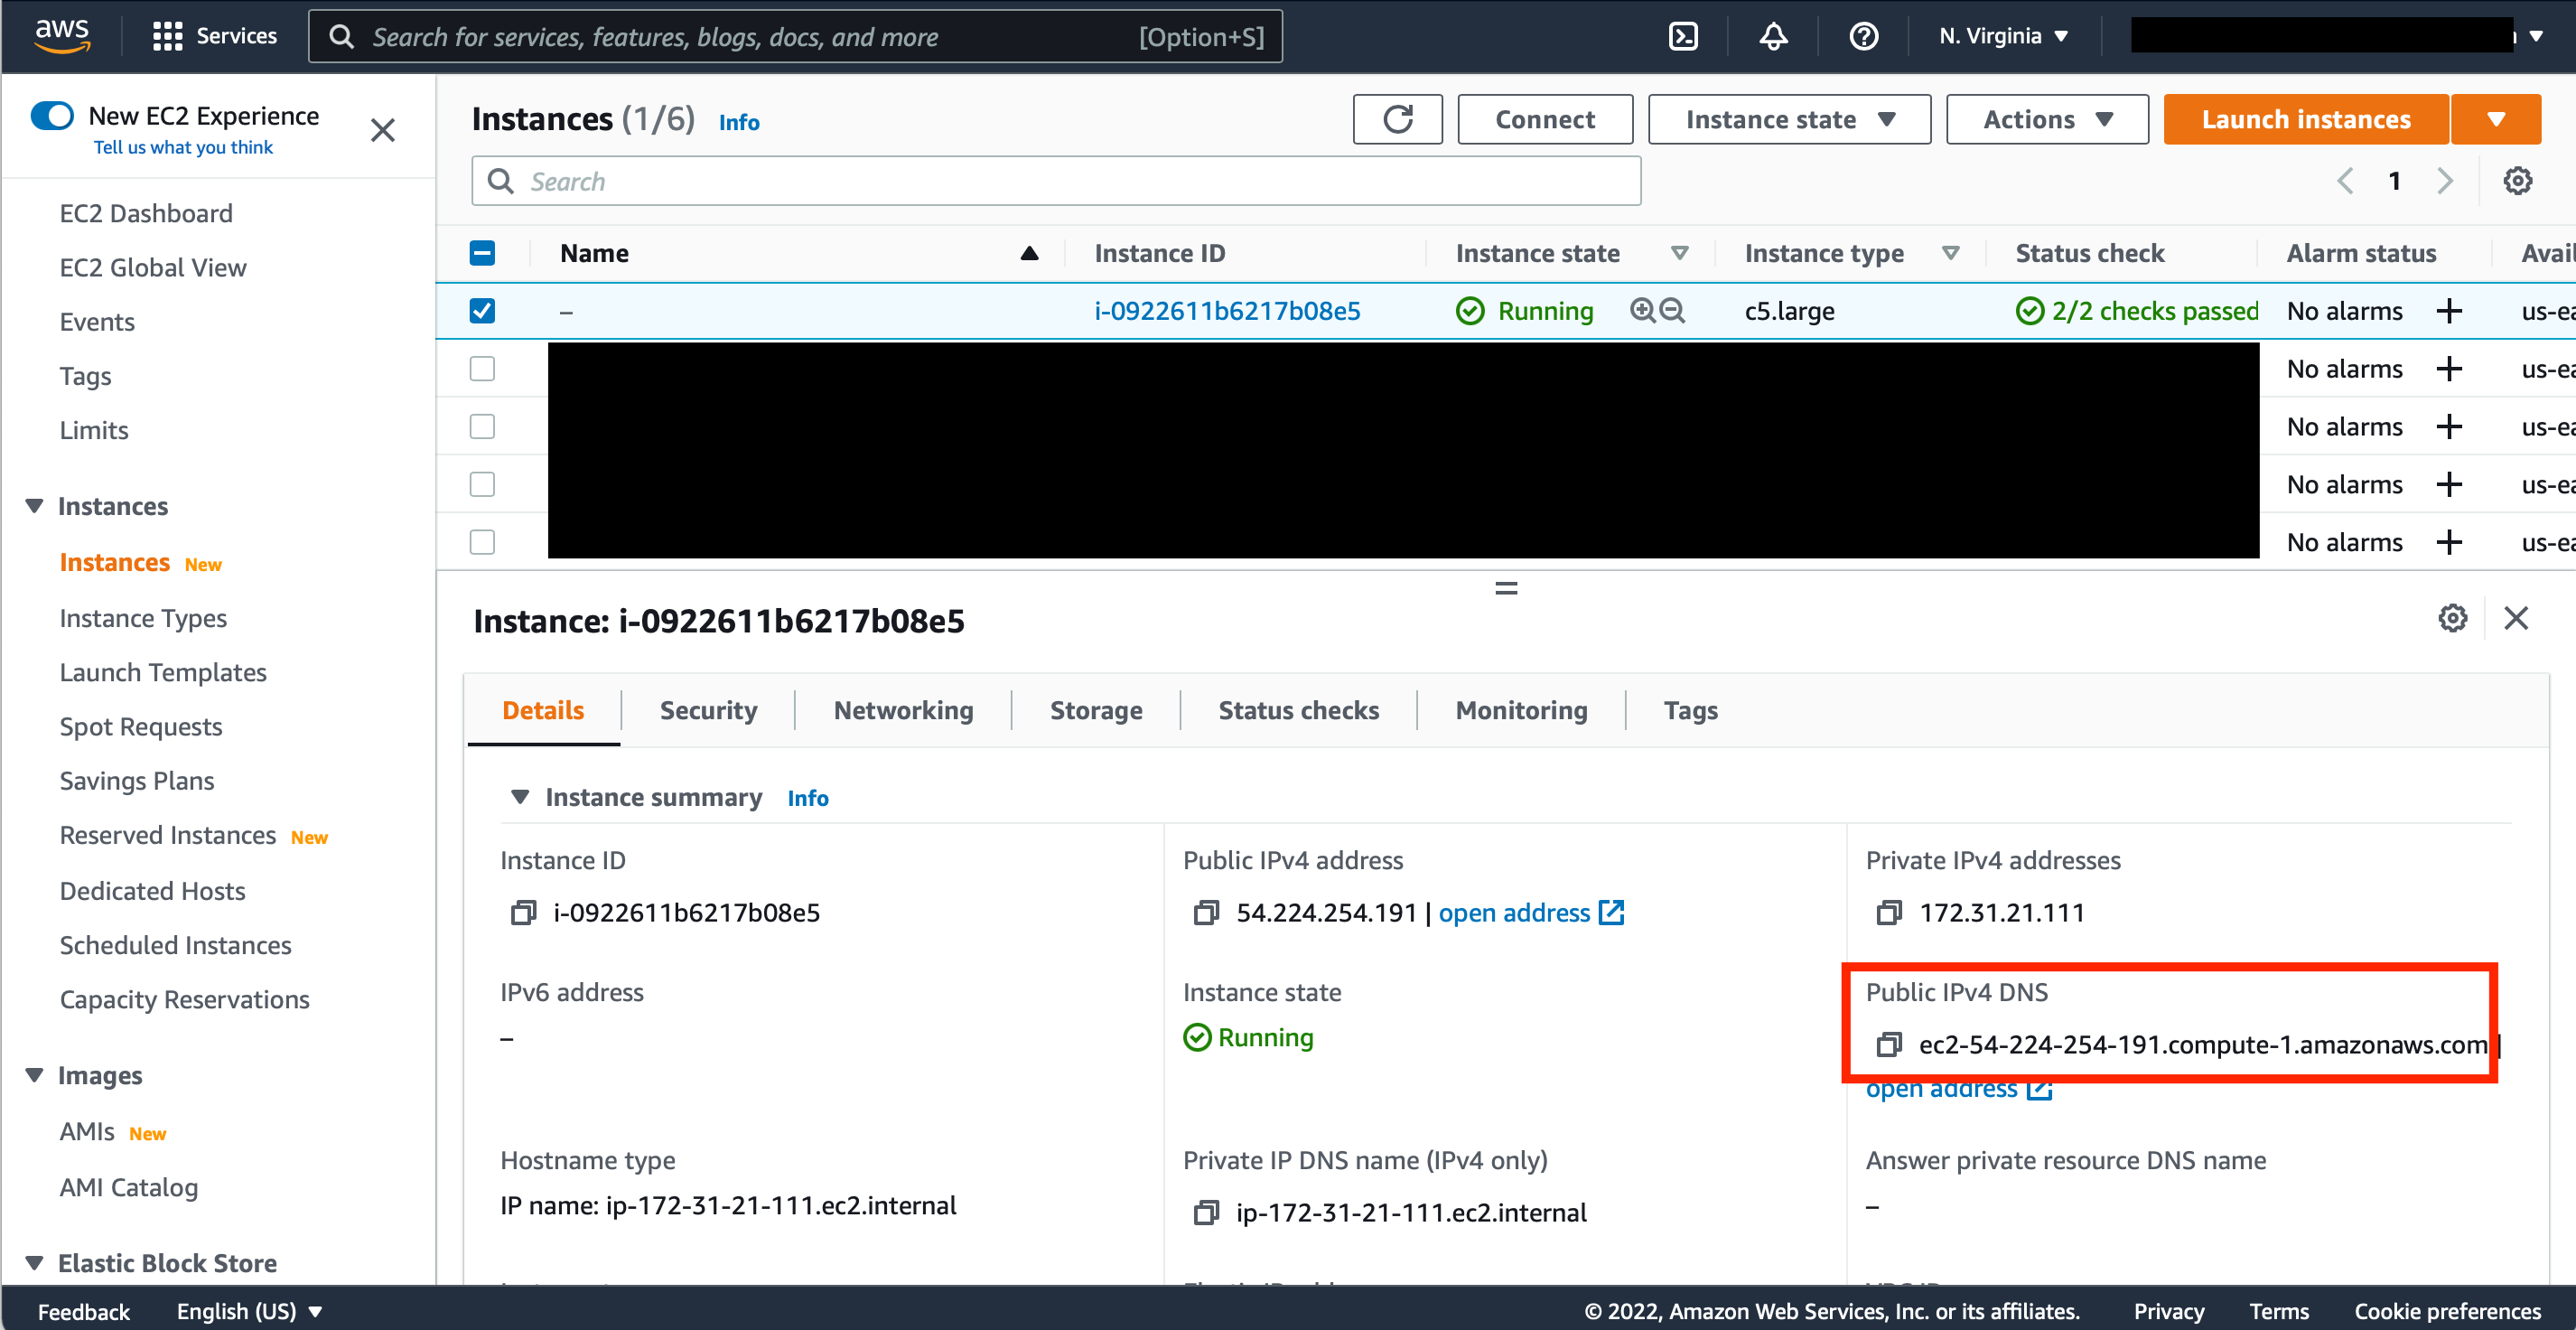
- Go to your EC2 Console to access the instance.
- Using the checkbox, select the EC2 instance you wish to access.

- You can also give the instance a name by clicking the
-and typing a name.

- Then copy the "Public IPv4 DNS" value for the instance. This value will be used to SSH into the instance in the next step.
- SSH into the instance from a terminal on your computer.
ssh -i <path/your/pair/key.pem> ubuntu@<Public IPv4 DNS>
-
ubuntuis the username to use for the connection -
<Public IPv4 DNS>is the value from the previous step -
<path/your/pair/key.pem>is the path to key pair the EC2 instance was setup with.
- Go to your EC2 Console to access the instance.
- Using the checkbox, select the EC2 instance you wish to access.
- Then copy the "Public IPv4 DNS" value for the instance. This value will be used to SSH into the instance in the next step.
- SSH into the instance from a terminal on your computer
ssh -i <path/your/pair/key.pem> -L 5901:localhost:5901 ubuntu@<Public IPv4 DNS>
-
ubuntuis the username to use for the connection -
<Public IPv4 DNS>is the value from the previous step -
<path/your/pair/key.pem>is the path to key pair the EC2 instance was setup with.
- Configure a VNC password using
vncpasswd- The "view-only password" does not need to be configured.
- Enable the VNC server:
sudo systemctl enable [email protected] - Start the VNC server:
sudo systemctl start [email protected] - Using a VNC client connect to
localhost:5901- Note: the VNC server on the AVH instance is accessed via an SSH tunnel.
- SSH into the AVH instance from a terminal on your computer
ssh -i <path/your/pair/key.pem> -L 5901:localhost:5901 ubuntu@<Public IPv4 DNS>
- Run:
git clone https://github.com/ArmDeveloperEcosystem/Corstone-for-Arduino.git - Run:
cd Corstone-for-Arduino - Run:
./setup.shto:- Install the Arduino IDE
- Install the arduino-cli
- Download and compile the Open IoT SDK
- Configure Corstone for Arduino
Note: the previous step will take a few minutes to complete.
- Blink Virtual LED example
- Virtual Switch example
- NTP Client example
- TensorFlow Lite Hello World example
- Share your feedback about Arm Virtual Hardware and help us shape the product for the better
- Arm Virtual Hardware - Infrastructure - AWS Marketplace
- Arm Virtual Hardware - Connect to the EC2 Instance