Assembly Instructions - AnzorAslanukov/Tank_1-24_Scale_T-35_Multi-Turreted_Heavy_Tank GitHub Wiki
After printing the pieces, there are multiple ways to put the parts together. This guide will explain how I personally assembled the model and what methods I've used. If you found a better way to do it and extra tips for the process, feel free to comment about it!

Multiple glues may be used for combining the pieces. Personally, I've used Loctite Super Glue for the displayed model.

I've designed the model to require no supports (with the exception of the four side-ladders!) but FDM 3D do have common issues with printing a model such a stringing and slight warping. All of these maladies can be rectified using minimal processing.
Common tools used for post-print processing are:
- C-clamps
- Vise, machine or otherwise. Pictured are 3D-printed machine vises and c-clamps which are perfect for this model's application!
- Heat gun
- X-ACTO knife
- Sandpaper
In my opinion, the tool with the most dramatic effect for me was the heat gun because I printed in matte army-green PLA which for some reason stringed a lot no matter what settings I've tweaked or tried to dry the filament. For some parts, especially the side sections that had a lot of embossed details, the stringing was extreme. One quick swing of the heat gun over the part eliminated over 90% of the stringing!


Before using glue and a measure to avoid getting into a messy problem, test how well the insert fits into its corresponding slot. Most of the time, the insert will be too large and won't fit. The insert should go in and out of the slot with ease and minimal friction. If the insert is too big, either sand the insert sides down or try to downscale them in your slicer settings. Downscaling by locking the dimensions in mm works fine and try to downscale in 0.1mm intervals.
Don't forget about testing the second half as well!

Put a few medium-sized drops into the slot, or at least enough to make contact with the insert once it is in.

You do not have to add a lot of glue, just applying some drops in a grid-like patterns onto the surface should suffice.

After placing the insert, don't forget to add glue onto the insert's surface. You can be more liberal in the glue's application for this one.

A common problem that plagues 3D printing is part deformation during and after the print process. Make sure to check for such gaps and see if you can pinch the pieces together to close it.

The gaps need to be kept closed while the glue dries and cures. This can be done by using c-clamps or vises.

The arrangement I used for this model using two c-clamps.

The gap closes up very well when the clamps are applied.

Using something heavy can also do the job.

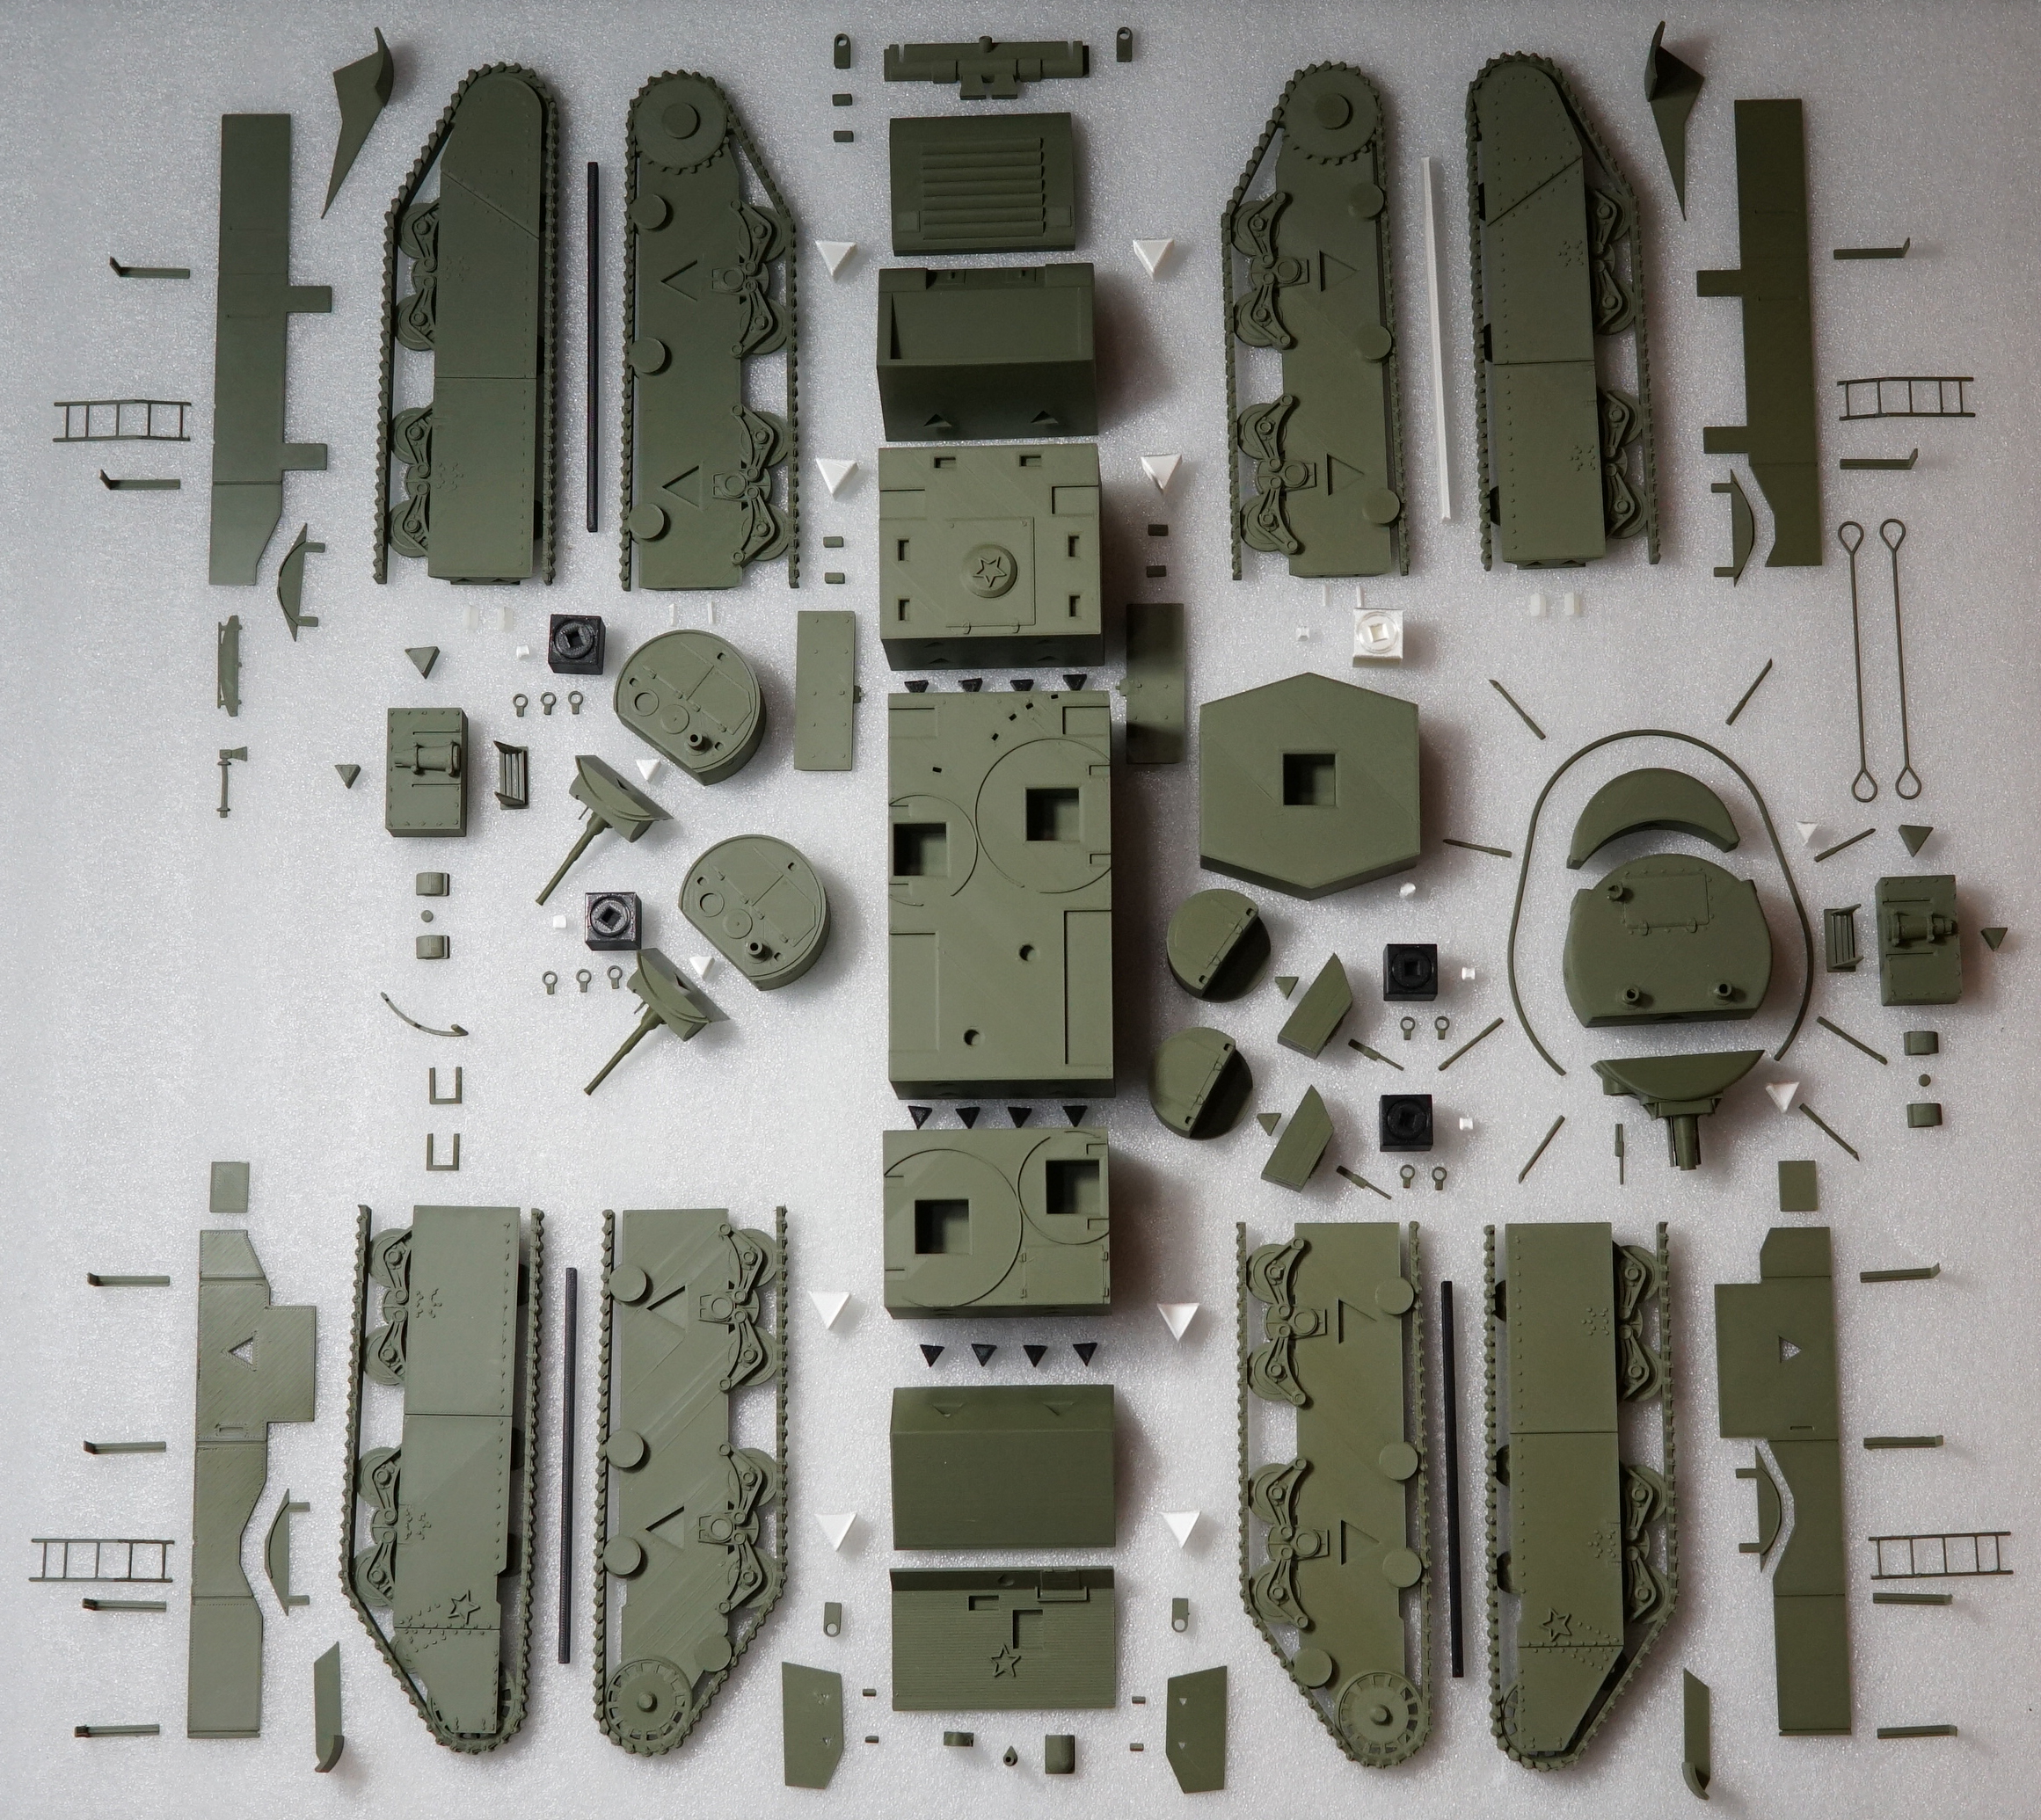
Step 1, gather the parts
This part proved to me as being slightly problematic due to the turret's "crown" or railing/radio installment which circled the upper outside perimeter of the module. Historically, the T-35 sometimes lacked this railing so you don't have to print and install it if you would not like to.

Step 2, assemble the turret's body


Step 3


Step 4


Step 5

Step 6

Step 7, add the perimeter railing

Step 1

Step 2

Step 1

Step 2

Step 1

Step 2

Step 3

Step 4

Step 1

Step 2

Step 3

Step 1

Step 2

Step 3

Step 4

Step 1

Step 2

Step 3

Step 4

Step 1

Step 2

Step 3

Step 4

Step 5, There are small rectangles you can glue under the cover plates to aid with structural integrity

Step 1

Step 2

Step 3

Step 4

Step 5

Step 1

Step 2

Step 1

Step 2

Step 3

Step 4

Step 1

Step 2

Step 1

Step 2

Step 1

Step 2

Step 1

Step 2

Step 3


Step 4

Step 5

Step 1

Step 2

Step 1

Step 2
