Setup - Almamu/EVESharp GitHub Wiki
Server setup
Before anything has to be done on the client-side of things the server must be setup, the following steps explain how to setup the database and the server binaries to accept incoming connections from clients.
Database setup
The first thing to do is setup the MariaDB Database for the server. Assuming there is a MariaDB server already installed, the first thing to do is create a database and a user for the emulator. Open a MariaDB connection to the server and run the following queries:
CREATE DATABASE evedb;
CREATE USER 'evesharp'@'localhost' IDENTIFIED BY 'passwordhere';
GRANT ALL PRIVILEGES ON evedb.* TO 'evesharp'@'localhost';
IMPORTANT: Change the passwordhere to a proper password to ensure your database is secure. You might also need to change the 'localhost' to something different if your Cluster and Nodes do not run on the same machine as the MariaDB server. Refer to the MariaDB documentation to learn more
This will create the database "evedb" and the user "evesharp" for accessing the database with the given password.
Once the database is created, generate the .sql files to be imported into the database. Under the directory "Database/Utils" are two scripts called "Merge-Oficial" and "Merge-Server". Depending on the OS you are running you'll need to run the .sh or the .bat versions of them. (.bat is for Windows, .sh for any Unix-like system).
These scripts will generate two .sql files named "Server.sql" and "Official.sql" on the "Database" directory. These files will be used during the following steps to import into the database.
Once everything is generated the only thing left is to perform the static data dump import. Extract the apo15-mysql5-v1.sql.bz2 and mapPrecalculatedSolarSystemJumps.sql.gz files into the "Database" directory. This should create two sql files apo15-mysql5-v1.sql and mapPrecalculatedSolarSystemJumps.sql. These files have to be imported first, followed by the emulator's SQL files.
source apo15-mysql5-v1.sql;
source mapPrecalculatedSolarSystemJumps.sql;
source Oficial.sql;
source Static.sql;
source Dynamic.sql;
source Server.sql;
With this the database should be ready.
Server setup
Once the database is properly setup, you need to compile the project. Open the file EVESharp.sln under the "Server" folder with your preferred C# development IDE and build the whole solution. This will generate the binaries with the server's code. (tip: if you're running in a headless installation, you should be able to build the solution using the dotnet tool).
If everything went right there should be a new folder under each solution's project named "bin" and inside that a folder called Debug or Release based on the build configuration selected. Inside those folders you'll find the server's files. Ideally the release build should be used as they're generally faster than the debug ones.
EVESharp's cluster can be run in two different modes:
Single-instance cluster
This is the simplest way of running the EVESharp cluster, it only requries one machine and one node running, and thus cannot handle big amounts of players. It's the ideal setup for a small user test and first steps on the development of new features.
To setup this environment create a configuration.conf file alongside the EVESharp.Node compilation's output with the following contents:
[database]
username=evesharp
password=passwordhere
hostname=localhost
name=evedb

[machonet]
mode=single
If you want to enable automatic account registration check the configuration options.
With this you can run the server and everything should start up and be ready to use. Jump to Client setup
Multi-node environment
Closer to what CCP is running internally, allows handling many more players at the same time (scallable cluster). This mode requires at least four machines (or VMs) to run the cluster. Each machine will have a different responsibility so the workload is spread over them:
- Orchestrator: Keeps track of what machines are running, their responsibilities and status
- Proxy Node: Handles client connections and some calls
- Game Node/SOL Node: Handles in-game systems like inventory, space simulation...
- Database: Server where the database will be hosted so all the nodes have access to it's information
Due to the way EVESharp is architected, both the proxy node and game node/SOL node run off the same binary and are required parts of a multi-node environment. You can run as many nodes as you want, ideally each one should have it's own machine.
Configuring the Orchestrator
The only thing required for the orchestrator is the database configuration to connect to the database. The settings for it exist in appsettings.json, which is generated when compiled:
{
  "Serilog": {
    "MinimumLevel": {
      "Default": "Information",
      "Override": {
        "Microsoft.AspNetCore": "Warning"
      }
    },
    "Using": ["Serilog.Sinks.Console"],
    "WriteTo": [
      {
        "Name": "Console",
        "Args": {
          "formatter": {
            "type": "Serilog.Templates.ExpressionTemplate, Serilog.Expressions",
            "template":"{UtcDateTime(@t):yyyy-MM-dd HH:mm:ss} {@l:u1} {Coalesce(Coalesce(Name, Substring(SourceContext, LastIndexOf(SourceContext, '.') + 1)), 'Program')}: {@m:lj}\n{@x}"
          }
        }
      }
    ]
  },
  "Cluster": {
    "ResetOnStartup": true,
    "TimedEventsInterval": 5
  },
  "AllowedHosts": "*",
  "Database": {
    "hostname": "localhost",
    "username": "root",
    "password": "",
    "database": "evedb",
    "port": 3306
  }
}
Change the details under "Database" to the database settings for your environment. For more information please check the Orchestrator configuration page
Once the settings are applied just run the EVESharp.Orchestrator.exe binary. It's output should be similar to this:
2022-09-07 03:01:49 W Program: Unknown encoding utf8mb4 for column type on table cluaddresses, defaulting to utf8
2022-09-07 03:01:49 W Program: Unknown encoding utf8mb4 for column ip on table cluster, defaulting to utf8
2022-09-07 03:01:49 W Program: Unknown encoding utf8mb4 for column address on table cluster, defaulting to utf8
2022-09-07 03:01:49 I Program: Database connection initialized successfully
2022-09-07 03:01:49 I ClusterRepository: Cleaning up cluster information
2022-09-07 03:01:50 I Lifetime: Now listening on: http://localhost:5085
2022-09-07 03:01:50 I Lifetime: Application started. Press Ctrl+C to shut down.
2022-09-07 03:01:50 I Lifetime: Hosting environment: Development
2022-09-07 03:01:50 I Lifetime: Content root path: C:\development\EVESharp\Server\EVESharp.Orchestrator\
The most important line is Now listening on: http://localhost:5000. This indicates our cluster URL and where we have to connect our server instances. Depending on your environment this might need to be changed. Please refer to Microsoft's documentation on how to do it: https://docs.microsoft.com/en-us/aspnet/core/fundamentals/servers/kestrel/endpoints?view=aspnetcore-6.0
Configuring the Proxy
For information on all the configuration options click here
The minimal configuration file for the Proxy must have information of the database where the game's data is stored and where to store the logs of the server (this last part is not a must, but will be a good way of debugging and reporting issues to the project). The options should be self-explanatory enough, but there is documentation on all of them here. This file has to be named configuration.conf and be alongside the Proxy executable.
[database]
username=evesharp
password=passwordhere
hostname=localhost
name=evedb

[logfile]
directory=logs
logfile=Proxy.log

[machonet]
mode=proxy

[cluster]
url=http://localhost:5000
If you want to enable automatic account registration check the configuration options.
Configuring the Node
For information on all the configuration options click here
The nodes require some more configuration in order to properly work. This is the minimal configuration file for it. Most of the options should be self-explanatory enough, but there is documentation on all of them here. This file has to be named configuration.conf and be alongside the Node executable.
[database]
username=evesharp
password=passwordhere
hostname=localhost
name=evedb

[machonet]
mode=server

[cluster]
url=http://localhost:5000

[authentication]
loginMessageType=MESSAGE
loginMessage=Welcome to EVESharp Debug Build

[logfile]
directory=logs
logfile=Proxy.log
Running the server
Once both the Proxy and at least a Node is setup, the executables can be run. Before running any Node the Proxy has to be up and listening for connections, It's output should look something like this:
2022-07-19 21:35:35 I Program: Initializing EVESharp Node
2022-07-19 21:35:35 F Program: Initializing EVESharp Node
2022-07-19 21:35:35 E Program: Initializing EVESharp Node
2022-07-19 21:35:35 W Program: Initializing EVESharp Node
2022-07-19 21:35:35 D Program: Initializing EVESharp Node
2022-07-19 21:35:35 V Program: Initializing EVESharp Node
2022-07-19 21:35:35 D DatabaseConnection: Initializing database connection...
2022-07-19 21:35:35 D DatabaseConnection: Populating column information from database
Until there is at least a Node connected the server will appear online to game clients, but will refuse any login tries with a message of "Cluster starting".
Now run the first Node. The startup of a Node is a bit slower as it has to generate cache for the client and load all the item types from the database. The last few lines of log after startup should look like this:
2022-07-19 21:35:47 I MachoNet: Orchestrator assigned node id 65471 with address 3961f23c-23da-4052-9109-c13fce01d845
2022-07-19 21:35:52 D ::1: Sending LowLevelVersionExchange...
2022-07-19 21:35:52 D ::1: Handling low level version exchange
2022-07-19 21:35:52 I TransportManager: Connection from server with nodeID 65470
Congratulations, you are now running an EVESharp instance with at least one node
Client setup
Once the server is properly setup the only thing left is to prepare the client to connecto to whatever server we want to.
Patching blue.dll
First of all we need to patch the blue.dll checks. This file performs some checks on the game files to ensure no one has tampered with them, this includes the .ini files in the game directory, which indicate the server it will connect to, protocol used, etc... If any change is detected it just closes the game.
To perform this patch, place the BlueAutoPatcher.exe in the "bin" folder of the game and run it once. You should see a black screen and a success message. If that was right the blue.dll is patched and ready.
Modifying configuration files
EVE Online uses two configuration files to determine to what server to connect and what protocol to use, so once the game is patched open the file start.ini. Here we are interesed in modifying the "server" key. In the "server" key write the server's IP.
[main]
role=client
aid=0
server=localhost
port=26000
edition=premium
Save the file and now open the common.ini file. Here the interesting value is the cryptoPack key, by default the value is CryptoAPI but that doesn't work with EVESharp as It requires encryption to be supported. To prevent the usage of encryption, change the value to Placebo as in this example:
[main]
version=6.14
build=101786
codename=EVE-EVE-RELEASE
region=ccp
cryptoPack=Placebo
sync=101786
branch=//depot/games/EVE-RELEASE/eve
appname=EVE
useScriptIndexFiles=1
Save the file. Now the client is completely setup and you should be able to connect to it properly.
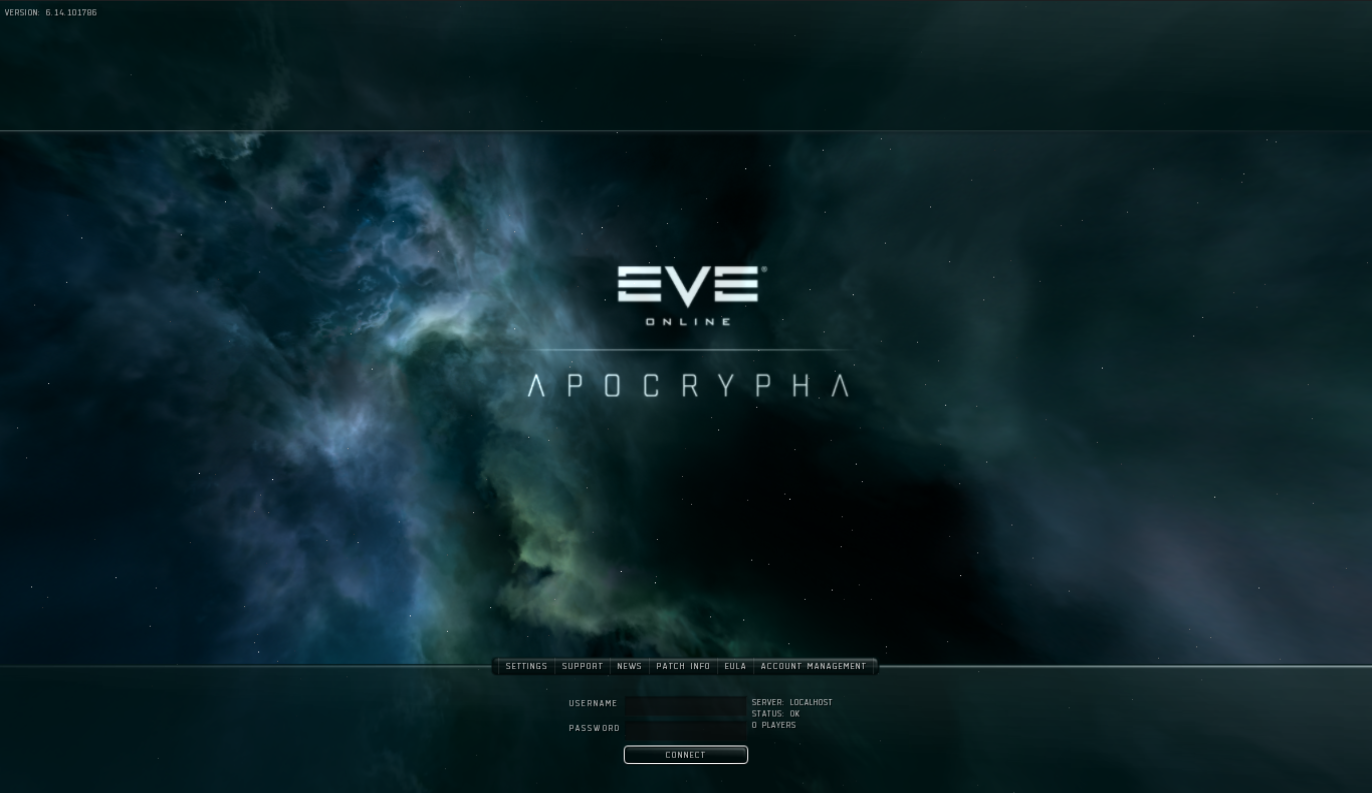
If you have the auto account option enabled in your Proxy, you now will be able to create an account with a simple login try on the client.
From here on the game should progress as normal as long as the features you're using are supported. As It stands right now, only the station view works.