Lesson1: Introduction - Adobe-Marketing-Cloud/target-iot-lab GitHub Wiki
##Objective
This lesson will get you familiar with the tools that will be used during the session. You will do some basic operations with each tool to make sure that the rest of the lessons can be completed without issues.
First, let's review your login info. This should be listed on the paper sheet that is at your station.
To login to the Marketing Cloud, you will use the following information:
- Your Marketing Cloud Login. This will be of the format : [email protected]. The number after the dash (e.g. -01) will be different for each user.
- Your Marketing Cloud Password. This will be the same for everyone, Adobe#2016
This information is ONLY used to login to the Marketing Cloud. You will not need the Marketing Cloud Login or Marketing Cloud Password during the actual lab.
Next, let's look at the info you will use throughout the lab. This is also listed on the paper sheet that is at your station;
- Your Lab ID. This will be in the format : labuser01, labuser02, etc. This ID identifies YOU as a participant in the lab. It will be used to differentiate the Target activities that you create from the other participants.
- The Visitor ID. This will be in the format: labuser01-visitor1. This ID will simulate what the experience would be like for a visitor (aka customer) to your experiences. You will be updating the profile information for this Visitor ID throughout the lab and seeing the changes.
##Exercise 1: Adobe Target – a quick intro
In this exercise, you will familiarize yourself with Adobe Target's UI. You will log into the Adobe Marketing Cloud and access Adobe Target to view a list of activities.
-
Step 1: Browse to url for Adobe Marketing Cloud: https://adobesummit021.marketing.adobe.com/content/mac/adobesummit021/target/activities.html
-
Step 2: Choose "Sign in with Adobe ID" blue button from the login page. If prompted for which account to use, select "Adobe ID/Personal account" and not "Enterprise ID/Company or school account".=
-
Step 3: Login using your Adobe Id. For example:
Marketing Cloud Login: [email protected]
Password: Adobe#2016 -
Step 4: Click on the "Target" link on the left pane under "Solutions". After clicking the "Target" link you will see a "Target" card in the main pane. Please click the "Target" card to get into Target.

Adobe Target is where you will create the experiences to deliver to your various devices.
##Exercise 2: SmartFridge Display - first look.
In this exercise, you will familiarize yourself with the SmartFridge Display that we will be using throughout this lab. The SmartFridge Display has already been instrumented with Target code for your convenience.
Note: For this lab, we will be using a webpage to mimic the SmartFridge Display.
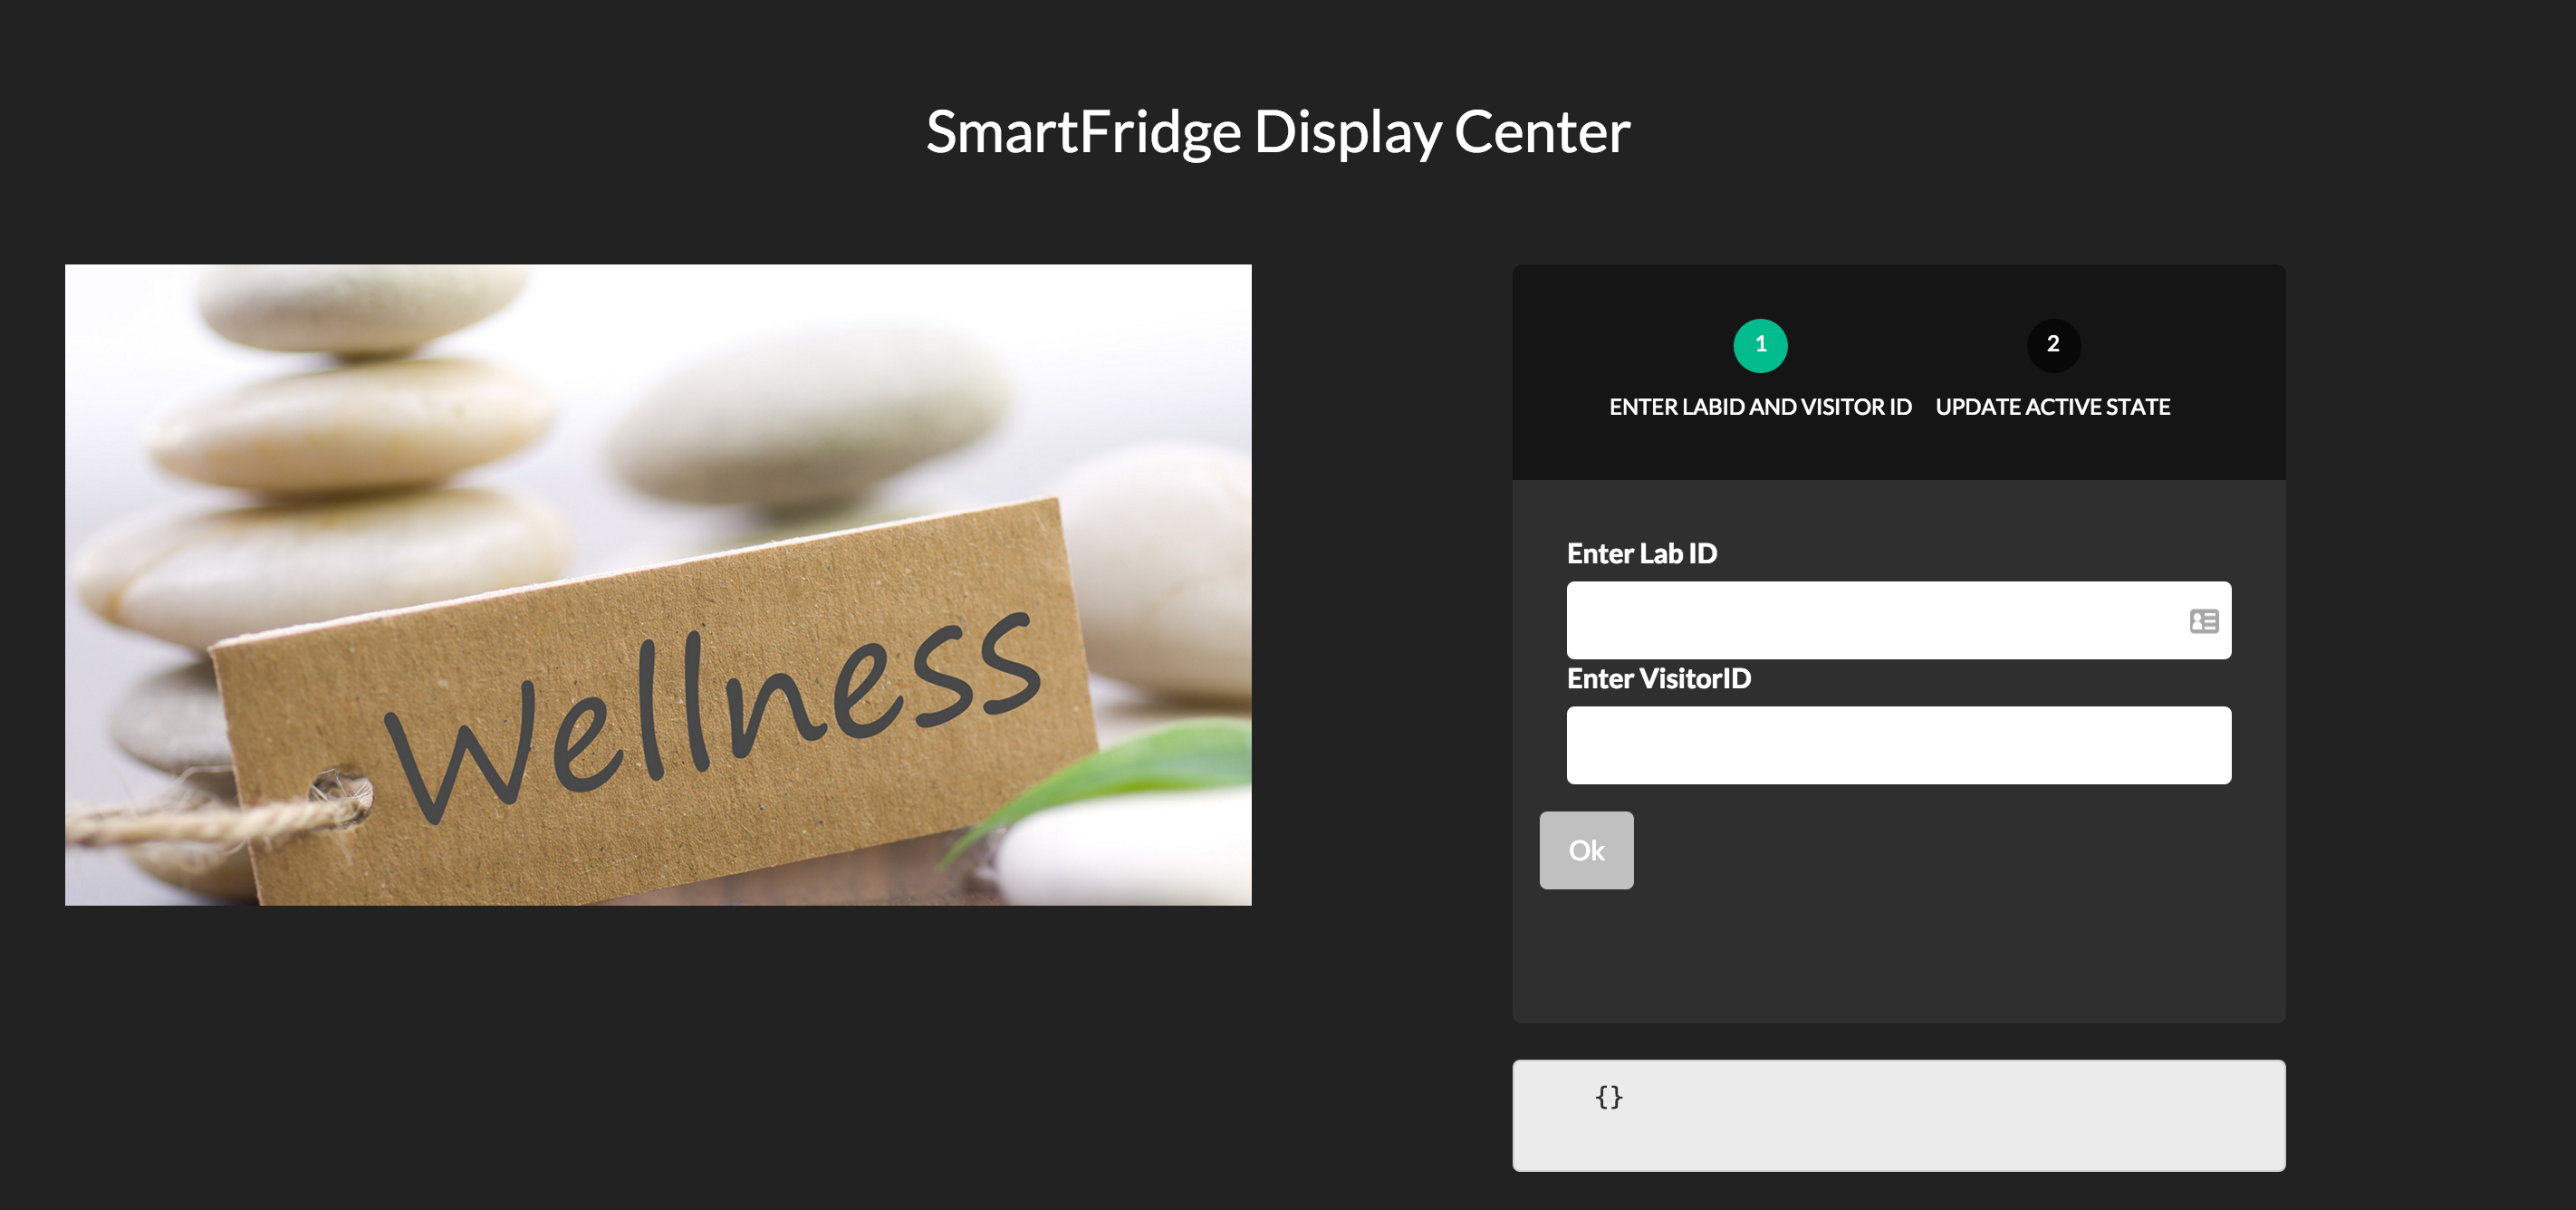
- Step 1: Visit the SmartFridge Display. http://adobe-marketing-cloud.github.io/target-iot-lab/wellness-kiosk/index.html You will see an empty form as shown in the screenshot below.

-
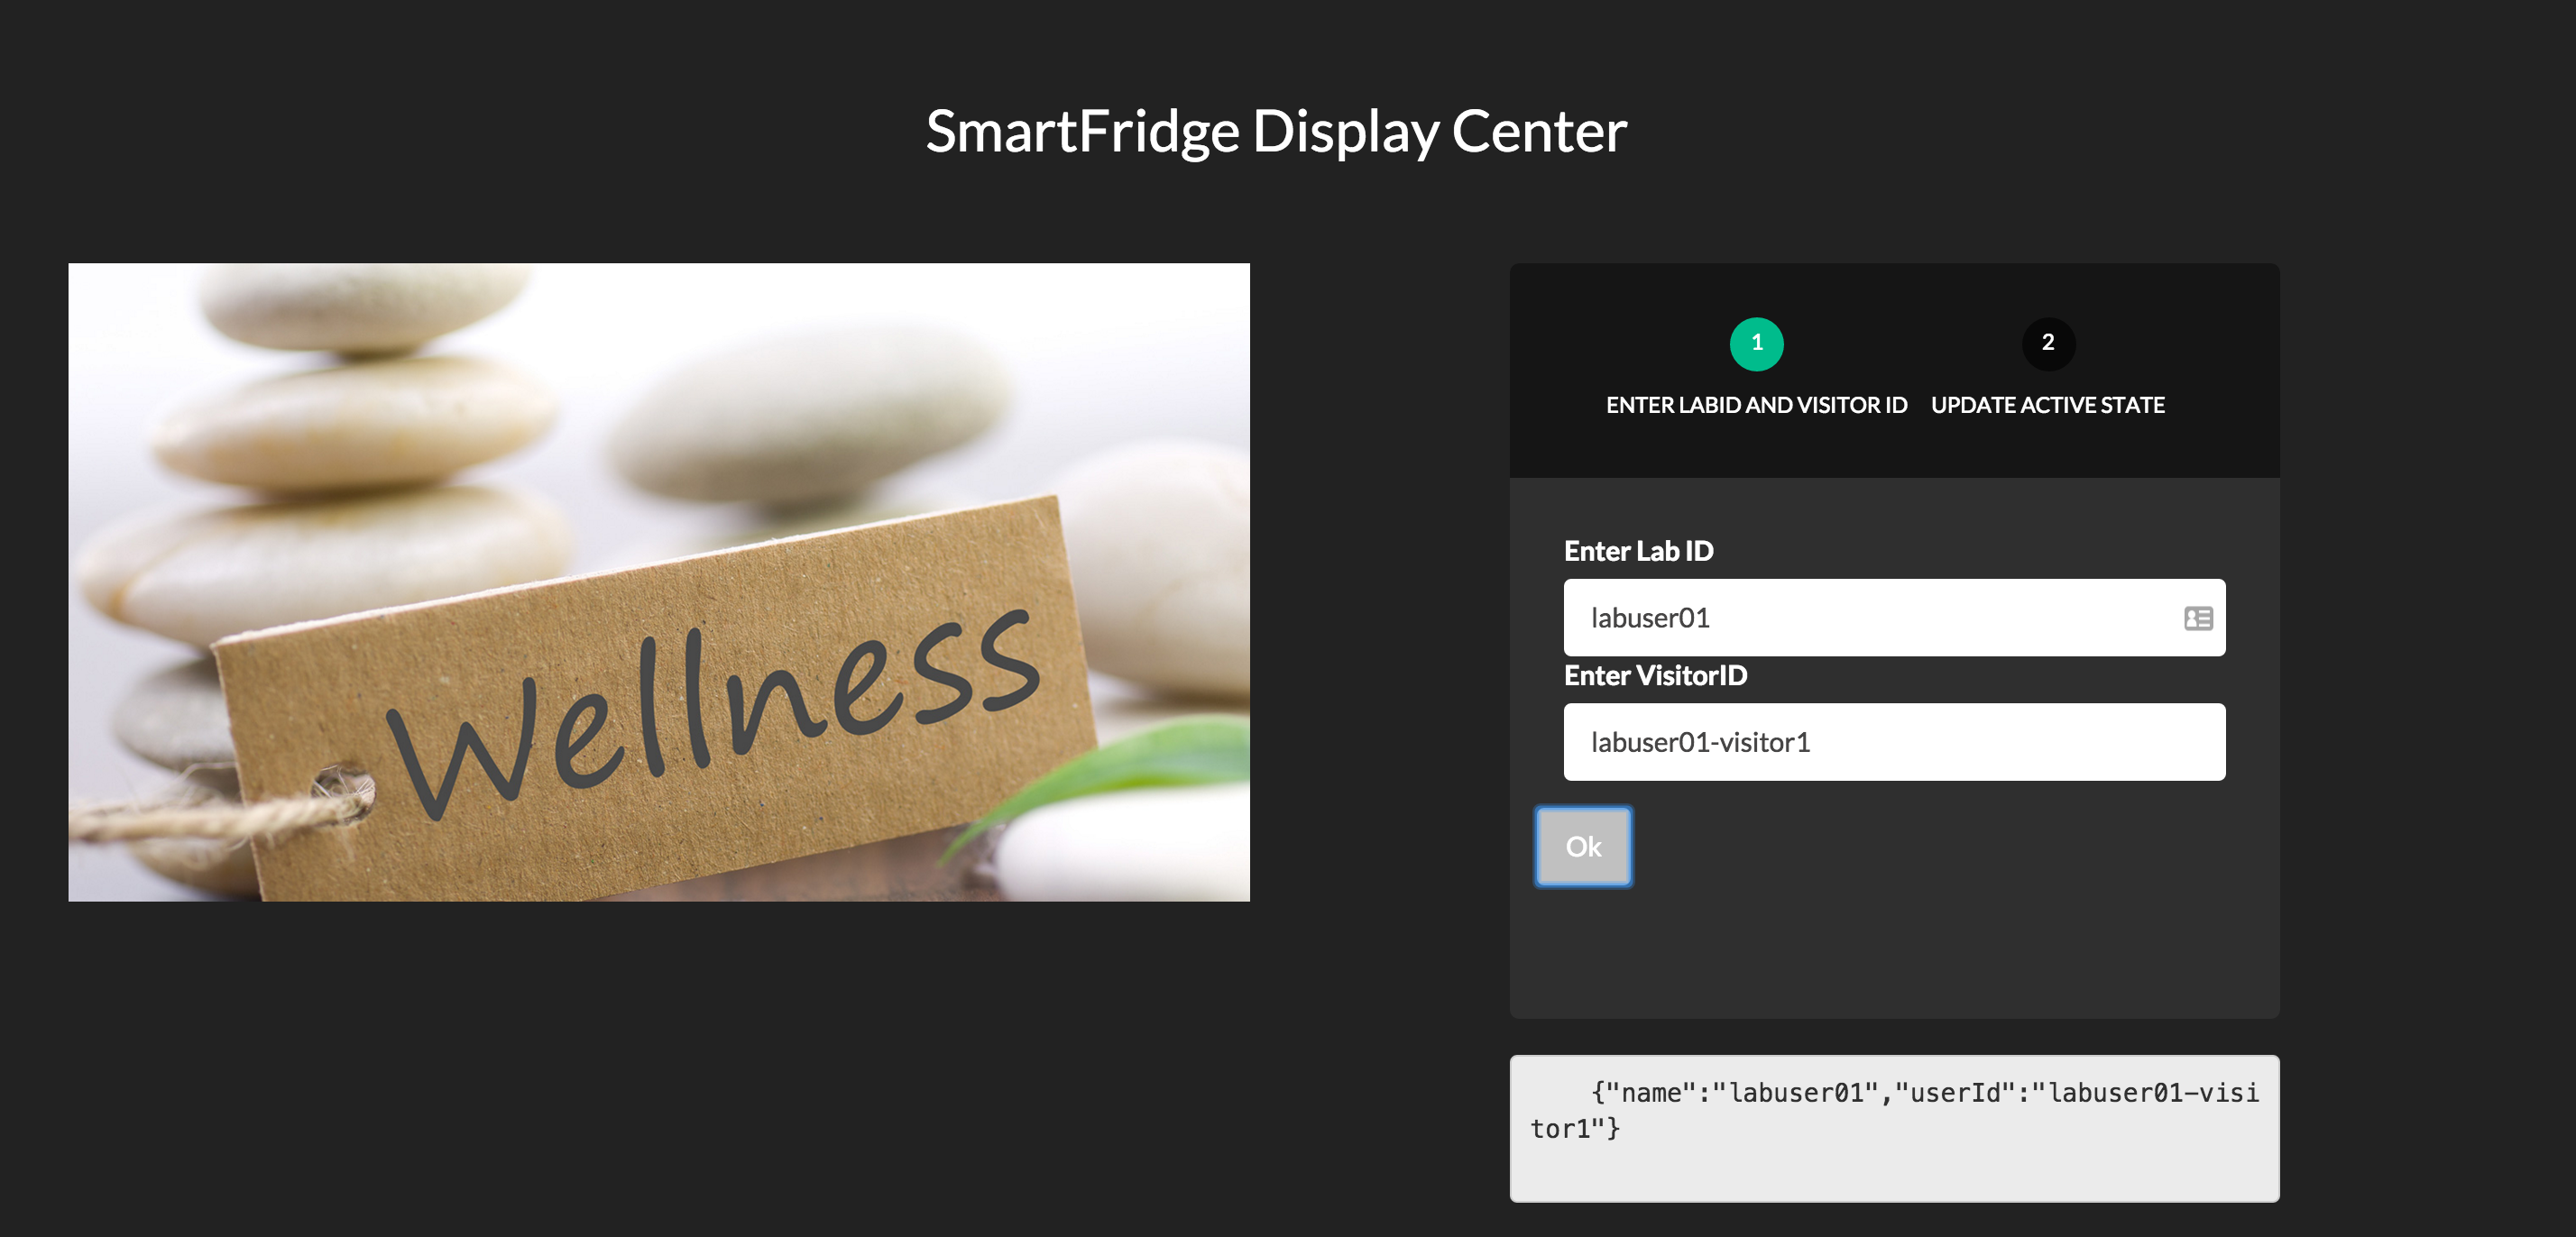
Step 2: In the form on the right of the page, specify your Lab ID that you used to login to Target, like labuserid01 in the field labeled "Enter Lab User Name".
-
For the "Visitor ID" field, enter an ID to identify you as a visitor to the page. Use your labuser combined with a visitor ID. For example, enter labuserid01-visitor1.
-
Click OK
Right below the OK button, you will see a text window that shows what is being sent in the Target request. The Target request did not change the site since we have not yet setup the activity, but lets change that in the next lesson.

##Exercise 3: Chrome Browser Tools : Using PostMan plugin to see APIs in action
In Exercise 3, you will get familiar with PostMan and Target APIs.
PostMan is a useful Chrome browser plugin that can be used to make REST api calls. We will be using this tool throughout this lab to test out various Target APIs.
- Step 1: Click on the Apps icon in the Chrome Browser. Then select the Postman Icon.
- Step 2: View the collections
A collection is a set of APIs that allows you to save data from one API and use it in another API in the same collection. We'll use these APIs to get authentication tokens and other information, and then use them to make updates and read information in Target.
(Note: If PostMan collection is missing please click on 'Import' and select 'Import from Link' per the screenshot below. Next, paste in the following link: https://www.getpostman.com/collections/bdd56f243c69d69e9ac8 )
##Exercise 4: IntelliJ: Launch the IDE.
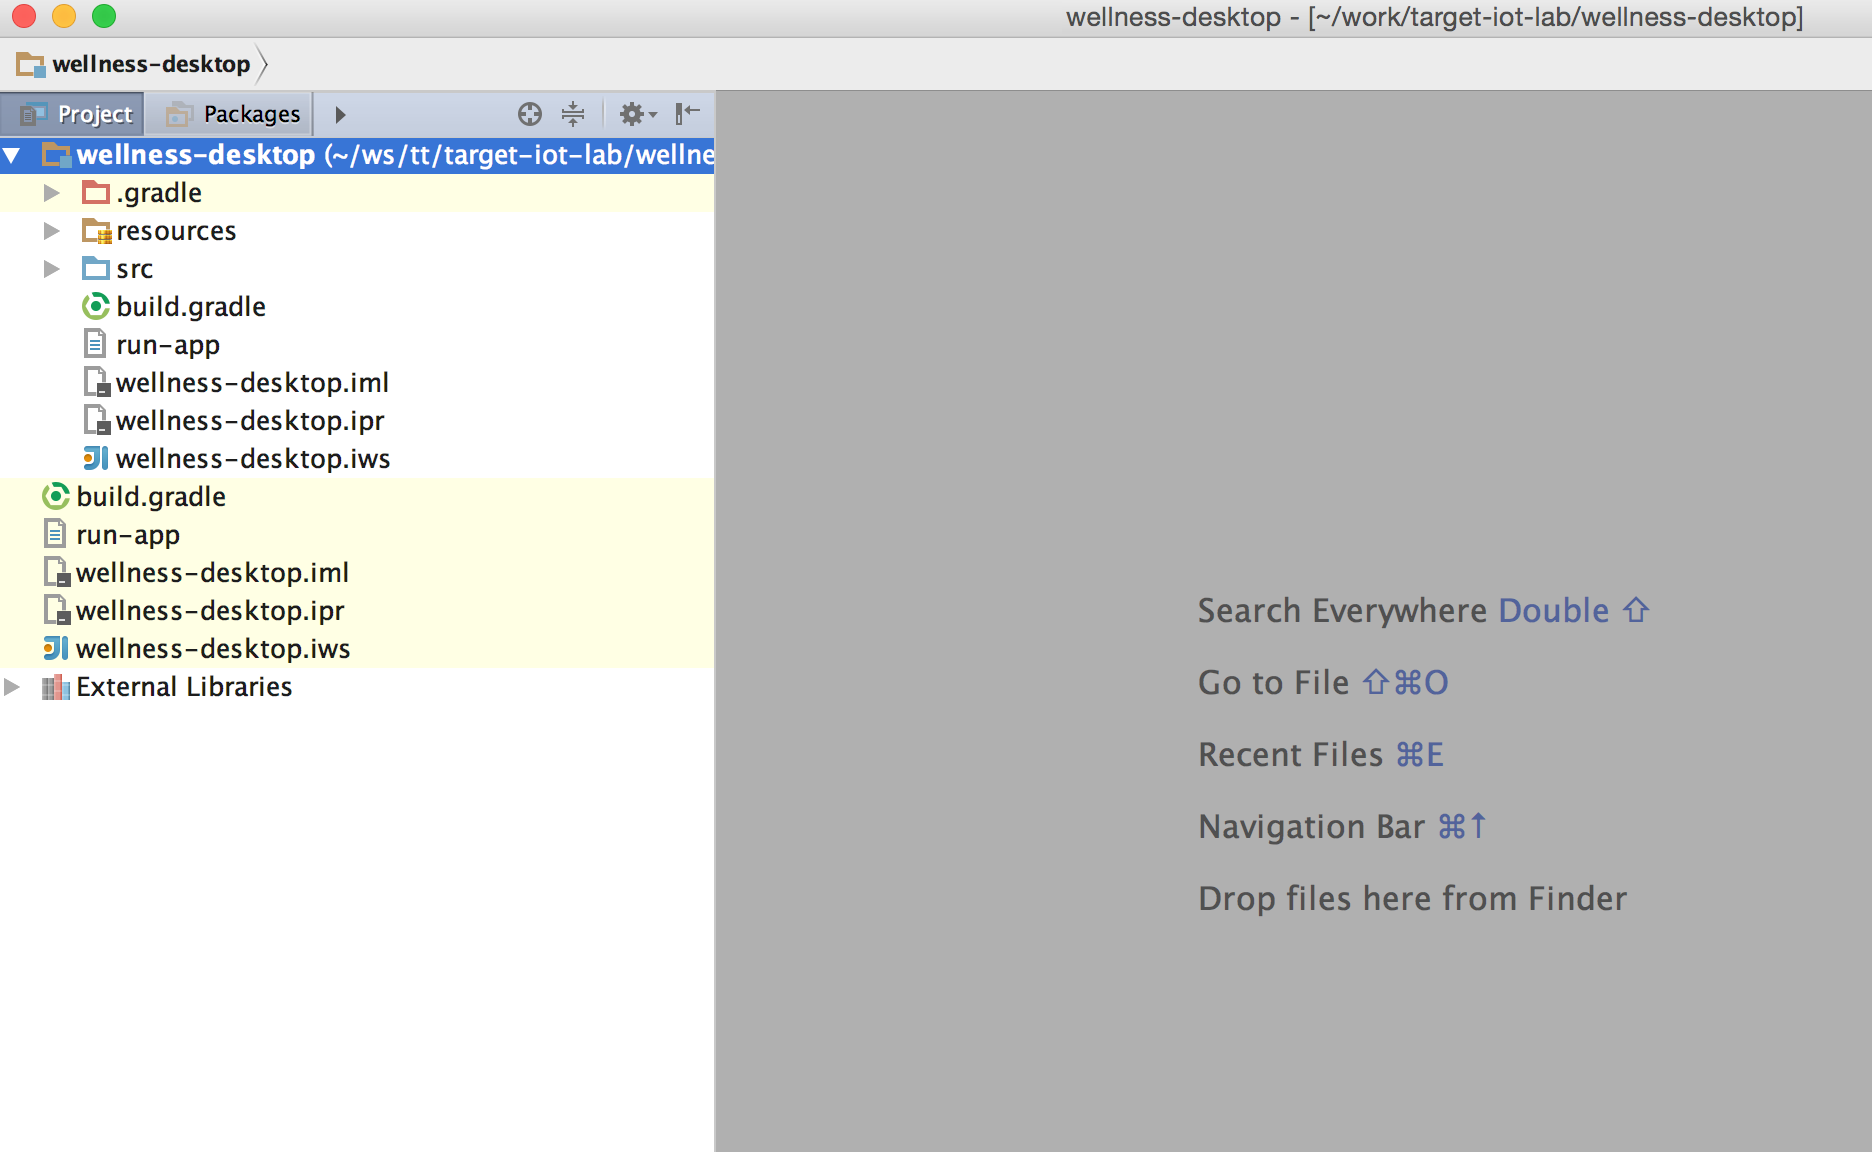
Open the IntelliJ community edition and open the project for "wellness-desktop"

##Exercise 5: Android Studio: mobile application development.
Open the Android Studio and open the project for "wellness-mobile"

Conclusion
You are now ready with all the tools needed for the rest of the lab.