Lesson 4: Mobile Device Targeting - Adobe-Marketing-Cloud/target-api-examples GitHub Wiki
##Objective:
In this lesson you will verify that the correct experience is being delivered for a Mobile Web visitor, in addition we will introduce you to the Adobe Mobile SDK and create a simple app to verify the Mobile App experience.
##Exercise 1: Verify mobile web experience in a Mobile browser
-
Step 1 : Verify this either by visiting the following URL in your mobile browser (A), by running the Android Device Emulator (B).
-
Case A: In your mobile browser visit the following url:
http://adobe-marketing-cloud.github.io/target-api-examples/travel-demo/labuser<USERNUMBER>.html
like http://adobe-marketing-cloud.github.io/target-api-examples/travel-demo/labuser71.html
-
Case B: To use the Device Emulator, follow these steps
-
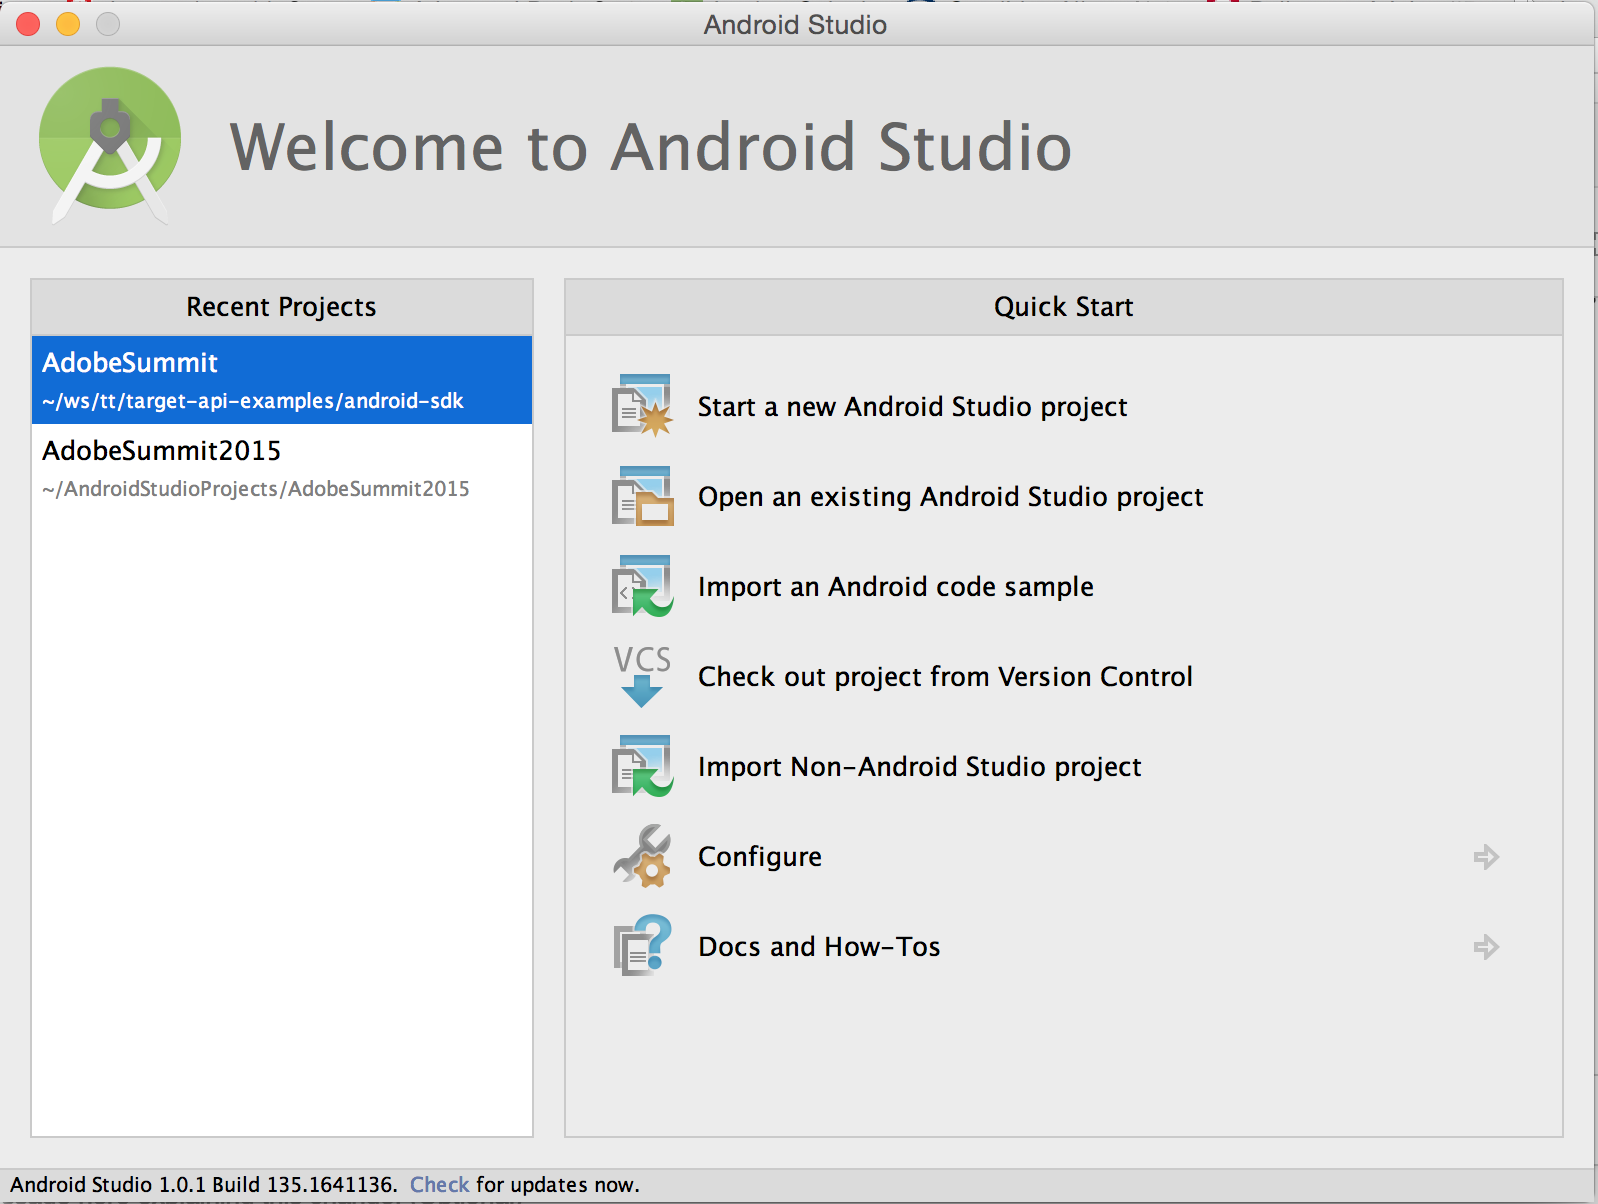
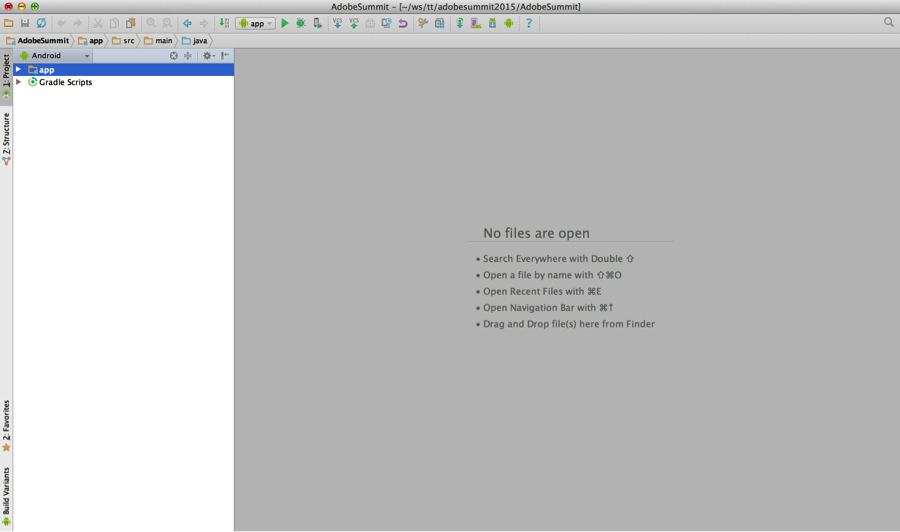
Step B1: Open the Android Sdk, and open the project for /target-api-examples/android-sdk
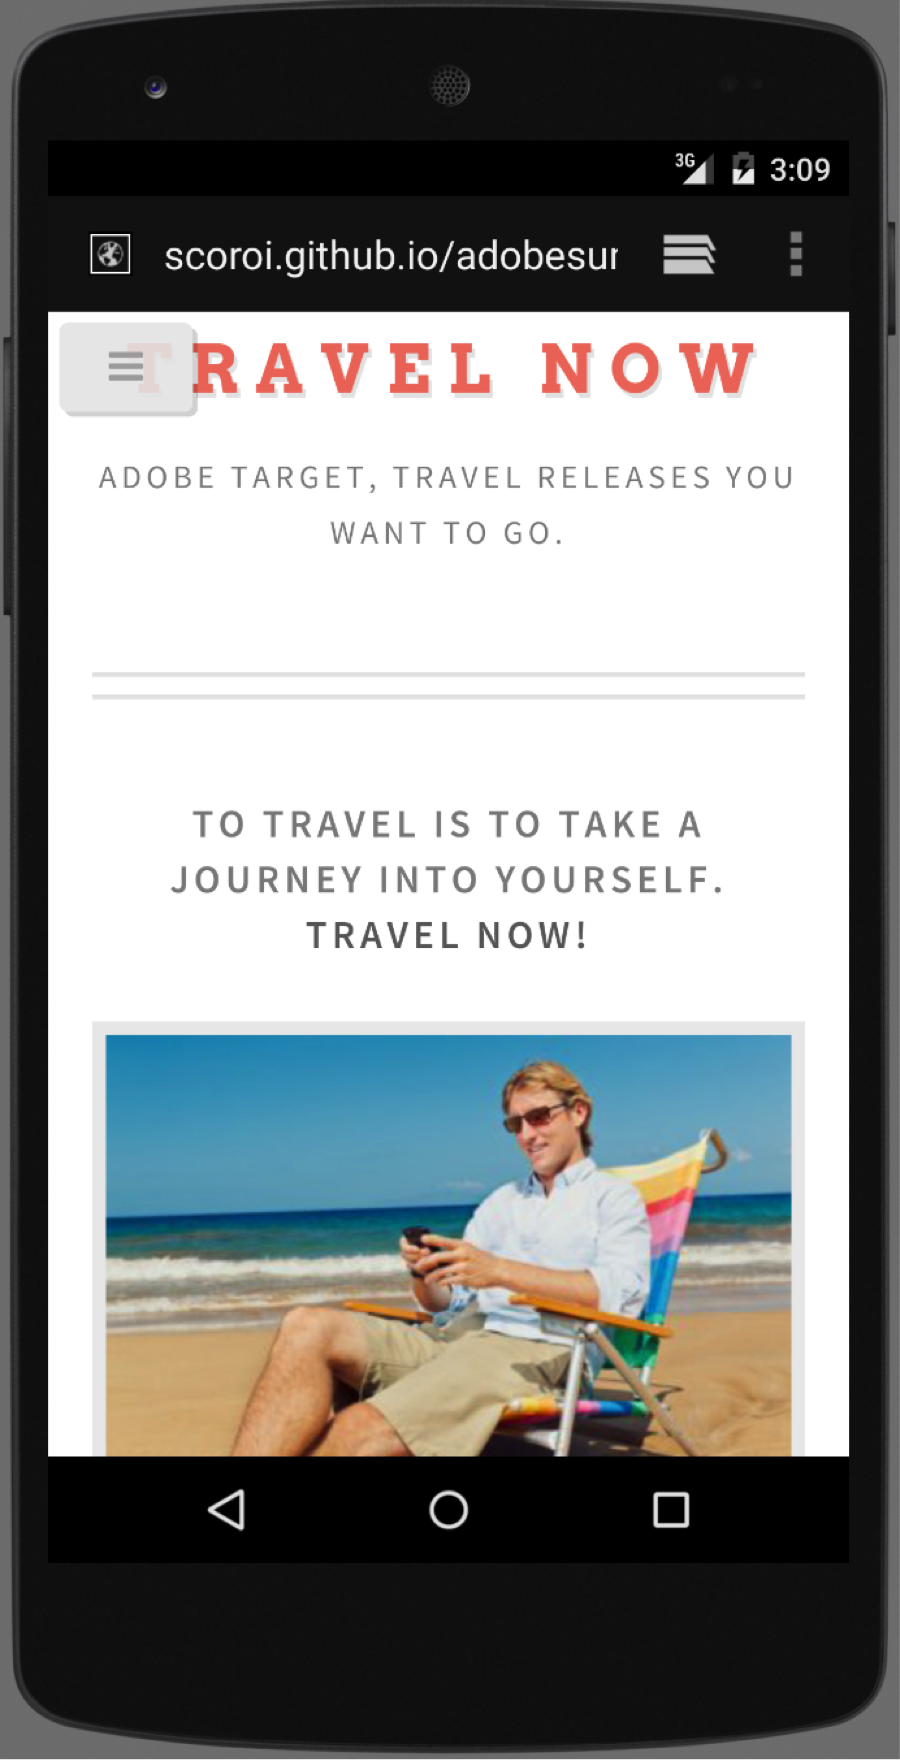
- Step B2: Start the Browser Simulator by clicking on the green "Play" button and browse to your website:
http://adobe-marketing-cloud.github.io/target-api-examples/travel-demo/labuser<USERNUMBER>.html
like http://adobe-marketing-cloud.github.io/target-api-examples/travel-demo/labuser71.html
- Step B3: Verify that you are seeing the Mobile Web Experience.
-
Step 2: Now lets invoke the mbox call via API to validate the same result. To do this we will use the unix command "curl" to simulate a mobile web browser by passing in the appropriate user agent.
-
Step 2a: Open a Terminal window from your dock.
-
Step 2b: Copy the curl command as below. Be sure to edit the lab user number in the command so it matches the targeting for your activity.
API: standard mbox call that simulates mobile web browser
curl 'http://adobesummit2015.tt.omtrdc.net/m2/adobesummit2015/mbox/standard?mboxHost=adobe-marketing-cloud.github.io&mboxSession=1423399504966-9534&mbox=premiumReleaseLeft&mboxURL=http%3A%2F%2Fadobe-marketing-cloud.github.io%2Ftarget-api-examples%2Ftravel-demo%2Flabuser71.html&mboxVersion=55' -H 'User-Agent: Mozilla/5.0 (Linux; U; Android 4.0.3; ko-kr; LG-L160L Build/IML74K) AppleWebkit/534.30 (KHTML, like Gecko) Version/4.0 Mobile Safari/534.30'- Step 5: Verify that the response contains the content for "C: Users visiting thru mobile web"
Response containing content for Aruba, Mobile Browser offer:
var mboxCurrent=mboxFactories.get('default').get('premiumReleaseLeft',-1);mboxCurrent.setEventTime('include.start');document.write('<div style="visibility: hidden; display: none" id="mboxImported-default-premiumReleaseLeft">');document.write('<!-- Offer Id: 8487 --><!-- \n{\n\t\"imageUrl\": \"images\/aruba-mobile-browser.jpg\",\n\t\"offerName\": \"Aruba, Mobile Browser\",\n\t\"offerContent\": \"We travel not to escape life, but for life not to escape us. This release is all about features and productivity. Target makes it easy for you to create personalized digital experiences that deliver real results and revenue.\"\n}\n-->\n<section>\n<a href=\"#\" class=\"image featured\"><img src=\"images\/aruba-mobile-browser.jpg\" alt=\"\" \/><\/a>\n<header>\n\t<h3>Aruba, Mobile Browser<\/h3>\n<\/header>\n<p>We travel not to escape life, but for life not to escape us. This <a href=\"https:\/\/www.adobe.com\/solutions\/testing-targeting.html#\">release<\/a> is all about features and productivity. Target makes it easy for you to create personalized digital experiences that deliver real results and revenue.\t\t\t\t\t\t\t\n<\/section>');document.write('</div>');mboxCurrent.setEventTime('include.end');mboxFactories.get('default').get('premiumReleaseLeft',-1).loaded();mboxFactories.get('default').getPCId().forceId("1423399504966-9534.28_19");##Conclusion
In this exercise you verified mobile web targeting for your activity.
##Exercise 3: Build native mobile app in Android studio using Adobe Mobile SDK
Now lets create that native mobile app experience. To get us started, we have created a Android mobile project already integrated with the Adobe Mobile SDK in /target-api-examples/android-sdk. The Adobe Mobile SDK provides the required functionality for a mobile app developer to easily invoke the Target mbox calls.
-
Step 1: Let's begin by first looking at the Mobile App offer in Target. Navigate to the following link https://adobesummit2015.marketing.adobe.com/targetassets.html/content/dam/mac/adobesummit2015
-
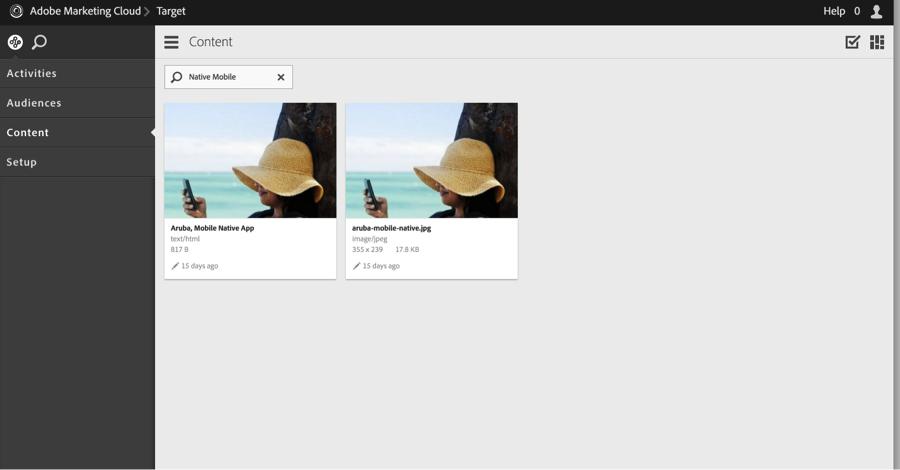
Step 2: Search for "Aruba, Mobile Native App" offer
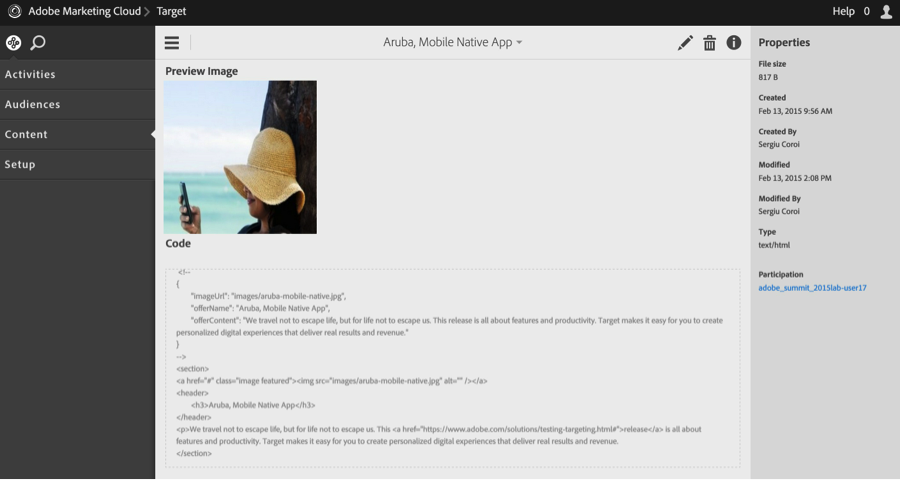
- Step 3: Click on the "Aruba, Mobile Native App" offer
Note: This offer contains both HTML markup and JSON payload in it. The HTML markup is not used in the mobile app and is present just to preview the offer in Adobe Target. The JSON payload contains the offerName and offerContent attributes which is used to display the content in the mobile app.
Contents of Native mobile app offer
<!--
{
	"imageUrl": "images/aruba-mobile-native.jpg",
	"offerName": "Aruba, Mobile Native App",
	"offerContent": "We travel not to escape life, but for life not to escape us. This release is all about features and productivity. Target makes it easy for you to create personalized digital experiences that deliver real results and revenue."
}
-->
<section>
<a href="#" class="image featured"><img src="images/aruba-mobile-native.jpg" alt="" /></a>
<header>
	<h3>Aruba, Mobile Native App</h3>
</header>
<p>We travel not to escape life, but for life not to escape us. This <a href="https://www.adobe.com/solutions/testing-targeting.html#">release</a> is all about features and productivity. Target makes it easy for you to create personalized digital experiences that deliver real results and revenue.
</section> -
Step 4: Fire up the Android Studio from the Dock, and open the example project located in the folder:
<HOME>/target-api-examples/android-sdk -
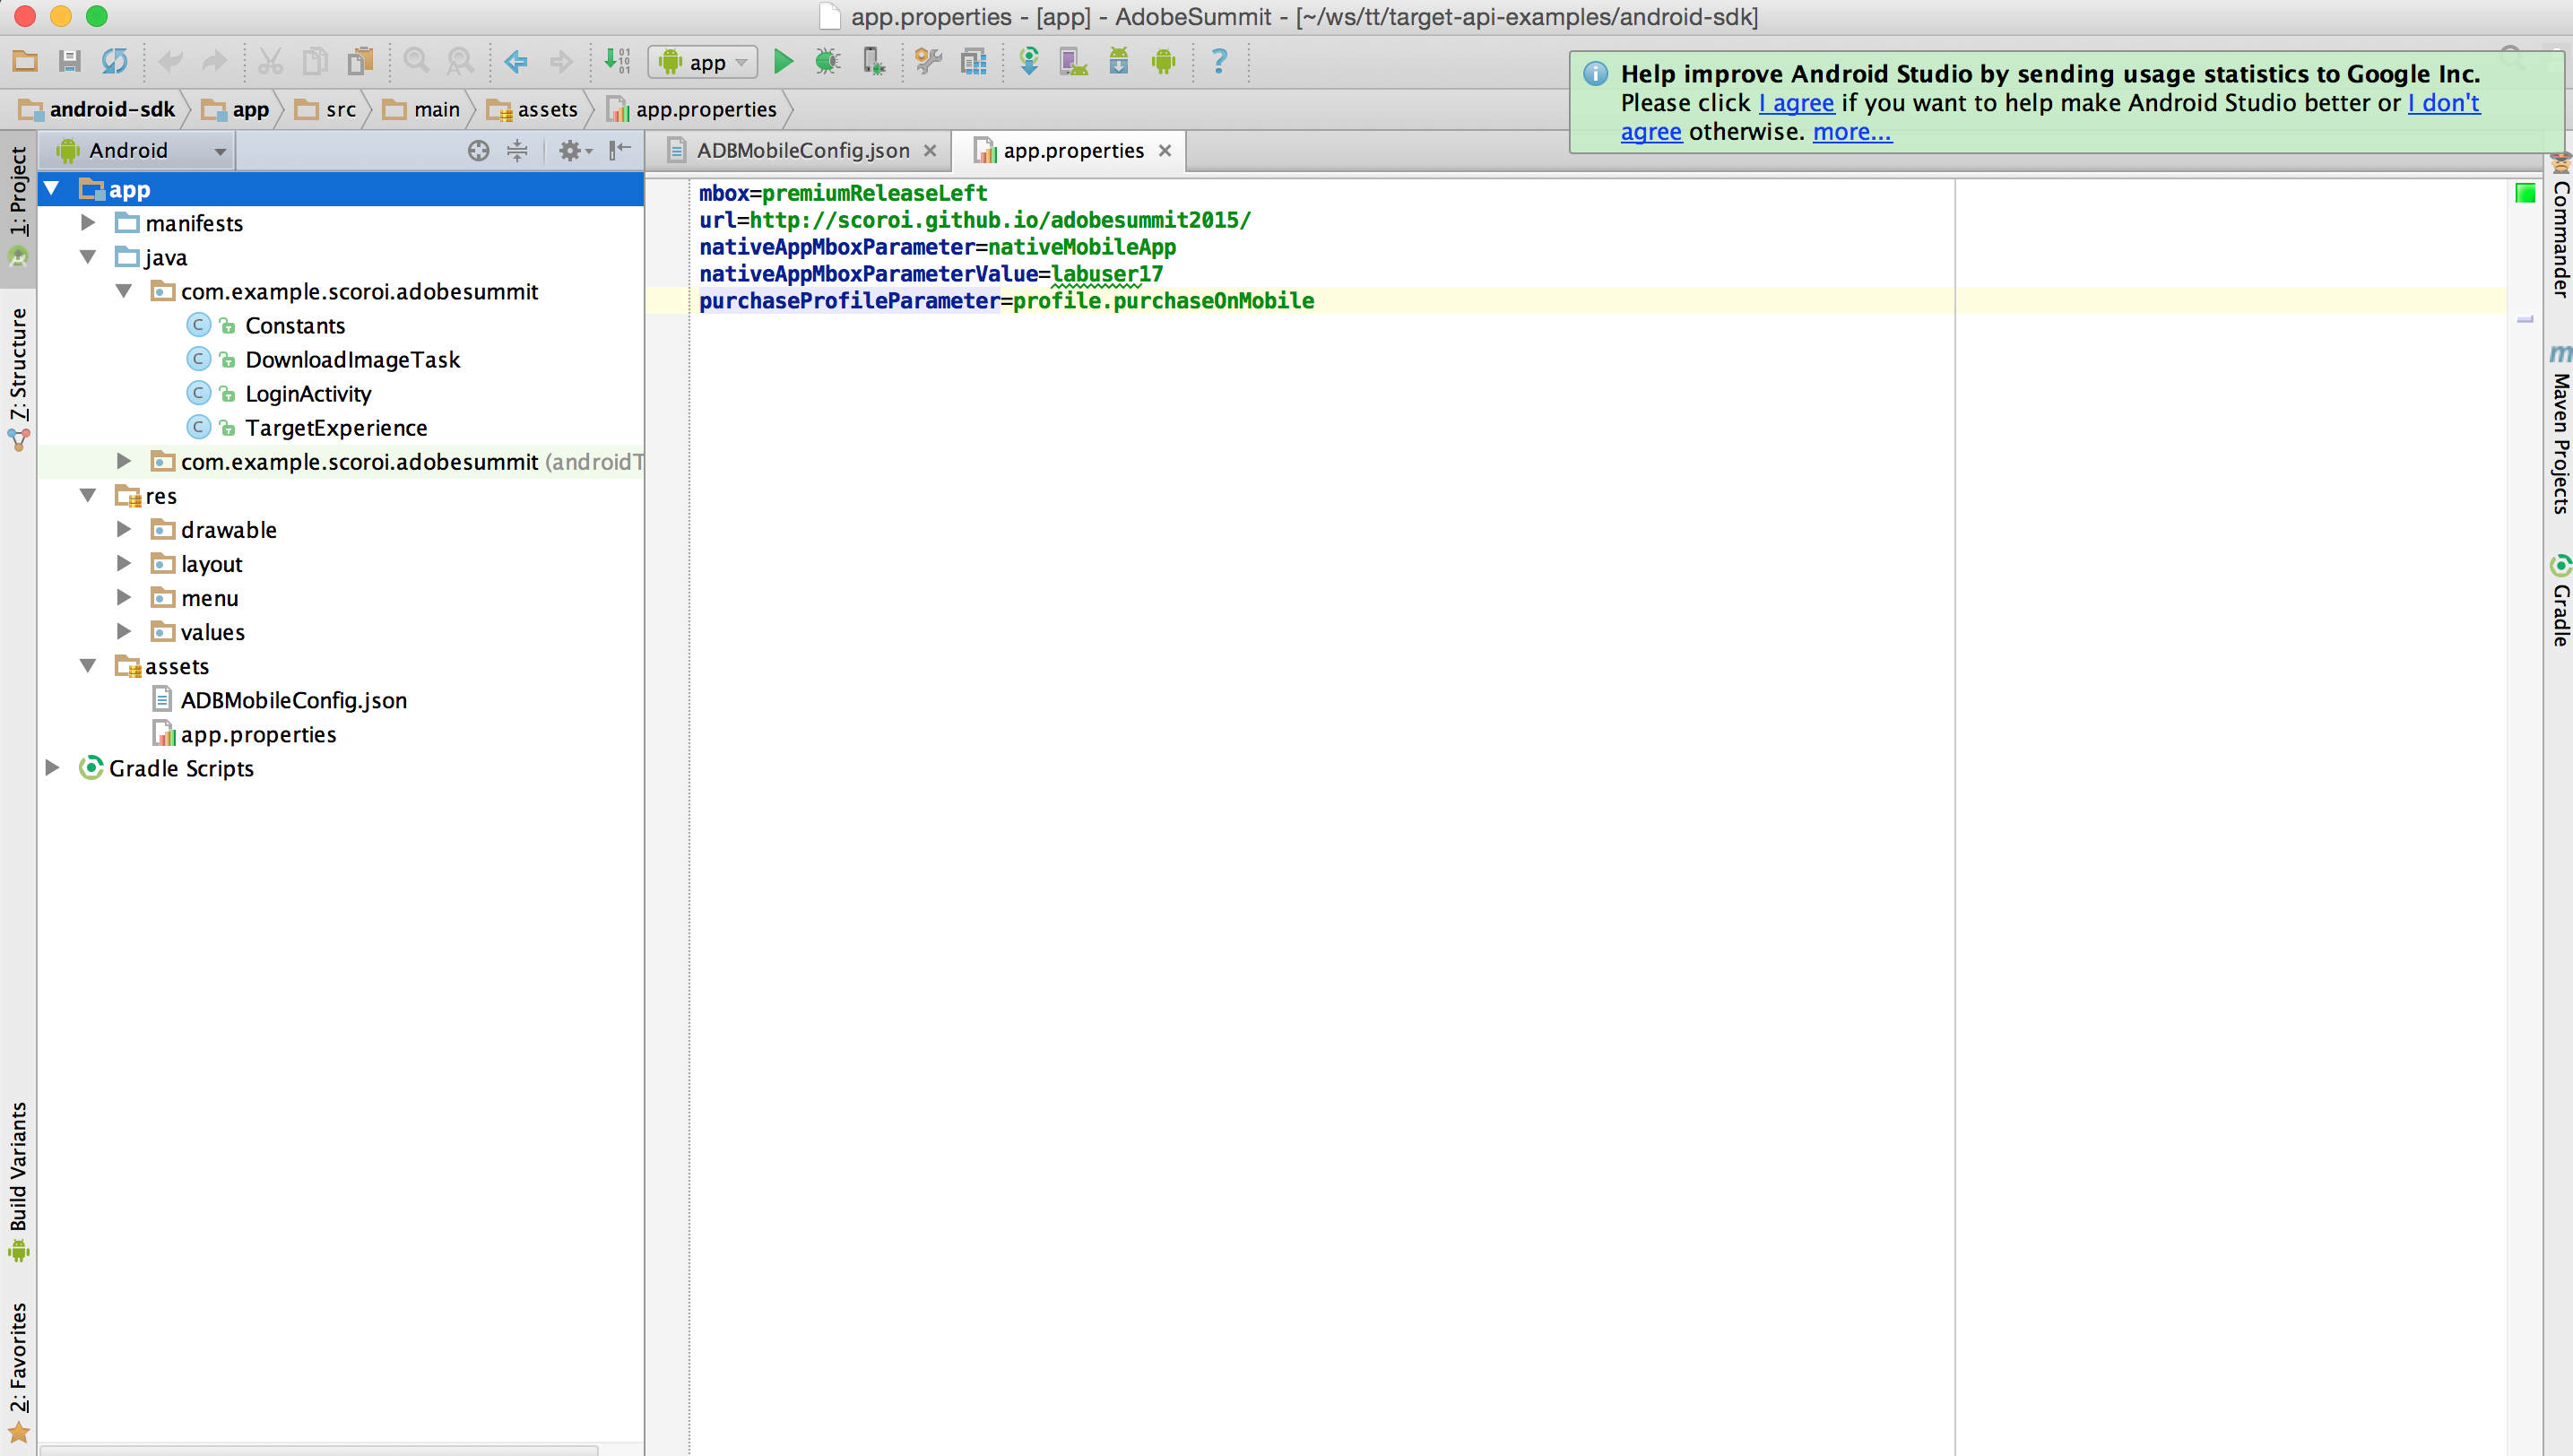
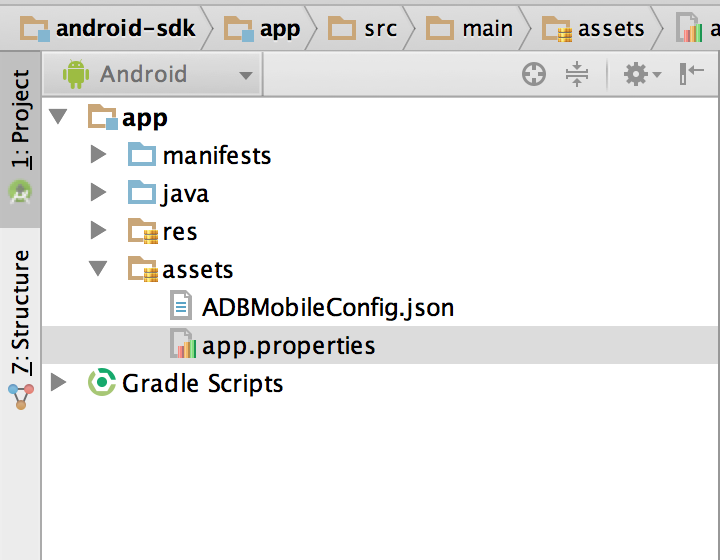
Step 5: The mobile app reads a set of default configurations from a file called "app.properties" to personalize it for each lab user. Lets update the app.properties in the /app/assets folder to use your lab usernumber.
In the Android SDK project, browse to the path <PROJECT>/app/assets as shown here
The content of the app.properties file looks like, be sure to replace the <USERNUMBER> with your lab user number.
mbox=premiumReleaseLeft
url=http://adobe-marketing-cloud.github.io/target-api-examples/travel-demo/
nativeAppMboxParameter=nativeMobileApp
nativeAppMboxParameterValue=labuser<USERNUMBER>
purchaseProfileParameter=profile.purchaseOnMobile
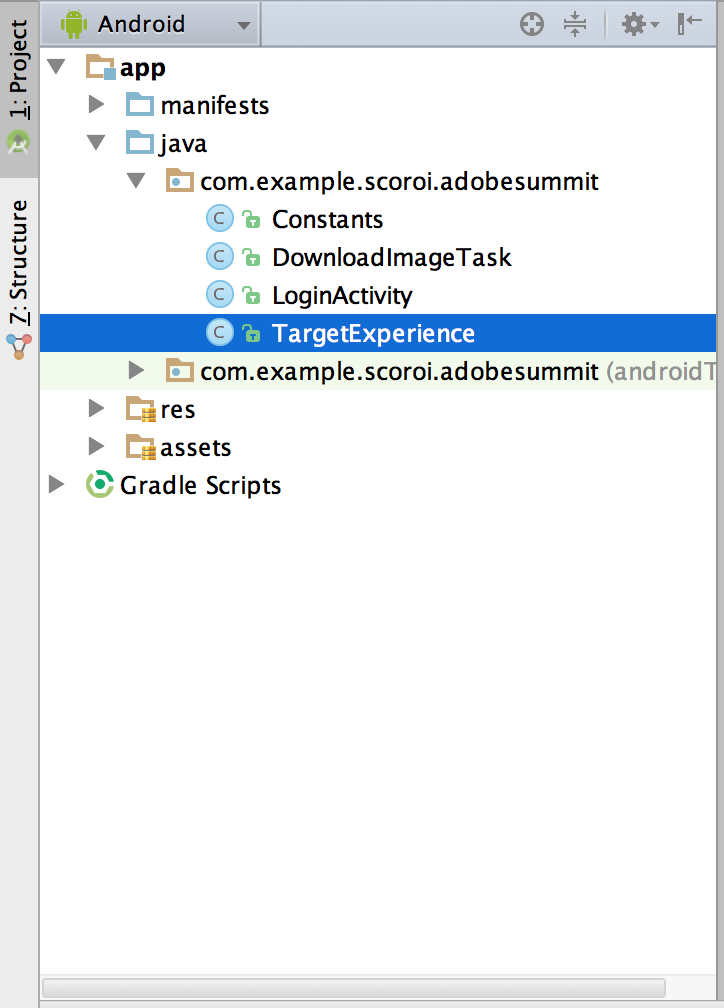
- Step 6: Now browse to the path
<PROJECT>/app/java/com.example.scoroi.adobesummit/TargetExperience.java
-
Step 7: Open the TargetExperience.java file. Review the source code of the method "fetchAndSetExperience". Notice how the Target mbox call is invoked using the Mobile SDK from a native app using the following steps:
-
Read the app.properties file to fetch the default configurations
-
Build the Mbox paramater request from the configuration that were read
-
Use the Adobe Mobile SDK api to make the mbox call
-
Read the JSON payload returned from the Target server to determine the offerName and Image url
-
Download the Image from the url and set the Name and Image to be displayed in the Mobile UI.
    private void fetchAndSetExperience(Properties appProperties,
                                       Map<String, Object> additionalParameters) {
        Target.clearCookies();

        final String url = appProperties.getProperty("url");
        String mbox = appProperties.getProperty("mbox");
        String nativeAppMboxParameter = appProperties.getProperty("nativeAppMboxParameter");
        String nativeAppMboxValue = appProperties.getProperty("nativeAppMboxParameterValue");

        Map<String, Object> parameters = new HashMap<>();
        parameters.put(nativeAppMboxParameter, nativeAppMboxValue);
        parameters.put("mbox3rdPartyId", getMbox3rdPartyId());
        for (Map.Entry<String, Object> parameterEntry : additionalParameters.entrySet()) {
            parameters.put(parameterEntry.getKey(), parameterEntry.getValue());
        }

        TargetLocationRequest locationRequest = Target.createRequest(mbox, url, parameters);

        final TargetExperience targetExperience = this;
        Target.loadRequest(locationRequest, new Target.TargetCallback<String>() {
            @Override
            public void call(final String content) {
                targetExperience.runOnUiThread(new Runnable() {
                    @Override
                    public void run() {
                        MobilePayload mobilePayload = getMobilePayload(content);
                        new DownloadImageTask(experienceImage).execute(url + mobilePayload.getImageUrl());
                        offerName.setText(mobilePayload.getOfferName());
                        offerContent.setText(mobilePayload.getOfferContent());
                    }
                });
            }
        });
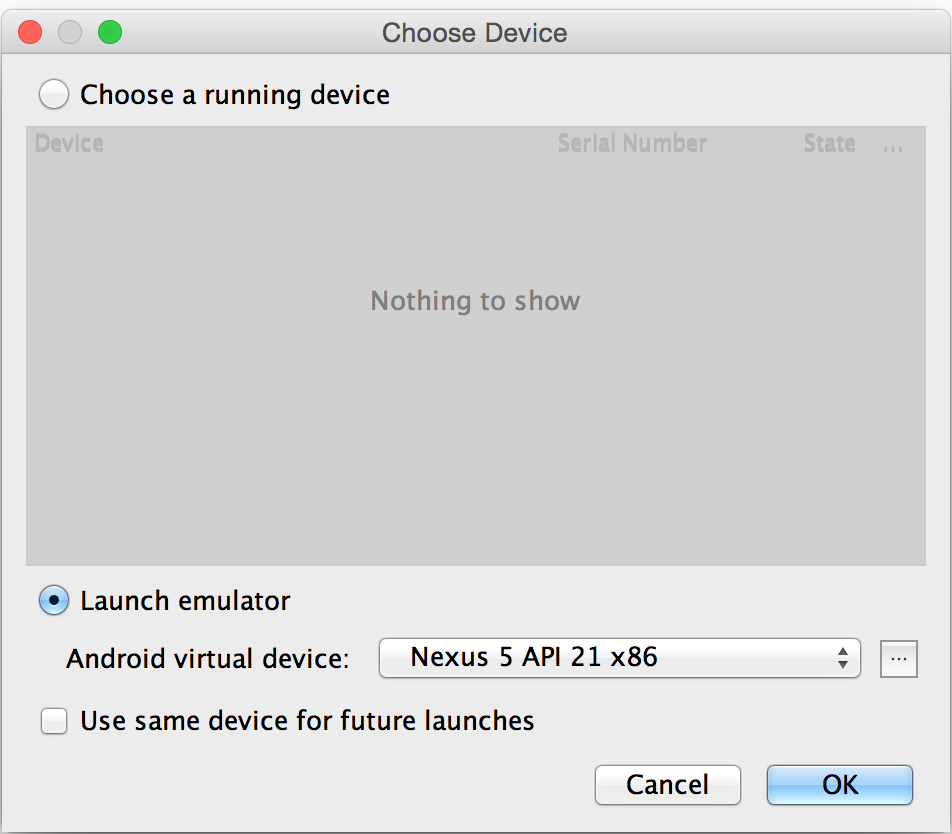
}- Step 8: Now hit the Green Play button to compile and run the emulator
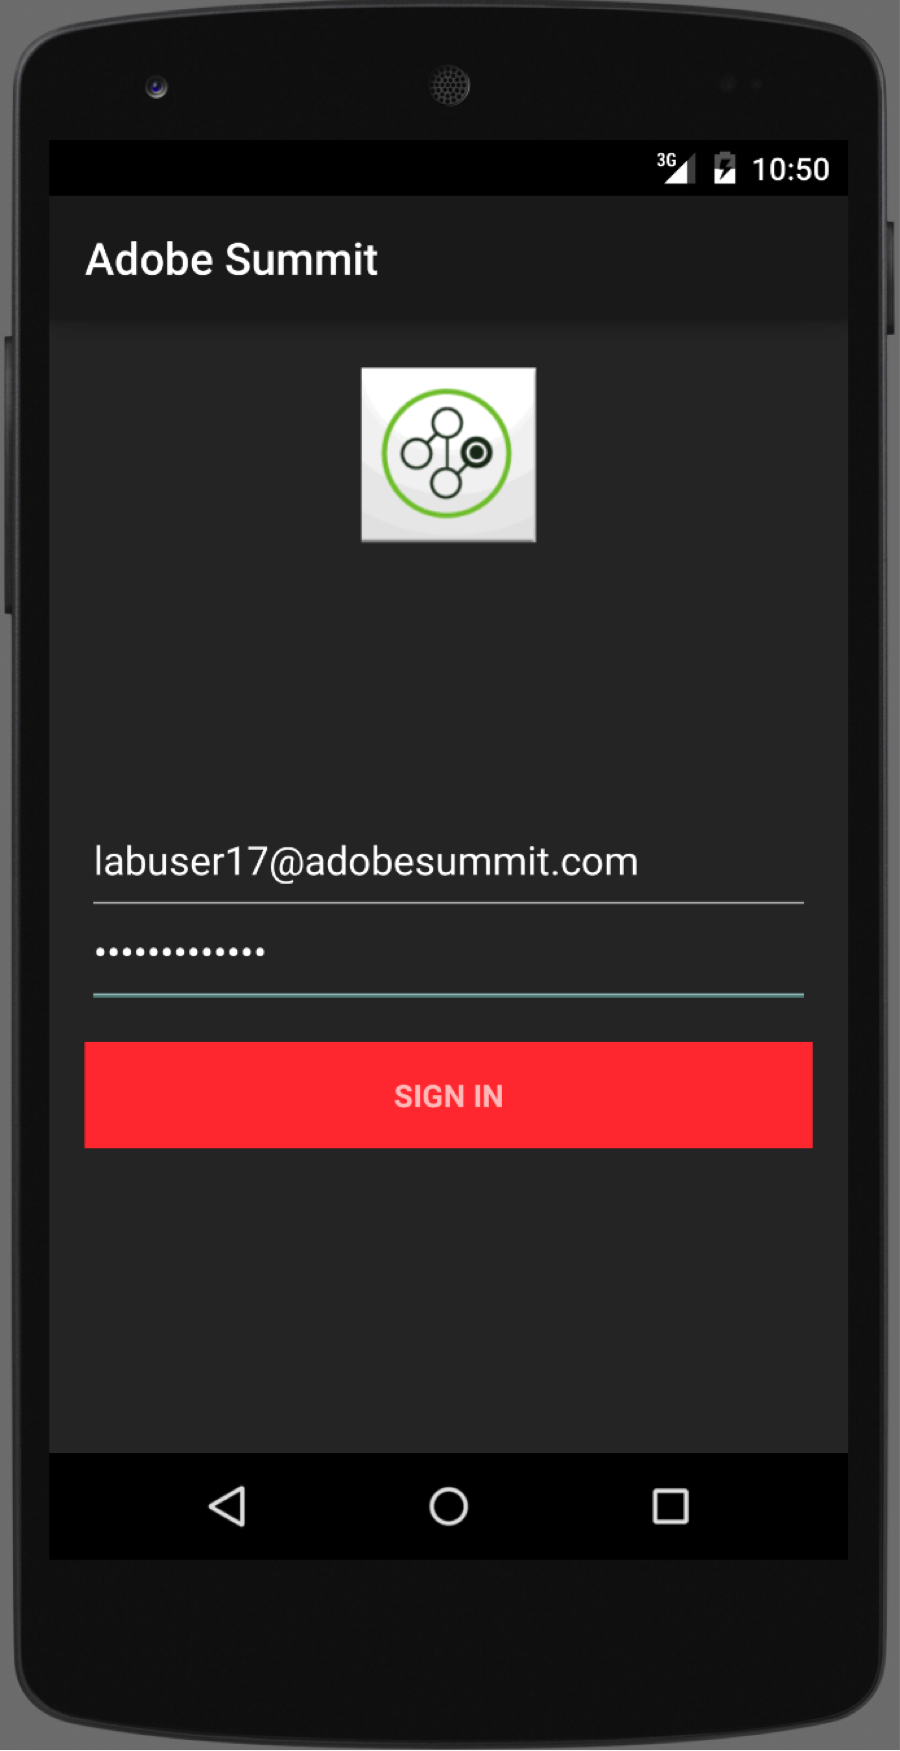
- Step 9: In Emulator, login via the mobile app (Android Summit). Enter the username to be
labuser<USERNUMBER>@adobesummit.comlike [email protected] and any text for password.
This will return the same mbox3rdPartyId as what we received when logging in the web browser, since the same email address was used.
Note: This thirdPartyId is sent to Target in the mbox call to ensure that we have the same visitor profile targeted when we visit from the mobile app, as the web browser.
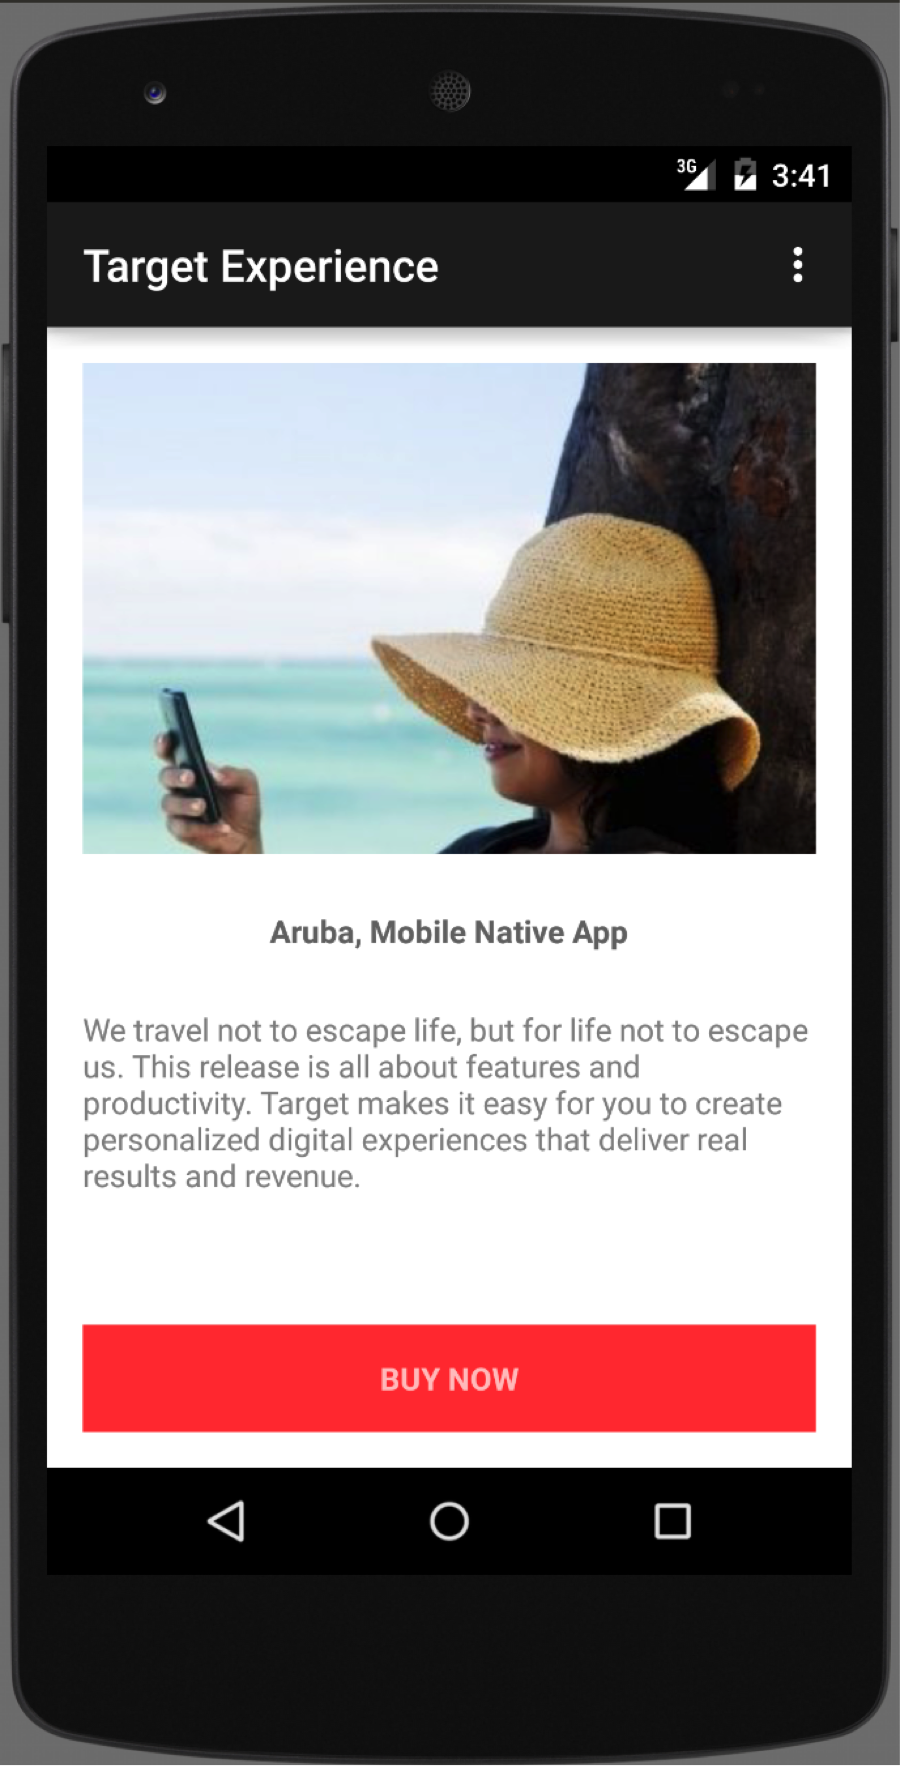
Now you will see the "Aruba, Native App" offer on your mobile app.
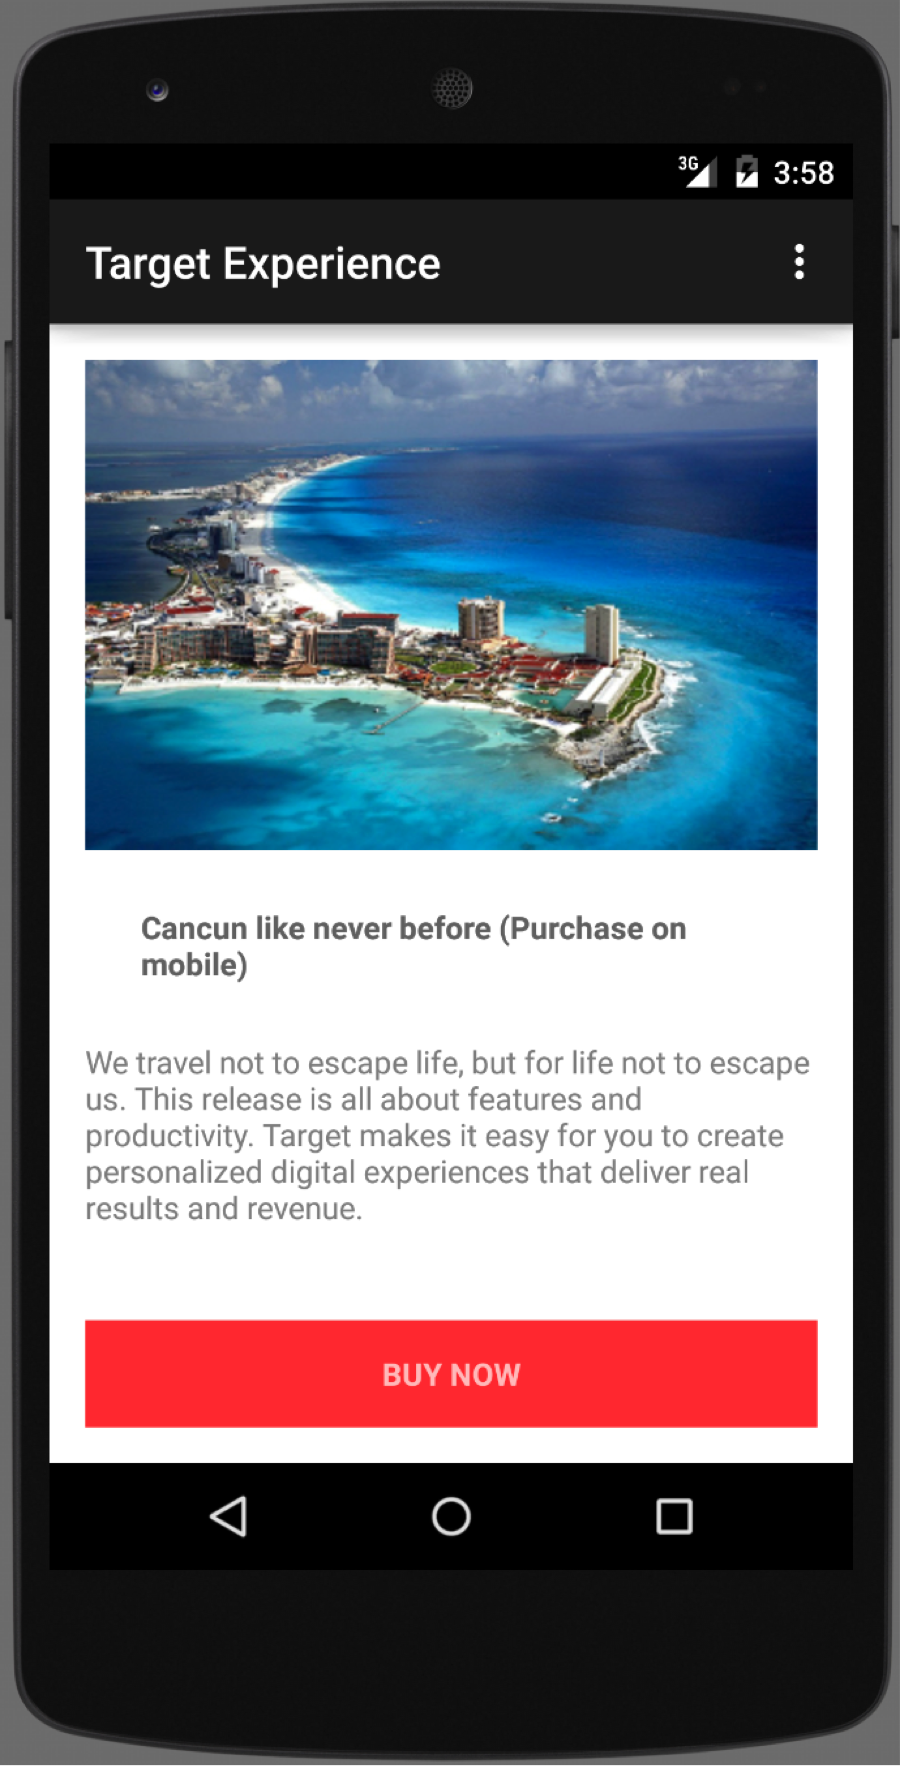
- Step 7 : In order to get your visitor to see the "Experience A" for Users who have purchased from mobile, lets click on "Buy Now". Note that when this is done, a mbox call is sent to Adobe Target with a profile parameter that updates the Visitor's audience to be that of "Users purchasing in mobile app"
Press on "Buy now" button in mobile app and visualize the audience A experience - Cancun offer:
In this lesson you learnt how to create a Android mobile app integrating Adobe Target. You also learnt how the thirdPartyId can be used to target the same visitor across multiple devices to deliver a seamless targeting experience.
