Level Design - AdamCvijanovic/Herding-Ghosts-Unity GitHub Wiki
SEMESTER 2 CHANGES:
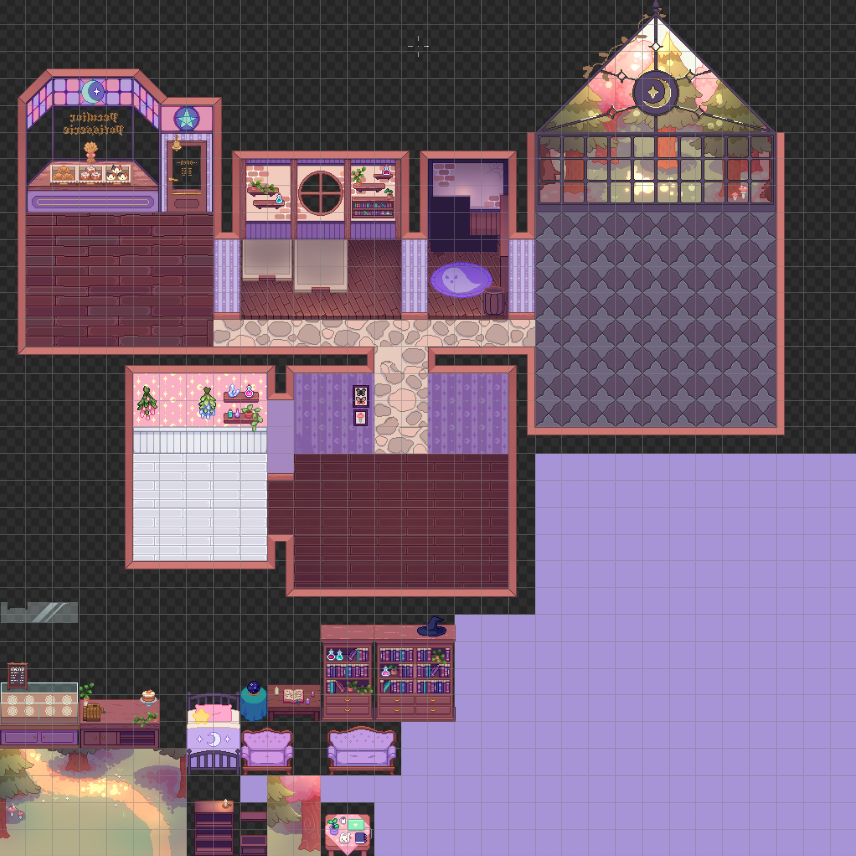
Level Art (tile maps)
We're no longer building maps from tile maps, instead we have a house layout design and each room will be drawn individually and placed together on a tile map to be placed into the scene.
Each square on the grid is saved as a PNG when making a tile palette in Unity, except for transparent tiles. Thus, the purple tiles are registered and can be drawn over if new furniture needs to be added to the tile map.
Furniture that is going to become a prefab needs to be whole, so it should be saved on a separate image so it isn't split into parts by the grid.
Furniture that will have collision such as the book cases, chairs and tables need to be separated from the floor/walls and added onto a new layer in the grid within the scene's hierarchy.
Size Consistency
- Tiles should slot onto a 32x32 grid
- Walls are 3 tiles tall
- Always place the PC in the scene to ensure the sizing isn't off
Shop
This is where players will interact with ghost customers and deliver their orders
- Cash register
- Bakery displays
- Door bell
Kitchen
Where the magic(al baking) happens
- Oven
- Stove
- Prep station
- Refinery (cauldron/alchemy table)
Greenhouse
Where the player grows and picks ingredients
- Will need to be able to interact with all 11 ingredients
Pantry
Where pre-picked ingredients live
- Shelf interaction
Living Area
No function, just makes it look like a complete house
Level Technical (Scene Requirements)
((needs to be added to by a programmer or someone who knows what they're doing lol)
Technical Items
- Game Manager - place [gameobject] into [blahblah] slot, etc.
- UI Manager
Asset Prefabs
- Player Prefab
- Cauldron Prefab
- Crop Prefabs
- Pantry Prefab
Layering in Unity
For the tile map, each layer is a new 2D rectangular grid in the hierarchy. In the inspector under Tilemp Renderer and Order Layer set the numbers from 0-however many layers you need. If it requires collision, you can add a 2D Tilemap collider component to the square tiles and make edits if necessary so the collider matches the object.
Layering non-tilemap objects is possible if the Game Object has a Sprite Renderer component using the same technique as above.
Below is a guide to which layers should be in what order from bottom (0) to top.
Grids:
- [Tiles] Background
- [Tiles] Floors
- [Tiles] Walls
- [Tiles] Furniture Behind
- [Tiles] Decorations Behind
- [Prefab] Environment Prefabs Behind
- [Prefab] Character
- [Prefab] Other
- [Tiles] Furniture Front
- [Tiles] Decoration Front