Milestone 7 Post Provisioning of BlueX Servers - 5huckle/OFFICIALTECHJOURNAL GitHub Wiki
Intro
In this module, we will be deploying 5 linux servers directly to a DHCP enabled BlueX LAN: (3 Rocky Linux and 2 Ubuntu). Network configuration on FW-Blue1 will be adusted similarly to the way we provisioned vyos. We will then adjust the networking configuration on 5 linux hosts.
7.1: Create a Rocky 9.1 Base VM
The first step is to retrieve the minimal .iso file located at http://192.168.3.120:8000
SSH into your Esxi box from Xubuntu-Wan, navigate to /vmfs/volumes/datastore1/isos, use wget to retrieve the .iso file
wget http://192.168.3.120:8000/Rocky...
Next we create the VM from the minimal .iso file.
Browse to your Esxi host web interface, your new VM should be neatly tucked away within the datastore located on the Esxi host.
Go to Virtual Machines > Create/Register VM

Make sure to fill out the information correctly. Having the wrong operating system or distribution can prevent the virtual machine from running as intended.

Leave the settings as default except for the following screenshot:

- Make sure to remember to select thin provisioned.
- Memory: 4096 MB
- Hard Disk 1: 90 GB
- Network Adapter: 480-WAN
- CD/DVD Drive: Datastore ISO file
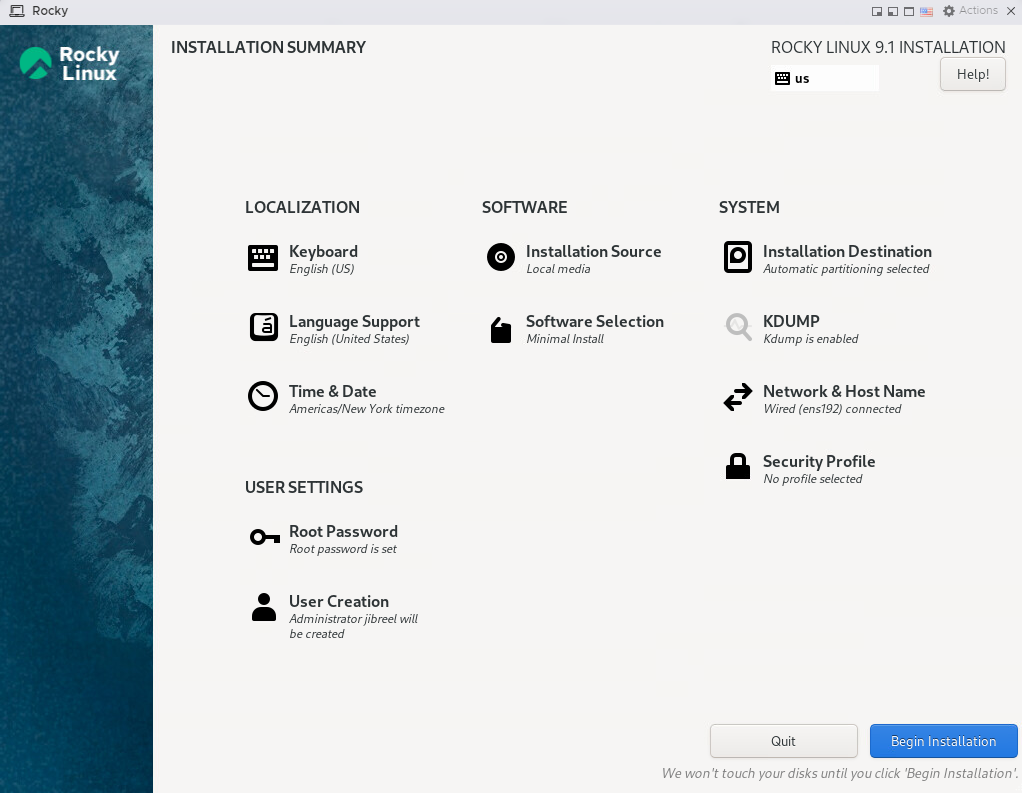
Once finished configuring, power it up and go through the set up wizard
Once you reach this screen, make sure all of the orange exclamation points are addressed before continuing.
Installation takes a few minutes, use this time to update your tech journal.
After installation has completed, log into a root account and check that DHCP has indeed given you an IP address

Adding the Script
First, we need to install wget
sudo dnf makecache --refresh

sudo dnf -y install wget
Now use wget to install and run the script
wget https://raw.githubusercontent.com/gmcyber/RangeControl/main/src/scripts/base-vms/rhel-sealer.sh

chmod +x rhel-sealer.sh

sudo ./rhel-sealer.sh
Now power down the machine and take a snapshot called 'Base'
##7.2: DHCP and Static Routes
Create a static route on 480-fw such that 480-WAN traffic destined to the BLUE network IP space (10.0.5.0/24) is routed to the fw-blue1's eth0 interface
conf
sh protocols
set protocols static route 10.0.5.0/24 next-hop 10.0.17.200
commit
save
Using an ansible playbook, create the DHCP pool on fw-blue1
Inventory file: Using .yml instead of txt for the inventory file. Just a different way to store the variables for the playbook and is a bit more scalable than .txt
Codes of these are linked here
After building out the files (fw-blue1-vars.yaml, vyos-blue.yml, vyos-config.yml), we run the playbook. Make sure to save your files first.
ansible-playbook -i Inventories/fw-blue1-vars.yaml --ask-;ass Inventories/vyos-blue.yml
Make sure you are in the /Ansible directory when running this or adjust the file paths to the appropriate location.

Now we have to use our version of 480-utils to create 3 new VMs that land on the blue network. In my version, that means running:
- vm-cloner # Creates a linked clone of the VM
- set-network # Sets the network adapter to blue-fw
- vstart # Turns on the VM
I probably could integrate this into one command, however previous assignments called for these specific versions of the command to do specific things so I decided to keep it as is and simply work around the three step process.

Link to deliverable video here
7.3 Post-Provisioning
Create a new ansible playbook for Rocky Linux, the playbook should:
- Add a public key for the deployer user
- create a sudoers dropin file for no password elevation to root from deployer
- Change the hostname
- Change the DHCP addresses to static (10.0.5.10,11,12)
Troubleshooting
Ansible:
- Claims it's working when it wasn't
- Is working but for the wrong box
- nmcli wont work
Problems:
- Nat Destination rule forwarding all SSH traffic to 10.0.17.200 which included ansible traffic
- SSH key was all out of wack, had to create one on xubuntu-wan, run 'ssh-keygen -f "/home/jibreel/.ssh/known_hosts" -R "10.0.5.x"
Even more problems:
I ran into an issue where my vm-cloner function was no longer able to clone any VM.

This is an issue I have not yet managed to fix, however in my attempts a new error appeared.
I was unable to import my 480-utils module, therefore I was unable to update my code to attempt new scripts.

I did make a number of attempts to rectify the situation.
Attempted solution for importing the module:

This seemed like a solution, however upon changing the vm-cloner function and saving the file and importing the module, nothing had been changed so I deemed that this didn't work. I also attempted to manually and statically input every variable into a new one and attempt to run the new-vm cmdlet from the powershell command line, I just ended up encountering the same issue I faced initially where the operation is not supported on the object for some reason. I attempted troubleshooting attempts with peers as well as instructors and no one was able to figure out these two issues. I don't know where they came from, my system seems to have just broken out of nowhere.

Other functions worked, just not my vm-cloner and I'm not sure why.
SOLUTION (posssibly):
After some digging around, I found out that my vCenter license had expired. I had to go back to a previous lab where we installed the licensing for the vCenters and pick the one again.

Browse to this website and pick this license:


Go into vCenter and to go Manage, then add the license that you requested. This may take a few minutes to receive the license key, but afterwards just add the license and assign the license to your esxi host.
Remove the host from your vcenter, then readd it.