Run the Package for Deployment app - talkingmoose/Outlook-Exchange-Setup-5 GitHub Wiki
Locate the Package for Deployment.zip file and double-click to unzip it:
Outlook Exchange Setup 5 > Package
Double-click the app and follow the prompts.
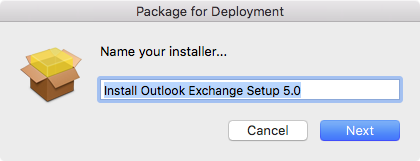
First, name your installer. Click the Next button.
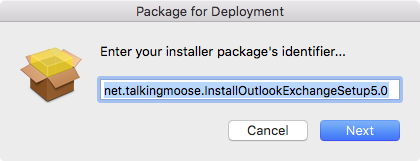
Enter an identifier for your package. By default, the app takes the installer name and prepends a reverse domain name to the beginning. Follow the same naming convention and replace "net.talkingmoose" with the reverse domain name of your organization. Click the Next button.
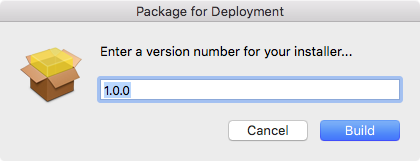
Finally, provide a version number for your installer. This only appears in the package receipt but may be useful for other tools to help you identify the version of installer you've deployed to systems. Click the Build button.
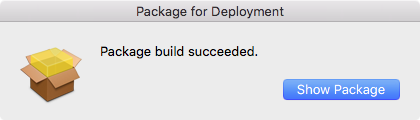
After packaging, click the Show Package button to reveal your newly created installer. You'll find it in the same folder as the Package for Deployment app.
Note: The Package for Deployment app may display a message that it cannot find the ROOT and Scripts folders.
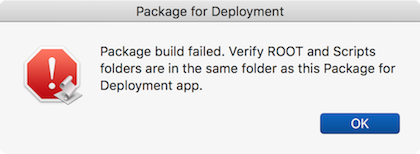
Work around this issue by moving the Package for Deployment app out of the Package folder to a new location such as Desktop. Run the app again and navigate back to the Package folder. Choose this location while displaying the ROOT and Scripts folders.
If macOS continues to block running the Package for Deployment app, run the following commands in Terminal (replacing the package information in the first three lines with your own). Since these commands don't affect change on your Mac, they don't require sudo.
packageName="Outlook Exchange Setup 5"
packageIdentifier="net.talkingmoose.OutlookExchangeSetup5"
packageVersion="1.0.0"

folderPath=$( dirname '/path/to/ROOT' ) # fill this path by dragging and dropping the ROOT folder from this project's folder here
find "$folderPath" -name .DS_Store -delete

pkgbuild --identifier "$packageIdentifier" --version "$packageVersion" --scripts "$folderPath/Scripts" --root "$folderPath/ROOT" "$folderPath/$packageName.pkg"