Machine Squaring Guide
Unless you are the Übermechanic your machine's X and Y axes will not be perfectly squared, i.e. the angle between them will not be a perfect 90°. OpenPnP has a software solution to compensate for that, but before you start calibration the machine you have the (last) chance to try and eliminate (or minimize) the non-squareness mechanically.
Follow this guide at your own risk. You will be handling the machine with powered motors. This may be acceptable for a weak DIY machine like the Liteplacer, with the motion controls safely disabled, but it is not acceptable for strong machines. As you will be touching the machine, also make sure, electrical safety is ensured.
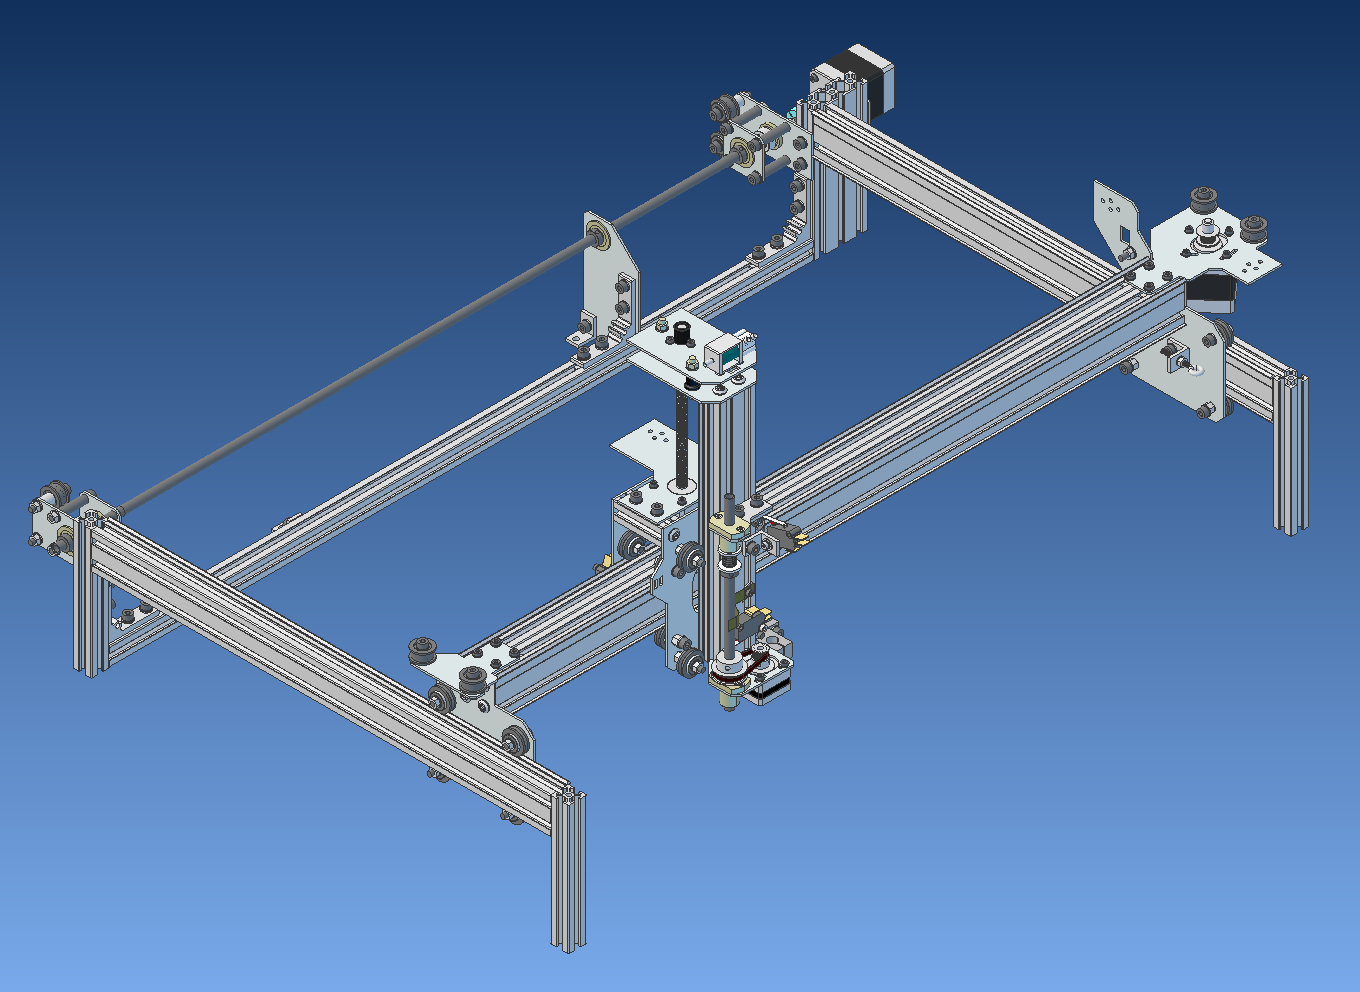
This guide covers mechanical squaring of a machine that has a double belt driven Y axis with coupling drive shaft (e.g. the Liteplacer):
- Make sure to remove the non-squareness factor in OpenPNP if you had one.
- Move the machine to the left X limit, somewhere in the middle of Y.
- Put a millimeter paper under the camera and align the camera center (crosshairs enabled) to a chosen vertical line precisely (might mark it on the paper).
- Try to rotate the paper carefully so that the vertical line stays in the camera center precisely while jogging up and down Y in 100mm steps.
- Fixate the millimeter paper to the desk (e.g. with magnets).
- Align the camera center to a chosen horizontal line precisely (might mark it on the paper).
- Jog as far right as your machine and paper allow.
- Unless your machine is perfect from scratch, you will now have an offset from the chosen horizontal line.
- Keep your motors powered (for holding torque).
- Make sure your down camera view can be seen from where you stand, while you can access the rear right side Y drive pulley of the machine. The camera view can be enlarged and zoomed.
- Loosen the drive pulley on the drive shaft, while holding everything in place (not easy).
- Look at the down camera while slowly adjusting the squareness by gently moving the belt (in the Liteplacer you can nicely roll it over the idler pulley that is mounted behind and above the drive pulley).
- Be shocked, how easy it is to skew the machine axes!
- Align the chosen horizontal line to the camera center as precisely as possible.
- Tighten the pulley on the drive shaft.
- Be careful with the impossibly tiny set screws (Tip: use a high quality key, it matters).
- Check everything by jogging a 100mm x 100mm square.
- Don’t overdo it. You can never be 100% precise. A slight imprecision is better that wearing out the delicate set screws, leaving you with a broken machine, if you don't have a replacement. You can adjust any remaining non-squareness in OpenPNP.
- Note how the squareness of the machine depends on these tiny set screws gripping on the polished drive shaft. You might add a screw locker fluid between pulley and shaft on both sides (one that can be broken if needed).
 Search the Wiki