Installation Guide
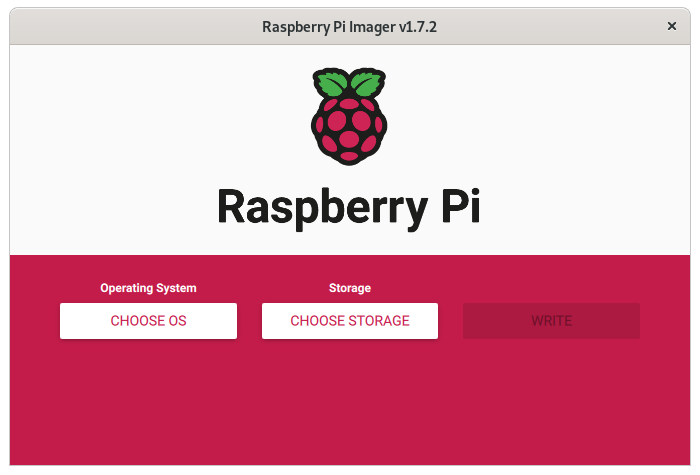
- Open the Raspberry Pi Imager and click "CHOOSE OS" to select the operating system BirdNET-Pi will use
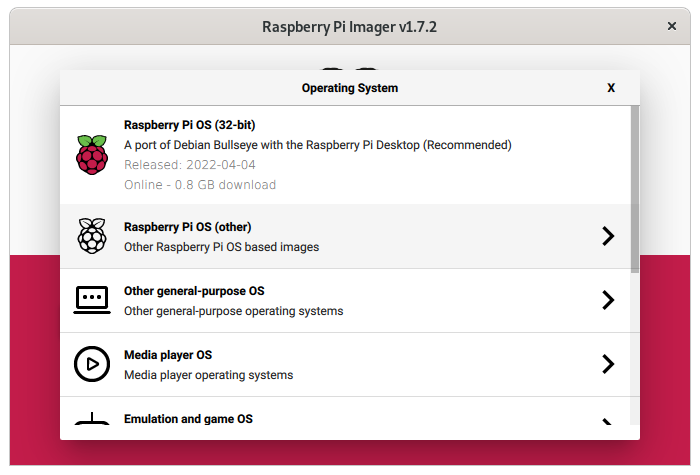
- Click "Raspberry Pi OS (other) Other Raspberry Pi OS based images"
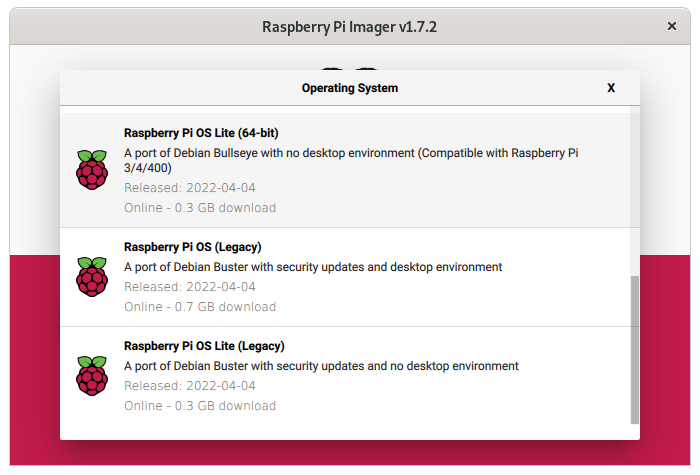
- Scroll down the list and select "Raspberry Pi OS Lite (64-bit)"
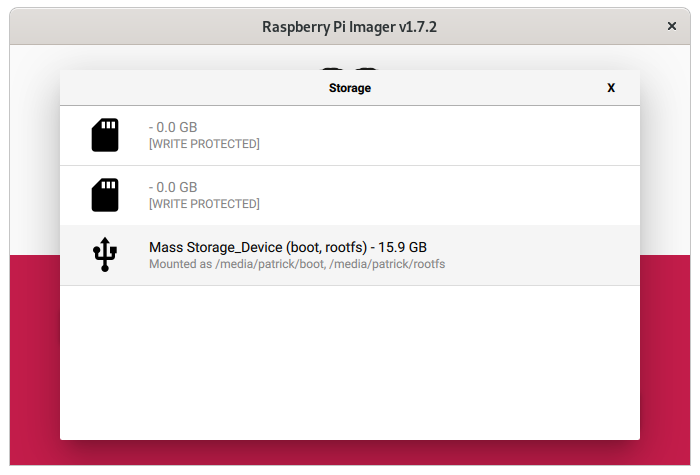
- Next, click "CHOOSE STORAGE" to select the SD card the BirdNET-Pi will use
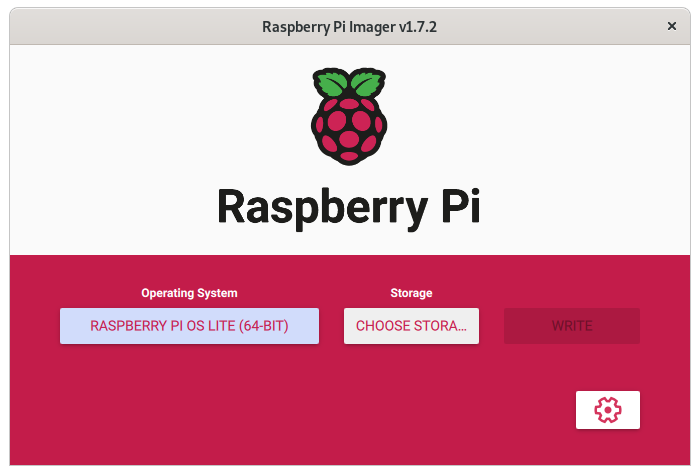
- Choose the SD card onto which we will write the RaspiOS-Lite (64-bit) operating system
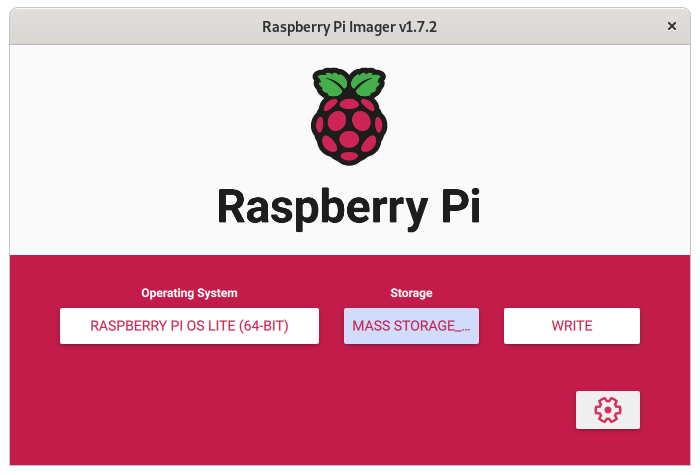
- Now, click the gear icon in the bottom right to open the "Advanced options" menu
- Set the hostname you would like this BirdNET-Pi to use to be reached. For example,
to have multiple BirdNET-Pis on the same network, you might want to give them each a different
hostname. In this example, the installation will be reachable at "http://birdnetpi1.local",
since that is the hostname that is set during this step. Keeping this unset (using the default
raspberrypihostname), the installation will default to being reachable at "http://birdnetpi.local".
You should also "Enable SSH" and select to "Use password authentication"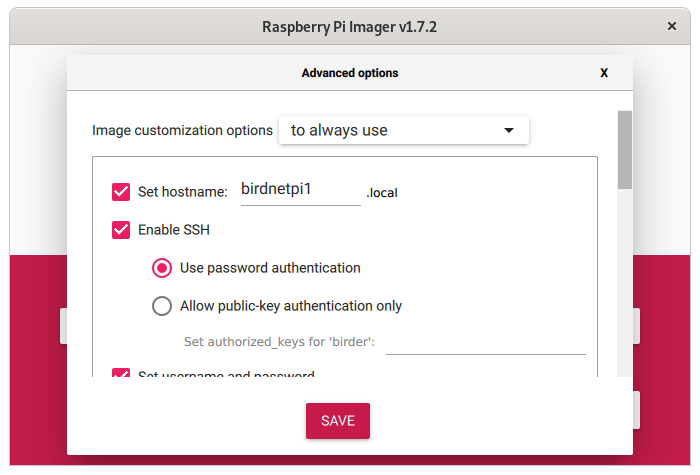
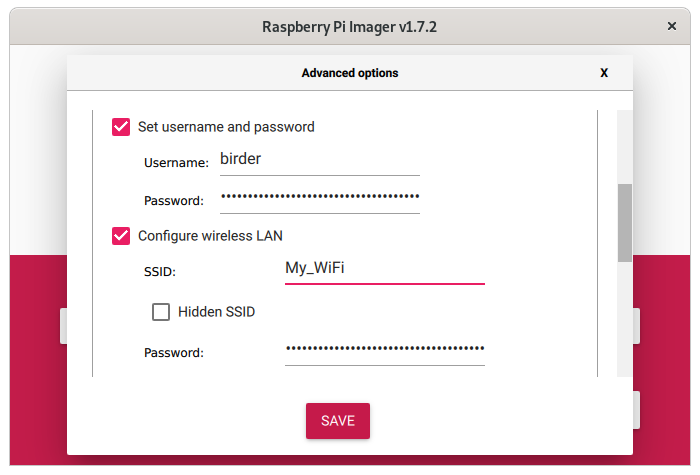
- When you scroll down, you will set the option to "Set username and password." This example creates
a new user calledbirder. You will also configure the system's connection to your WiFi by
entering the network's name (SSID) and the password used to connect to that WiFi.
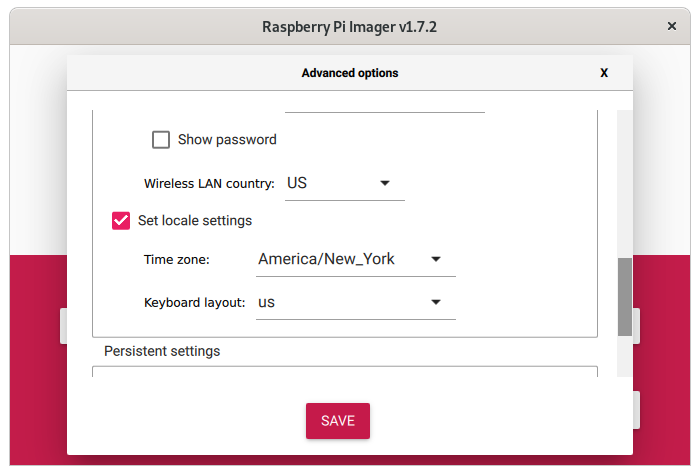
- Adjust the locale settings for your Time zone and Keyboard layout
- Finally, you can save the settings and click "WRITE" to write the image to the SD card
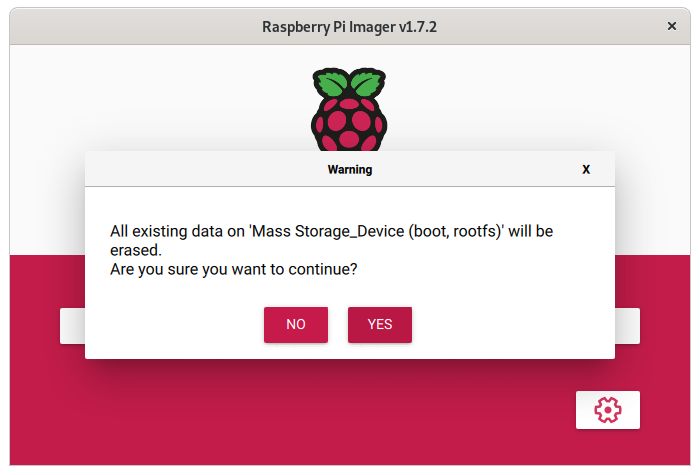
Select "YES" and enter to allow your host system (the computer you're on now) to write the SD card.
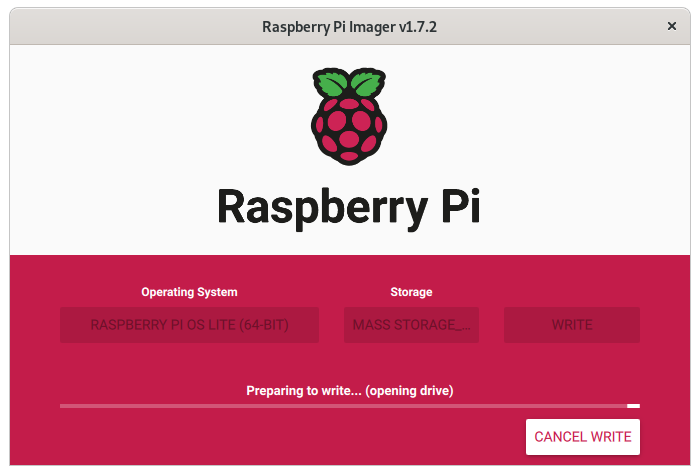
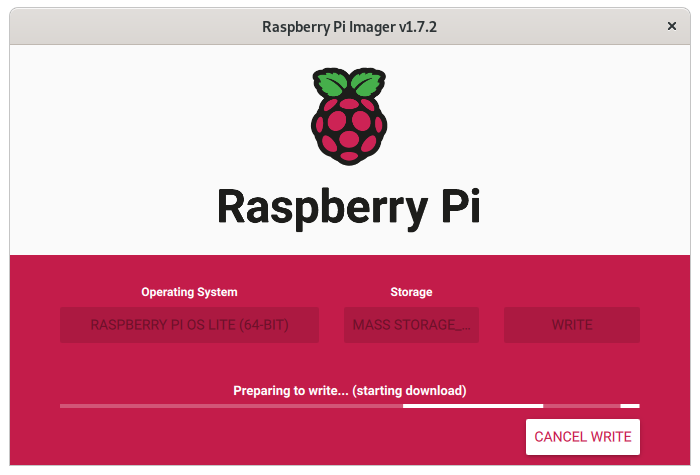
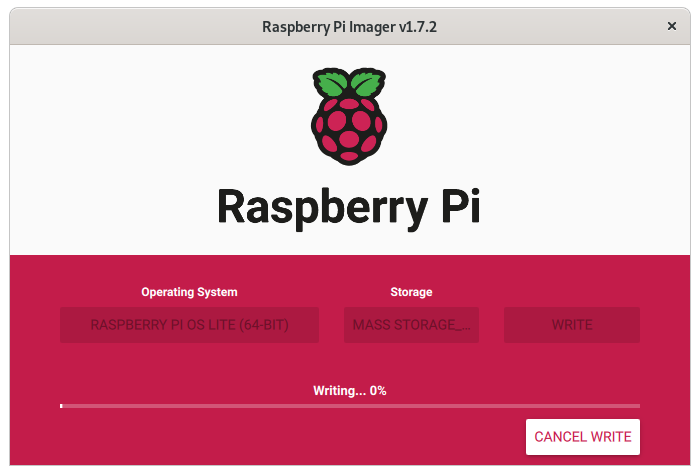
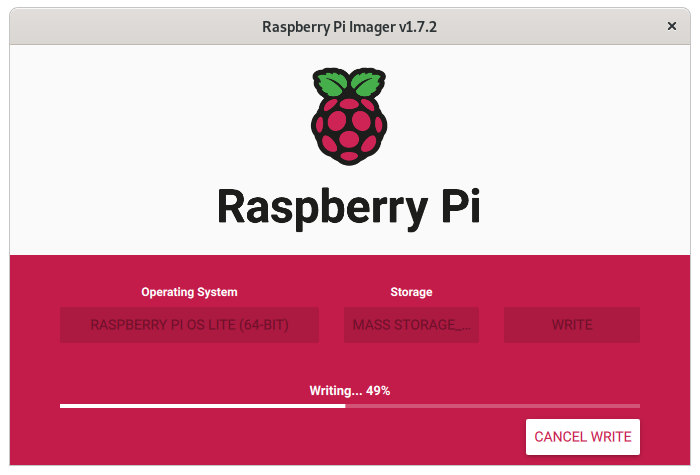
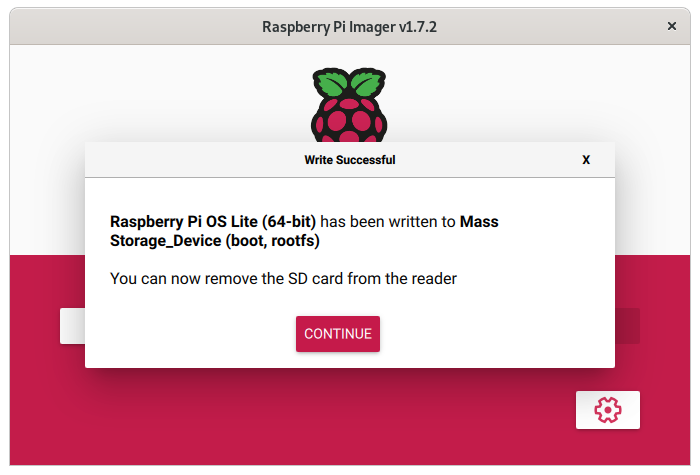
- Wait while the image is written to the card and the checksums verified
- When the SD card is ready, you'll be notified that is ok to remove it from your computer
- At this point, you will put the SD card into the Raspberry Pi and will allow it a few minutes to
boot up. After a few minutes, you can move on to the next step.
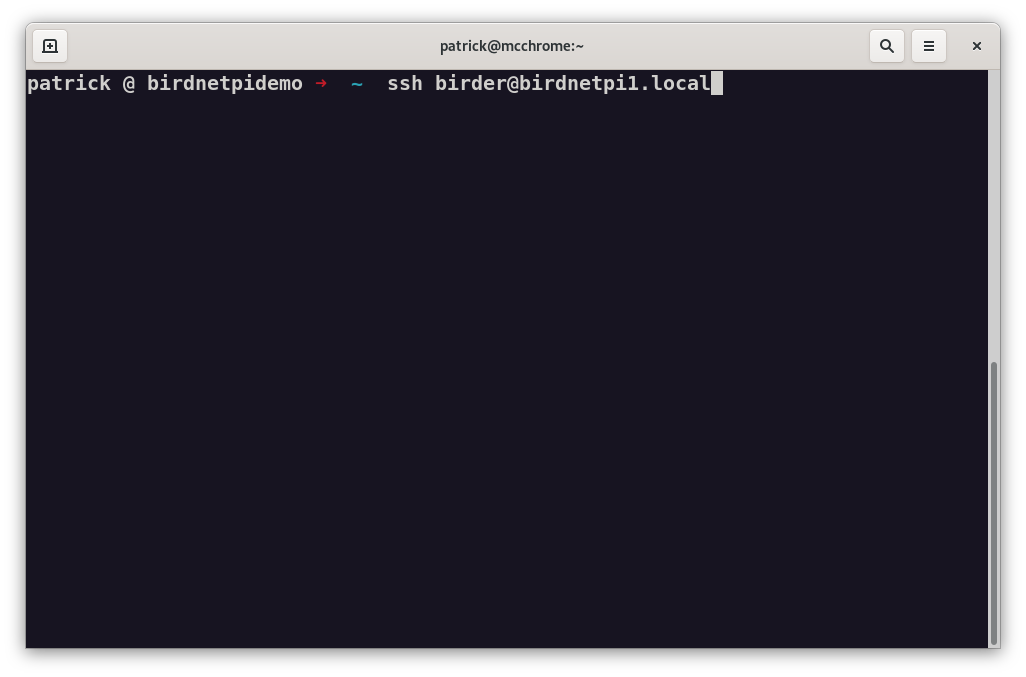
- Using a terminal emulator of your choosing (macOS and Linux users can use the terminals that
come with the OS -- Windows users can use PowerShell or PuTTY).
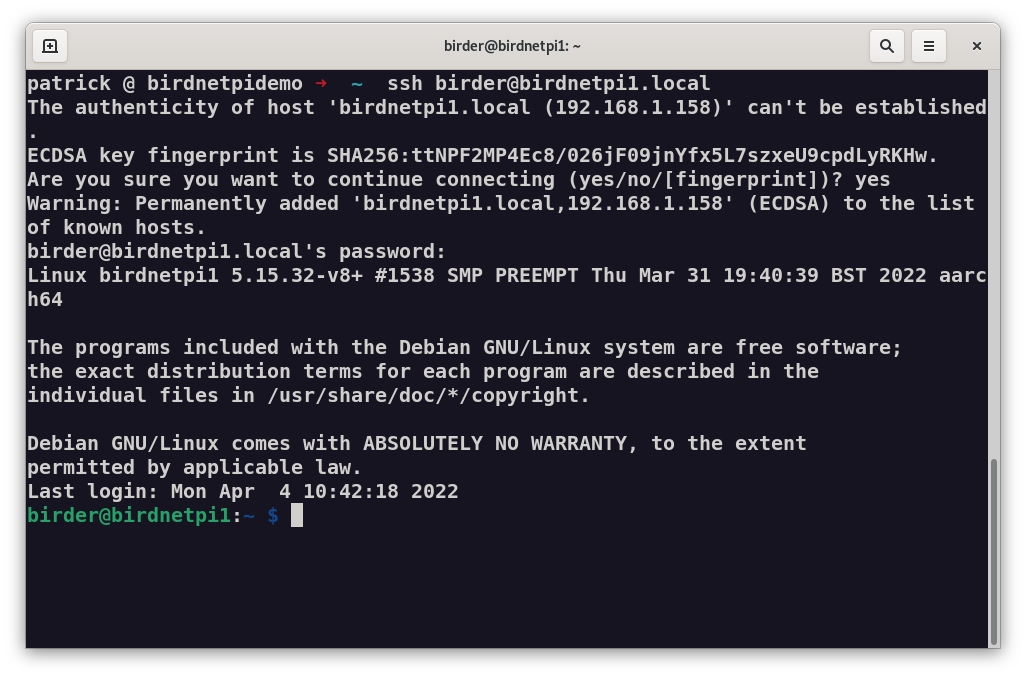
- Use the username and hostname from step 8 to SSH into the Raspberry Pi
In this example, we created thebirderuser on thebirdnetpi1.localhost, so the command would be
ssh birder@birdnetpi1.local
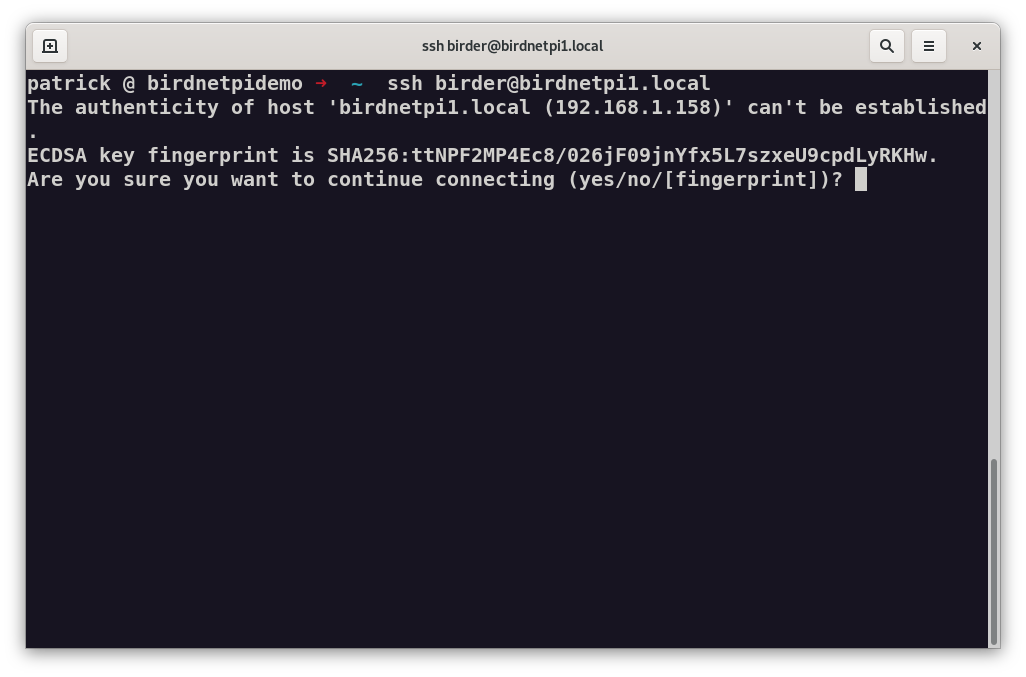
- When warned that you are connecting to a new machine, type
yesto proceed

- You will be prompted for the password that you set in step 8
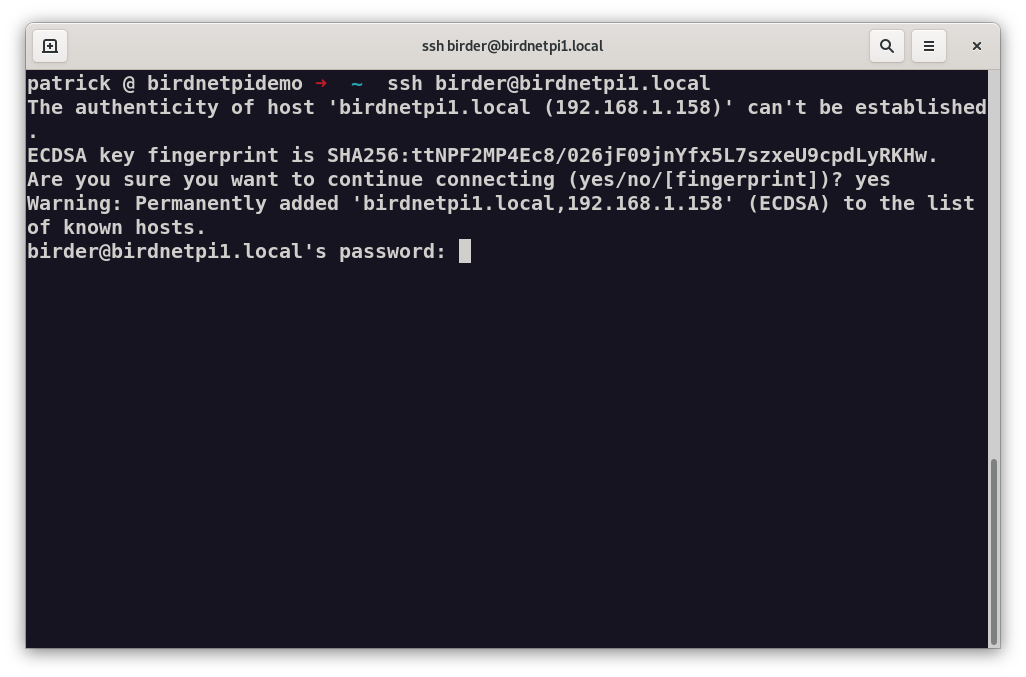
- After entering the password for your user, you will be able to begin the installation!
- Copy and paste the command below into the terminal and press "Enter"
Note: Ctrl+Shift+V will often paste in Terminals -- in PuTTY, right-click to paste
curl -s https://raw.githubusercontent.com/mcguirepr89/BirdNET-Pi/main/newinstaller.sh | bash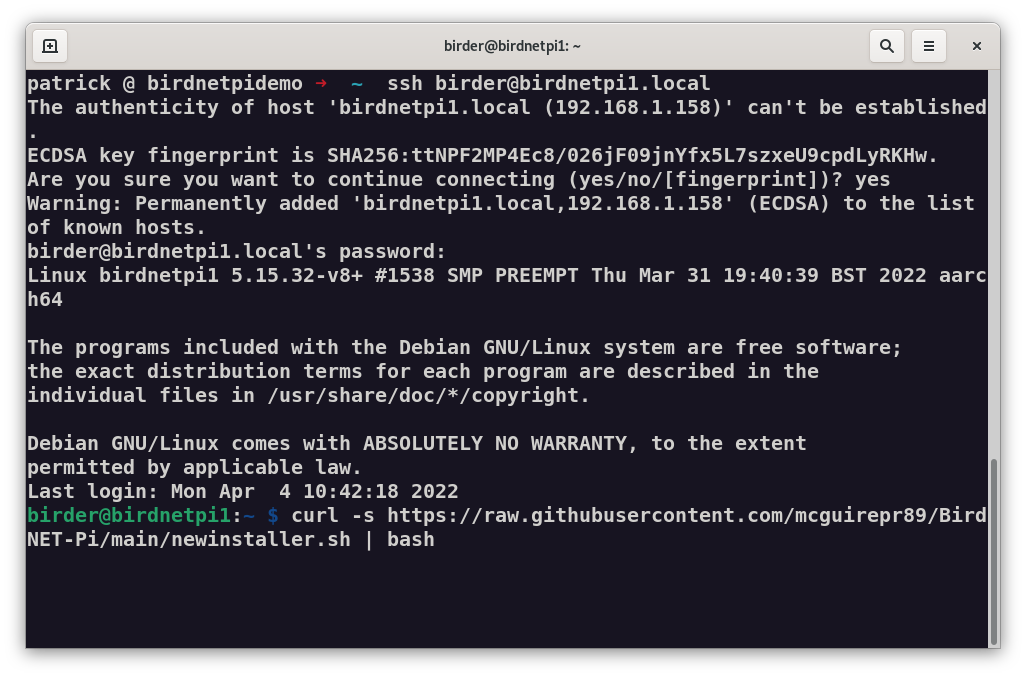
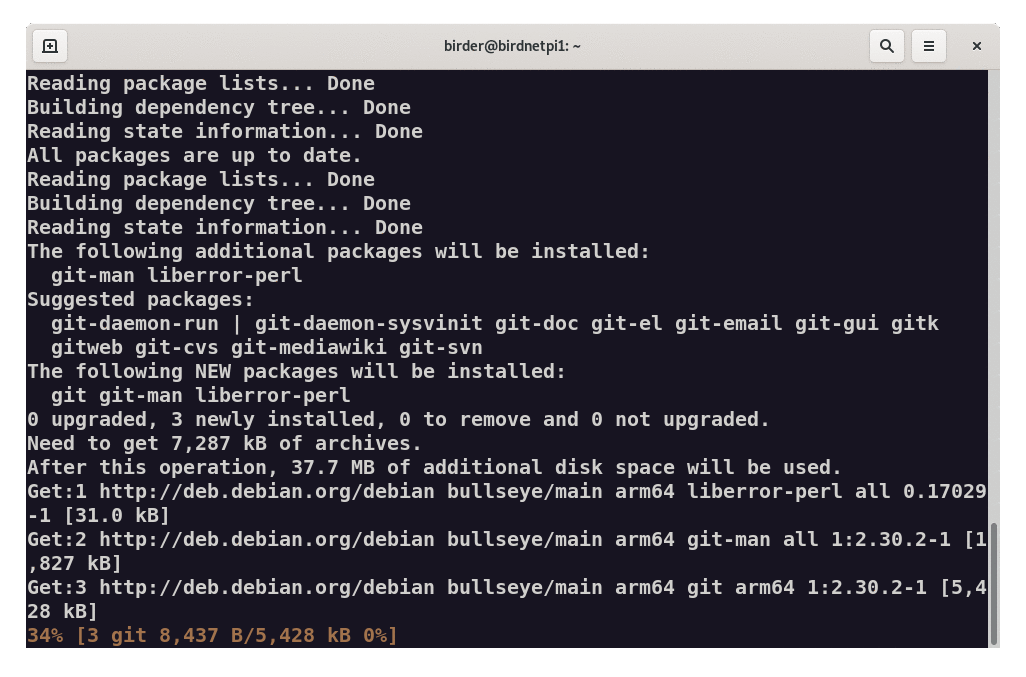
- Then, the installation will run and may take a little while, so just be patient.
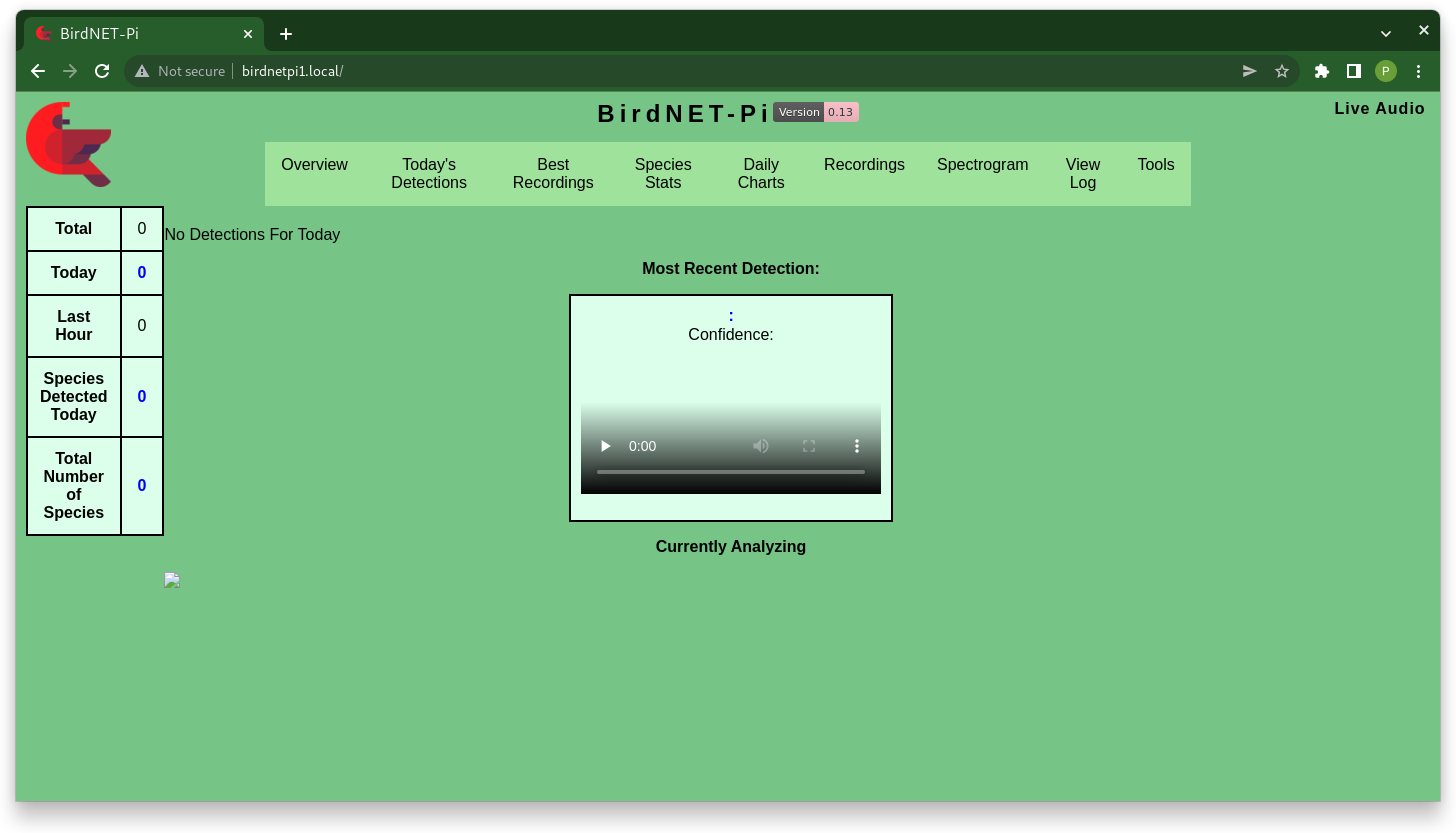
- When the installation is finished, the system will automatically reboot. When it is booted back up,
you will be able to reach your BirdNET-Pi using the hostname you set in step 8. In this
installation example, it is http://birdnetpi1.local. The default (if you did not set a specific hostname
in step 8) will be http://birdnetpi.local. It can also be reached at the Pi's IP address.
Note: Don't worry that things look weird at first, the system is just hungry for data.
- To finalize your installation, you'll want to double-check the Latitude and Longitude that were
auto-discovered during installation to be sure that they represent the location you will be using.
To do this, click "Tools" in the top right corner.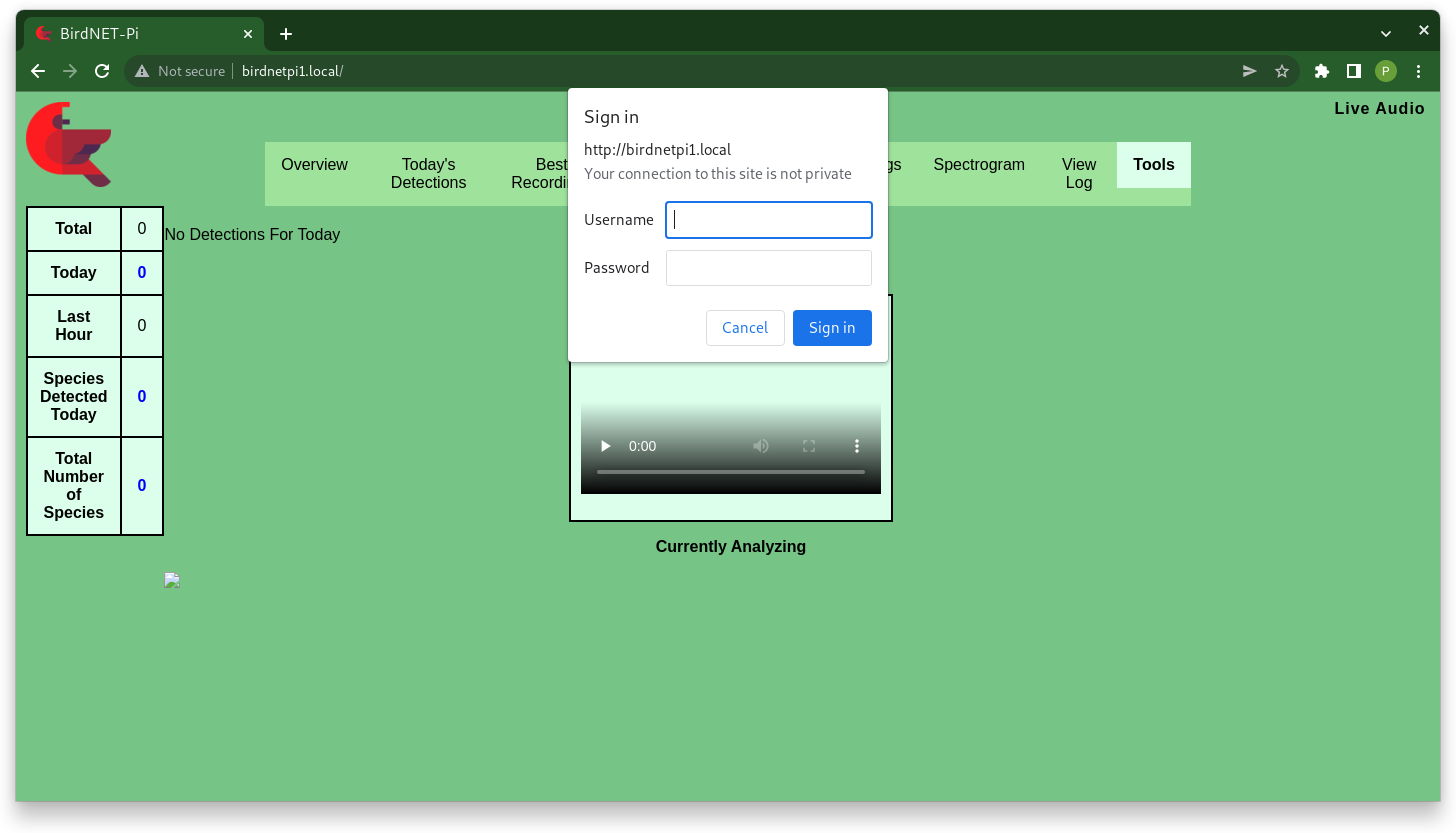
- You will be prompted for a username and password to reach the "Tools" page. The default username
is birdnet and, by default, there is no password, so leave that empty.

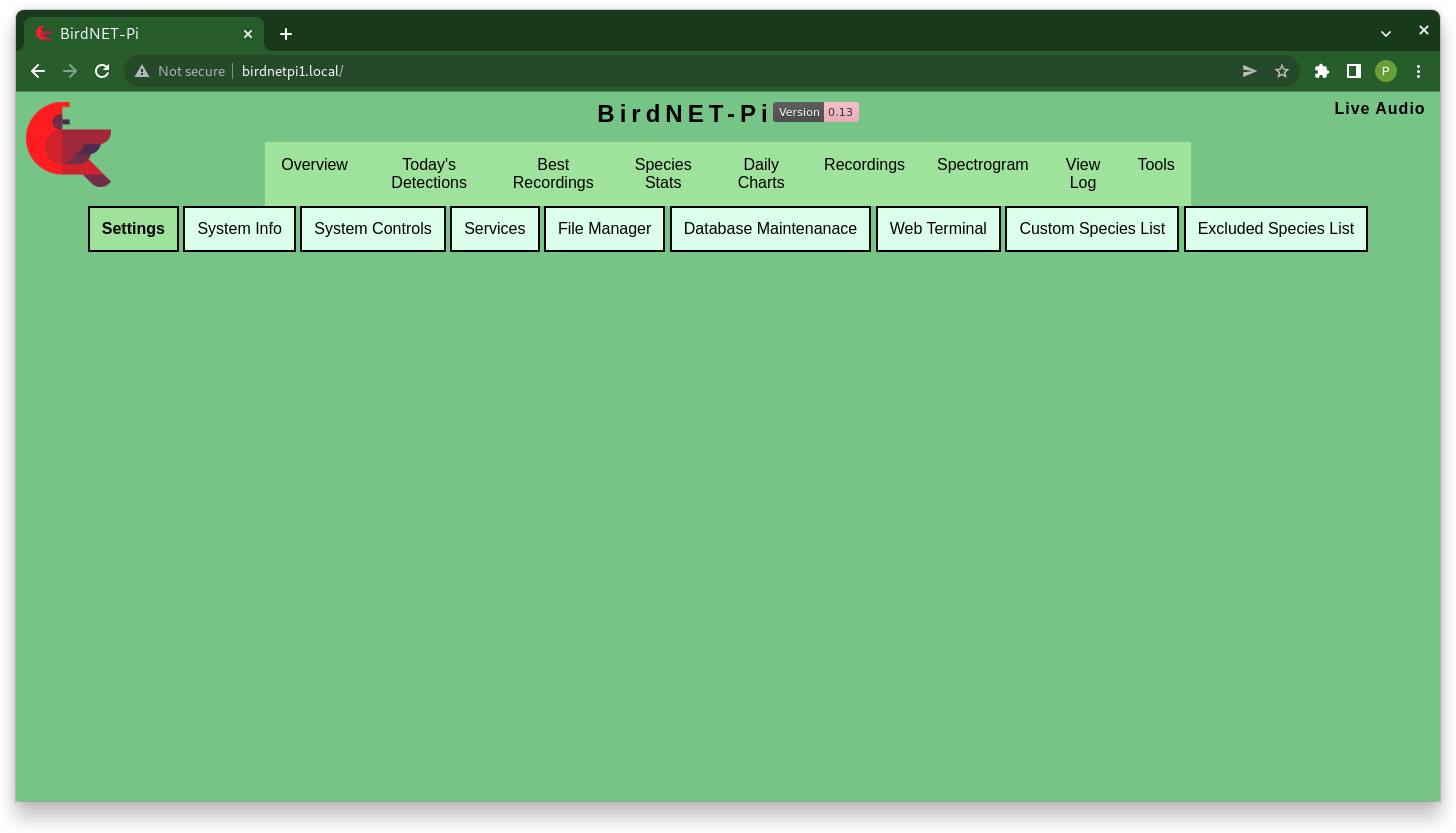
- On the "Tools" page, click the "Settings" button on the far left.
- Adjust your Latitude and Longitude if you need to. Click "Update Settings" when those values are
accurate. You can also request a BirdWeather ID from here, and can check out the "Advanced Settings"
in case there are other settings you are interested in adjusting.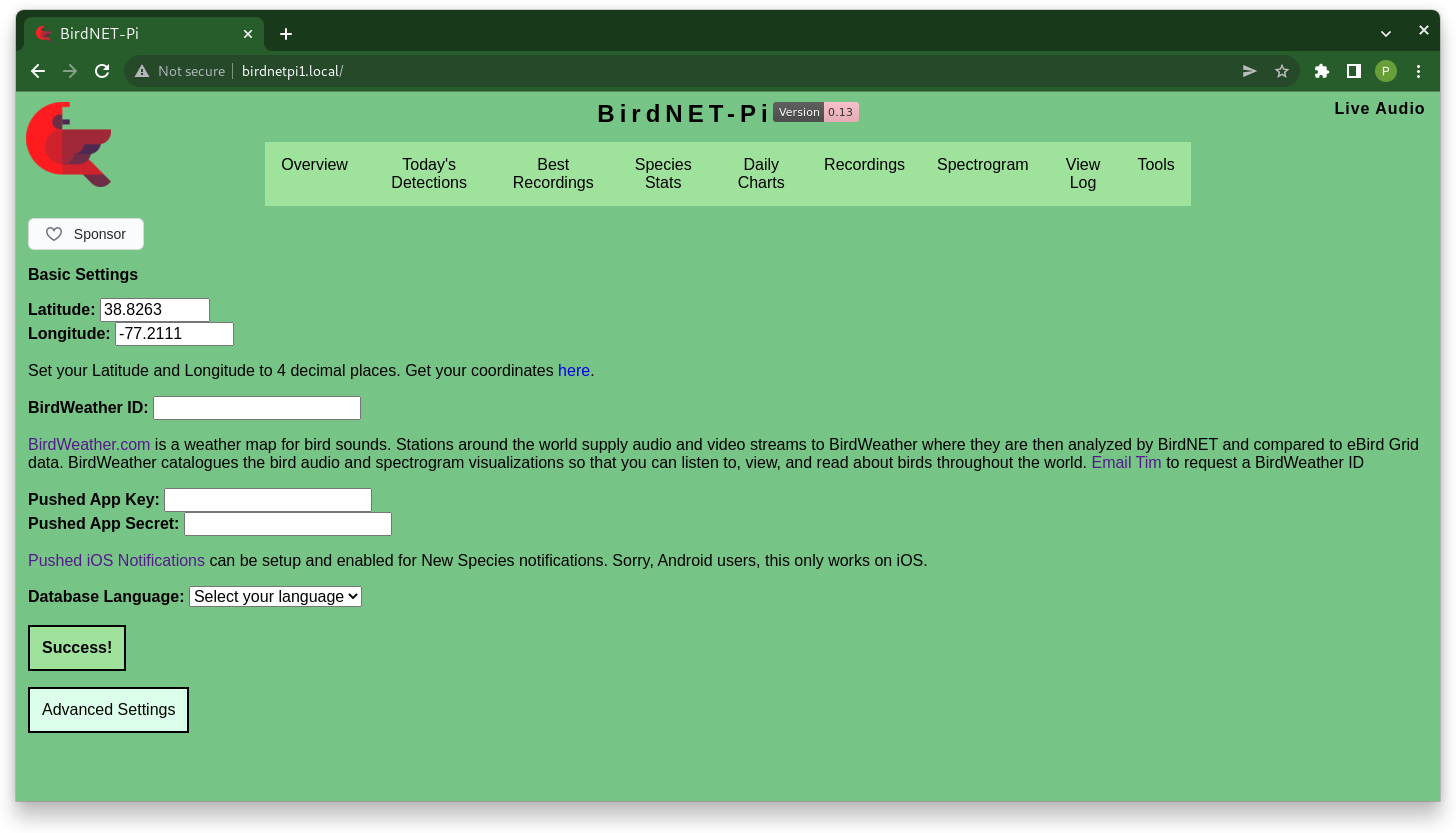
HAPPY BIRDING!!!