Andriod Studio - Ne-k/FTC-Andriod-Studio-Wiki GitHub Wiki
You can start off by installing Andriod Studio from the provided link above in Installation Setup,
once you launch the setup executable you can install Andriod Studio with the default settings.
With Andriod Studio successfully installed and launched, you can go into the unzipped FTC Robot Controller folder which should look something like this

and open it in Andriod Studio.
If you happen to get an error saying that you don't have an SDK or you need to enter a path to the android SDK, you'll have to go back into Andriod Studio, usually by pressing "Cancel" or force closing the window and reopening it, once you reopen or once it shows the Andriod Studio window, go to File => Settings => Appearance & Behavior => System Settings => Android SDK which you'll find here:

Once you're on the Andriod SDK settings page, you'll see something like this (Your window will differ from mine)

Press the button that says "Edit", press that and another window will pop up

Make sure "Andriod SDK" Is checked off at the box, then press Next, and Next again until you're at the license agreement page

Read and accept the terms and conditions shown, and after doing that, the needed Andriod SDK is installed.
Once it's done downloading, you'll get this screen, just press "Finish"

After you press Finish you're back to the Andriod SDK window, you'll have to install the package Andriod 10.0 (Q) shown below, since that's the OS the phones, driver hubs, and control stations are on. Then press "OK" then confirm the change.


Congrats, you've installed and configured Andriod Studio for FTC, onto the next part.
For the next part, you'll need the FTC Robot Controller file that you unzipped a while back. On Andriod Studio you'll need to open the folder, to do so, go to File > Open and find the folder, and press "OK". Once you selected and opened the folder, you'll get a warning saying "Trust and Open Project 'FtcRobotController-master'?", you just have to press "Trust Project" and open it on "This Window".
After that, you'll need to sync Gradle, in which a little bar near the top of your screen along with a button that says "Sync Gradle", which you should press.
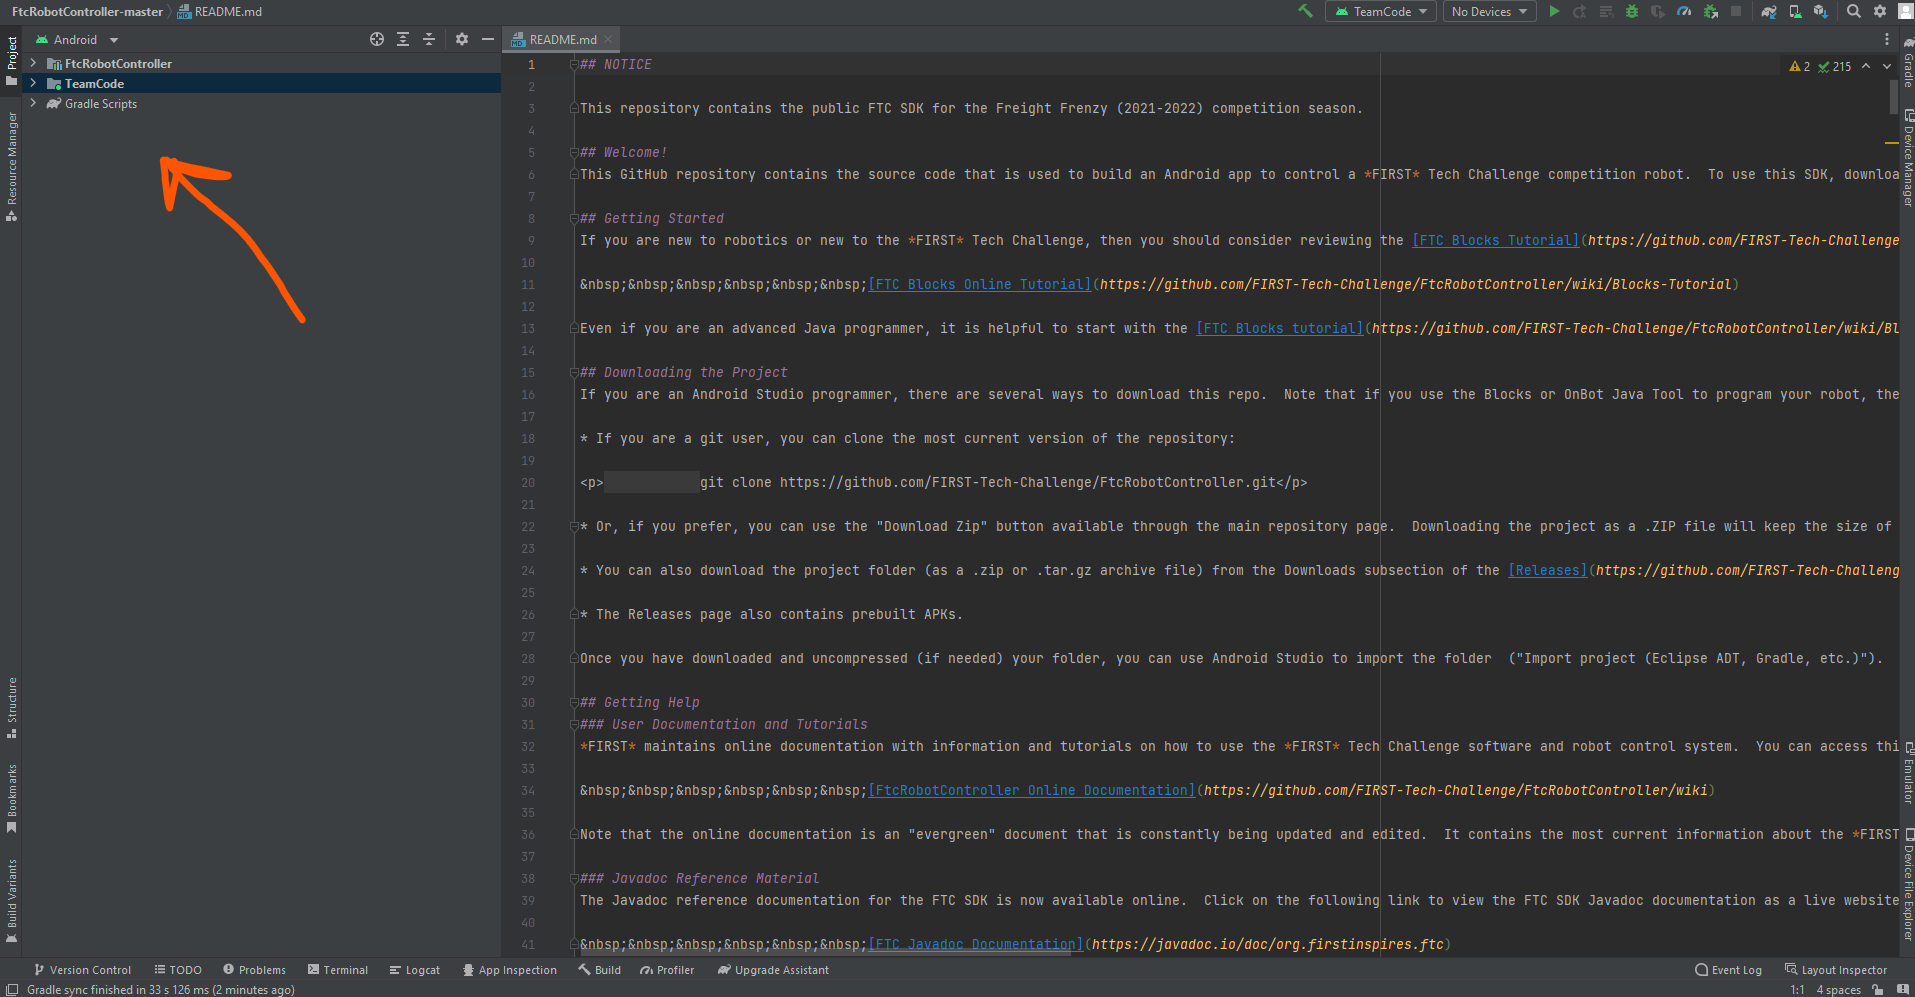
Once Gradle is done syncing, you'll have a window looking like this

And maybe a little popup looking like this in the bottom right corner

If you do see the message, press "upgraded", once you do that you'll be greeted with
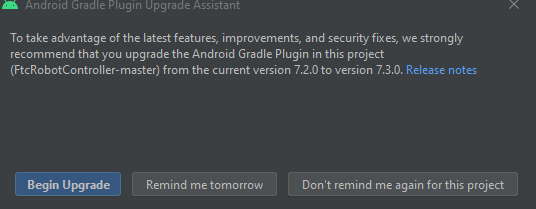
Press Begin Upgrade. Once you do that, on the bottom half of your screen, you'll see this

Make sure that you have both Upgrade and Recommended steps checked. After you have done that, press the bright blue button "Run selected Steps". Don't worry if some of the Recommended steps don't disappear from the bottom left corner. Your screen will look like this afterward. Now that's finished, you can minimize it by pressing the minus near the top right of the window.

You can now take a look at your project directory found here
The folder you'll be using the most is the folder called TeamCode, you can double-click on the folder and open Java inside the TeamCode folder, it should look like this
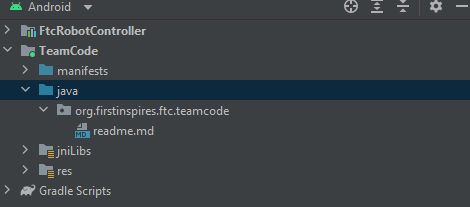
The place you'll be keeping your Opmode and autonomous files is inside org.firstinspires.ftc.teamcode or org > firstinspires > ftc > teamcode
To create a new file, you'll have to right click on org.firstinspires.ftc.teamcode, and then it'll bring up a menu, look at the top and hover over "New", it should look like this
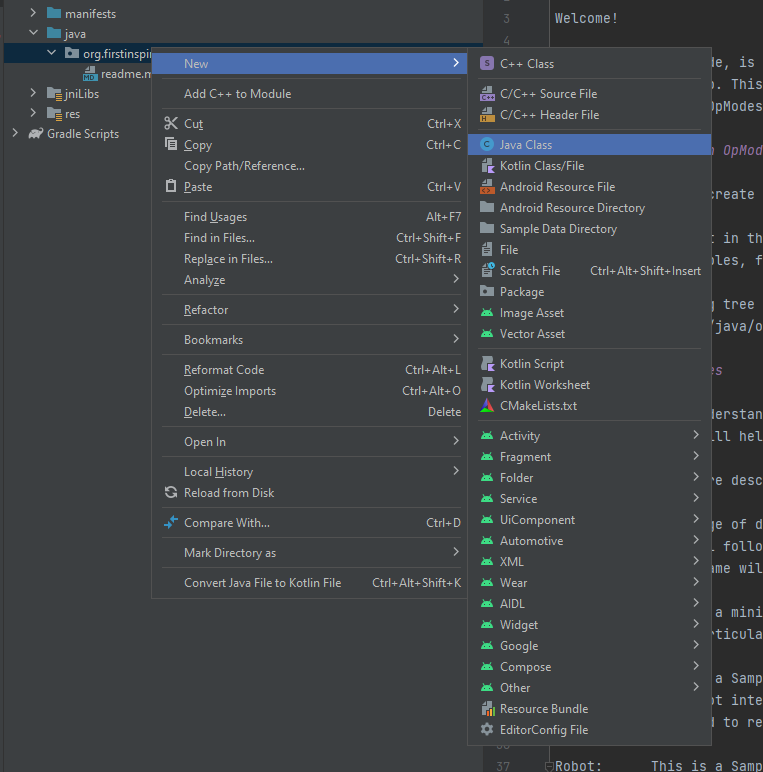
Now you can move your cursor over to "Java Class" and enter in your file name.
Now your window should look like or similar to this
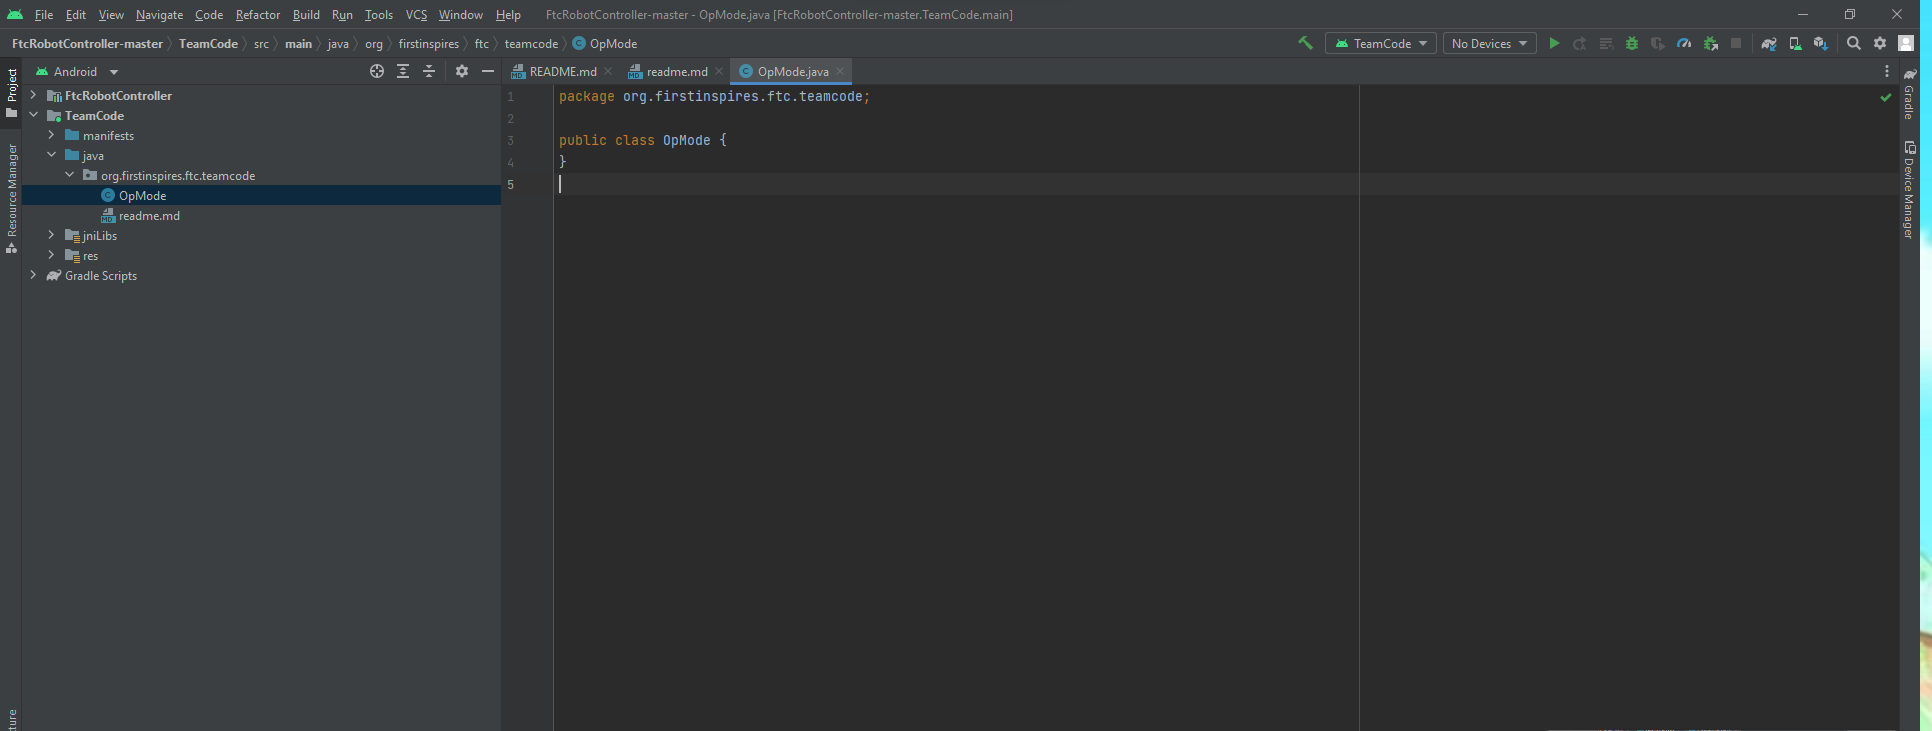
One thing you'll have to change is the public class <class_name> {} to public class <class_name> extends LinearOpMode {}, it'll throw an error, so you'll have to add
import com.qualcomm.robotcore.eventloop.opmode.LinearOpMode;
import com.qualcomm.robotcore.eventloop.opmode.TeleOp;
below package org.firstinspires.ftc.teamcode; which should look like
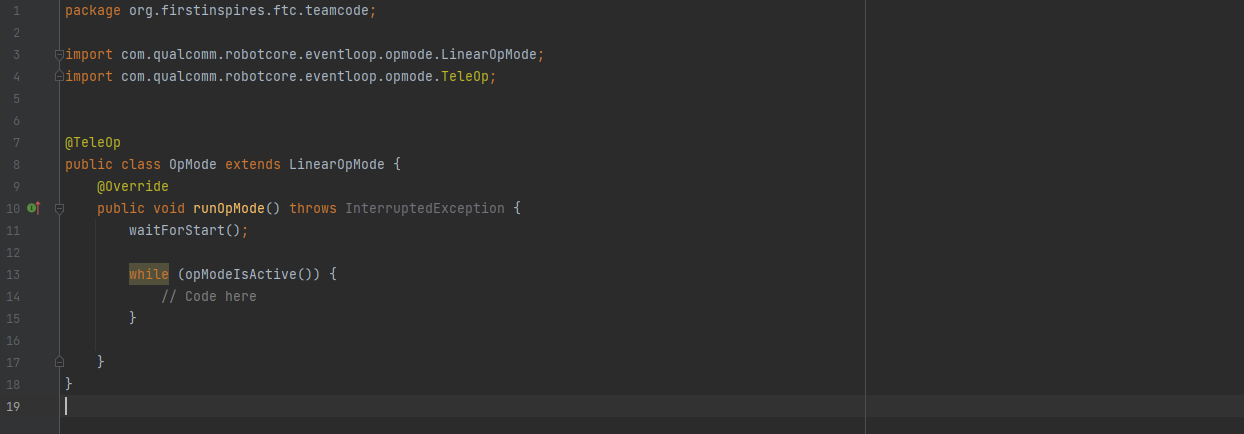
Depending on if you want to create an OpMode or Autonomous mode you'll have to use the following for the control hub to know which is which:
@TeleOp or @Autonomous below the imports, you can also add metadata like for example: @TeleOp(name="name", group="Iterative Opmode"), or just leave it as @TeleOp
Once you've made your code for the robot, the next thing to do is to deploy the code to the REV control hub, you can deploy the code to an android moto phone, though through my testing it hasn't had any successful outcome.
To deploy the code, you'll have to connect your computer to the REV control hub by a USB C cable, once you connect and android studio shows that you connected, you can press the play button right next to where Andriod Studio shows the devices at the top

Deploying the code will take a bit, but at the bottom right corner, right next to the event log it'll show the status of the installation.