Using a Custom TensorFlow Model with Java
The Sample TensorFlow Object Detection sample op mode that is included with the Java examples can be modified to use a custom inference model. In this example, we will load a TensorFlow inference model from a prior FIRST Tech Challenge season.
The Robot Controller allows you to load an inference model that is in the form of a TensorFlow Lite (.tflite) file. If you are a very advanced user, you can use Google's TensorFlow Object Detection API to create your own custom inference model. In this example, however, we will use a .tflite file from a prior season (Skystone).
The inference model is available on GitHub at the following link:
Press the "Download" button to download the file from GitHub to your local device.

Press the Download button to download the .tflite file.
Once you have the file downloaded to your laptop, you need to upload it to the Robot Controller. Connect your laptop to your Robot Controller's wireless network and navigate to the "Manage" page of the system:

Connect to the Robot Controller's wireless network and navigate to the Manage page.
Scroll towards the bottom of the screen, and click on the "Select TensorflowLite Model File" button to open a dialog box that you can use to select your .tflite file.

Press the "Select TensorflowLite Model File" button.
Use the dialog box to browse for and to select the .tflite file.

Use the dialog box to find and select your .tflite file.
Press the "Upload" button to upload the file to the Robot Controller. The words "Tensorflow Lite model upload complete" will appear if the upload was successful.

Press the "Upload" button to upload the file to the Robot Controller.
You can use the sample "ConceptTensorFlowObjectDetection" as a template to create your own Java op mode that uses the TensorFlow technology to "look for" any game elements, and determine the relative location of any identified elements. We will then modify this sample to use the inference model we uploaded to the robot controller.
Note: the process for creating the op mode is identical (except for the name) to the process described in this tutorial. The steps are repeated here for convenience.
- If you are using a REV Control Hub with an externally connected webcam as your Robot Controller, select "ConceptTensorFlowObjectDetectionWebcam" as the sample op mode from the dropdown list in the New File dialog box.
- If you are using an Android smartphone as your Robot Controller, select "ConceptTensorFlowObjectDetection" as the sample op mode from the dropdown list in the New File dialog box.
Specify the name as "MyOBJCustomModel" (where "OBJ" stands for "OnBot Java"). Press "OK" to create the new op mode.

Create an Op Mode with ConceptTensorFlowObjectDetection as its template.
Your new op mode should appear in the editing pane of the OnBot Java screen.

Your newly created op mode should be available for editing through OnBot Java.
Before you can run your op mode, you must first make sure you have a valid Vuforia developer license key to initialize the Vuforia software. You can obtain a key for free from https://developer.vuforia.com/license-manager. Once you obtain your key, replace the VUFORIA_KEY static String with the actual license key so the Vuforia software will be able to initialize properly.
    private static final String VUFORIA_KEY =
            " -- YOUR NEW VUFORIA KEY GOES HERE  --- ";
If you have completed the previous Java TensorFlow tutorial, then you probably already have an existing op mode that is based on the "ConceptTensorFlowObjectDetection" sample. You should change the name of your current op mode to avoid a "collision" with this other op mode. Also, by default the op mode is disabled. You should comment out the "@Disabled" annotation to enable your newly created op mode.
Locate the @TeleOp and @Disabled annotations in your op mode and modify the code so it looks like the following,
@TeleOp(name = "MyOBJCustomModel", group = "Concept")
//@Disabled
public class MyOBJCustomModel extends LinearOpMode {
When you upload a custom inference model, the file is stored in a specific directory ("/sdcard/FIRST/tflitemodels/") on your robot controller . You will need to specify the path to your uploaded file.
You will also need to specify a list of labels that describe the known objects that are included in the model. For the "skystone.tflite" model, there are two known objects. The first object has a label of "Stone" and the second object has a label of "Skystone".
To make these changes, look towards the top of your op mode's class definition and find the static String declarations for the variables TFOD_MODEL_ASSET, LABEL_FIRST_ELEMENT, and LABEL_SECOND_ELEMENT. Change these declarations so they look like the following,
    private static final String TFOD_MODEL_ASSET = "/sdcard/FIRST/tflitemodels/Skystone.tflite";
    private static final String LABEL_FIRST_ELEMENT = "Stone";
    private static final String LABEL_SECOND_ELEMENT = "Skystone";
The sample op mode loads the default (Ultimate Goal) inference model as an asset. However, we want to change this and use our uploaded file instead.
Look in the op mode in the initTfod() method for the line that calls the loadModelFromAsset() method. Comment out this line and replace it instead with a line that uses the loadModelFromFile() method instead:
        // tfod.loadModelFromAsset(TFOD_MODEL_ASSET, LABEL_FIRST_ELEMENT, LABEL_SECOND_ELEMENT);
        tfod.loadModelFromFile(TFOD_MODEL_ASSET, LABEL_FIRST_ELEMENT, LABEL_SECOND_ELEMENT);
If the object that you are trying to detect will be at a distance of 24" (61cm) or greater, you might want to set the digital zoom factor to a value greater than 1. This will tell the TensorFlow to use an artificially magnified portion of the image, which can result in more accurate detections at greater distances.
        /**
         * Activate TensorFlow Object Detection before we wait for the start command.
         * Do it here so that the Camera Stream window will have the TensorFlow annotations visible.
         **/
        if (tfod != null) {
            tfod.activate();

            // The TensorFlow software will scale the input images from the camera to a lower resolution.
            // This can result in lower detection accuracy at longer distances (> 55cm or 22").
            // If your target is at distance greater than 50 cm (20") you can adjust the magnification value
            // to artificially zoom in to the center of image.  For best results, the "aspectRatio" argument
            // should be set to the value of the images used to create the TensorFlow Object Detection model
            // (typically 16/9).
            tfod.setZoom(2.5, 16.0/9.0);
        }
Build the OnBot Java op mode and run it. The robot controller should use the new Skystone inference model to identify and track the Stone and Skystone elements from the Skystone challenge.

The op mode should detect the game elements from the Skystone challenge.
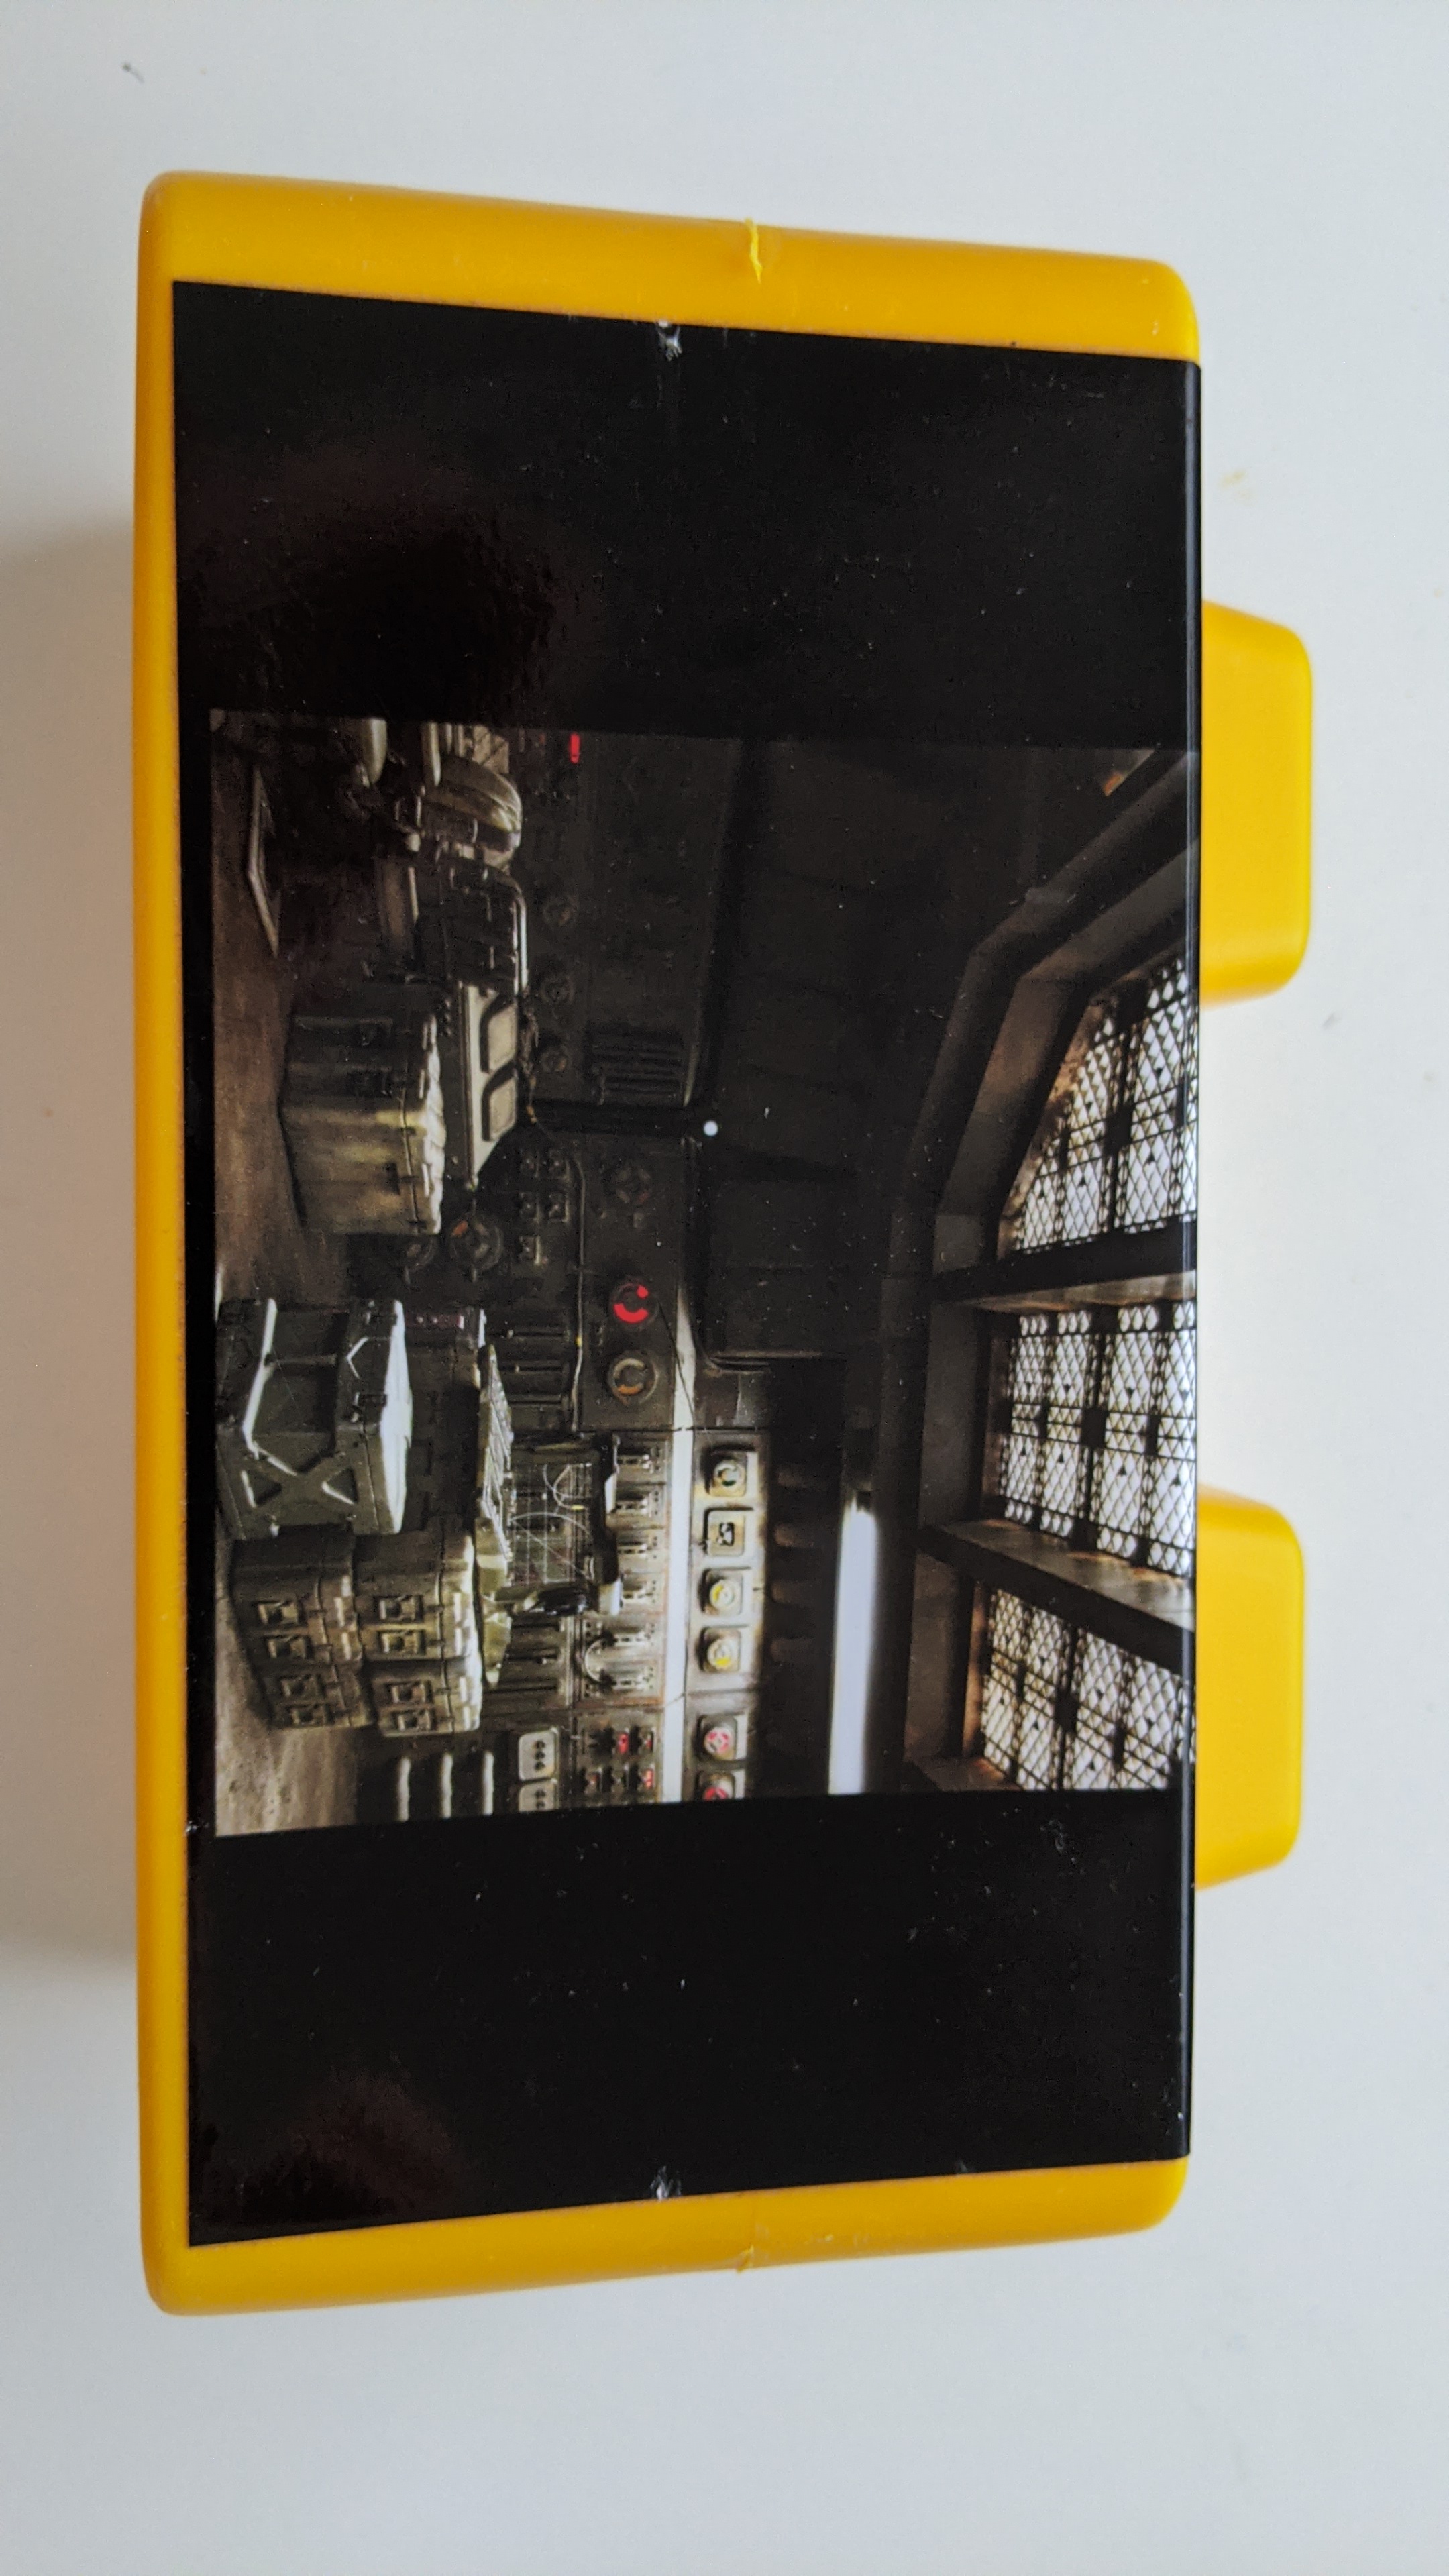
You can use the following images (and point the camera at your computer's screen) to test your op mode.


- Control Hub
- Robot Controller (RC)
- Driver Station (DS)
- Two Expansion Hubs
- Updating FTC Software - new!
-
TensorFlow 2023-2024