Build Instructions under Ubuntu 20.04
The document here is meant to help you develop or test changes to EdgeTX on your PC, not to build flight/radio safe version of binaries.
- Setting up the build environment for EdgeTX
- Building EdgeTX firmware for the radio
- Building Companion, Simulator and radio simulator libraries
You can setup Ubuntu 20.04 on bare-metal, inside a virtual machine environment, or using WSL2 under Windows 10. For WSL2 installation, please see a dedicated page about it: Setting up Ubuntu 20.04 in a Windows Subsystem for Linux.
- Download Ubuntu 20.04 and install it (using Minimal installation type is sufficient. Allow Download updates while installing Ubuntu. 3rd party software is not required, unless you need this for graphics or WiFi adapter on your PC).
- When the installer has finished and the obligatory reboot is done, log in. Install updates using Software Updater (click Activities in top left corner, type in Software Updater and press Enter). Restart the PC and log in again after reboot.
- To make setting up the build environment as easy as possible, we created a shell script that includes all the necessary commands. In the next steps, we download it, make it executable and run it. Active Internet connection is required for the script to be able to download the required packages for installation. Start, by opening a terminal window (click Activities in the top left corner, type terminal and press Enter). Enter the following 3 lines, each line at a time and enter your password (with sudo rights) if asked:
wget https://raw.githubusercontent.com/EdgeTX/edgetx/main/tools/setup_buildenv_ubuntu20.04.sh
chmod a+x setup_buildenv_ubuntu20.04.sh
./setup_buildenv_ubuntu20.04.sh
- If all went smoothly, you should not have seen any errors.
If you are interested to see what the script does or which functions it calls, you can open it in a text editor and have look at it - it's pretty self-explanatory (gedit for example in Ubuntu is a text editor with syntax highlighting). You can alternatively start the script with --pause argument to stop the script execution after each step to better inspect the output. To achieve this, issue ./setup_buildenv_ubuntu20.04.sh --pause as the last command in the above list instead.
It's best to reboot the PC before continuing to next steps. This concludes the build setup preparations.
For tidy files and folder hierarchy, it's best to create a dedicated subfolder in the current user home for EdgeTX, as a container for various EdgeTX flavors and builds. In the terminal window, issue the following commands, one at a time:
mkdir ~/edgetx
cd ~/edgetx
We will next fetch the EdgeTX source files from the GitHub main development branch into local subfolder /edgetx/edgetx_main in current user home, prepare the environment and build output directory. Issue, in the same terminal window as above, the following commands, one at a time:
git clone --recursive -b main https://github.com/EdgeTX/edgetx.git edgetx_main
cd edgetx_main && mkdir build-output && cd build-output
To build EdgeTX, we need to minimally specify the radio target, but can further select or de-select a number of build-time options. The following command will create a text-file list of all options for you to look at and saves it in current user home directory:
cmake -LAH ../ > ~/edgetx_main-cmake-options.txt
You can use, e.g. gedit under Ubuntu to view the file.
As an example, we will build next for RadioMaster TX16S (PCB=X10, PCBREV=TX16S), mode 2 default stick (DEFAULT_MODE=2), global variables enabled (GVARS=YES), servo output unit as microseconds (PPM_UNIT=US), include Lua mixer script support (LUA_MIXER=YES) and selected the type as a Debug build with debug symbols included (CMAKE_BUILD_TYPE=Debug). The CMake command for this is (issue the following without line breaks and be sure to include at the end the two dots and a slash exactly as here listed):
cmake -DPCB=X10 -DPCBREV=TX16S -DDEFAULT_MODE=2 -DGVARS=YES -DPPM_UNIT=US -DLUA_MIXER=YES -DCMAKE_BUILD_TYPE=Debug ../
If you do not want to include the debug symbols, use -DCMAKE_BUILD_TYPE=Release instead.
To build for other radios, you just need to select another build target by specifying appropriate values for PCB and PCBREV for your radio. If you are are wanting to build for multiple different targets, it is best to use a different build folder for each. Otherwise, delete the CMakeCache.txt file from the build directory before before running cmake to configure a different transmitter build, otherwise cached configuration values from your previous build target will cause weird compile results. As a tip, which values to use, have a look at a Python script according to your radio manufacturer in a file named build-<radio-manufacturer>.py under https://github.com/EdgeTX/edgetx/tree/main/tools
Starting with 2.8, an additional step is required. Issue:
make configure
Alternatively, you can issue make arm-none-eabi-configure if you only want to build radio firmware or make native-configure if you only want to build targets meant to be run on computer (running make configure activates both architecture targets).
Only a few seconds later, you should be greeted with "-- Generating done" message.
The configure process generates the makefile that is required in the next step to build the firmware. For this, issue:
make -j`nproc` firmware
This process can take some minutes to complete (the parameter -j'nproc' instructs the make to use as many parallel threads as the current system has CPU cores. This speeds up the build quite significantly). If successful, you should find a firmware binary firmware.bin in the current folder, that you can flash into your radio.
It's a good idea to rename the binary, so that it is easier later to see the target radio and which options were baked into it. For this, issue in the build folder, e.g.:
cd arm-none-eabi
mv firmware.bin edgetx_main_tx16s_lua-ppmus-mode2_debug.bin
You will need to prepare a clean microSD card and fill it with the content according to your radio type from https://github.com/EdgeTX/edgetx-sdcard/releases/tag/latest
The following page lists which zip file you need: https://github.com/EdgeTX/edgetx-sdcard
You can use OpenTX Companion or STM32CubeProgrammer to flash the binary to your radio. For further instructions, see: https://github.com/EdgeTX/edgetx.github.io/wiki/How-to-install-EdgeTX--(pre-release)-for-the-first-time
To build Companion binary, issue in the same terminal as opened previously:
make -j`nproc` companion
To launch Companion, change into native directory and issue: ./companion<ver>
where <ver> is EdgeTX version string in format of two digits. For example, for EdgeTX 2.8 use 28, thus companion28, for 2.9 companion29 and so on.
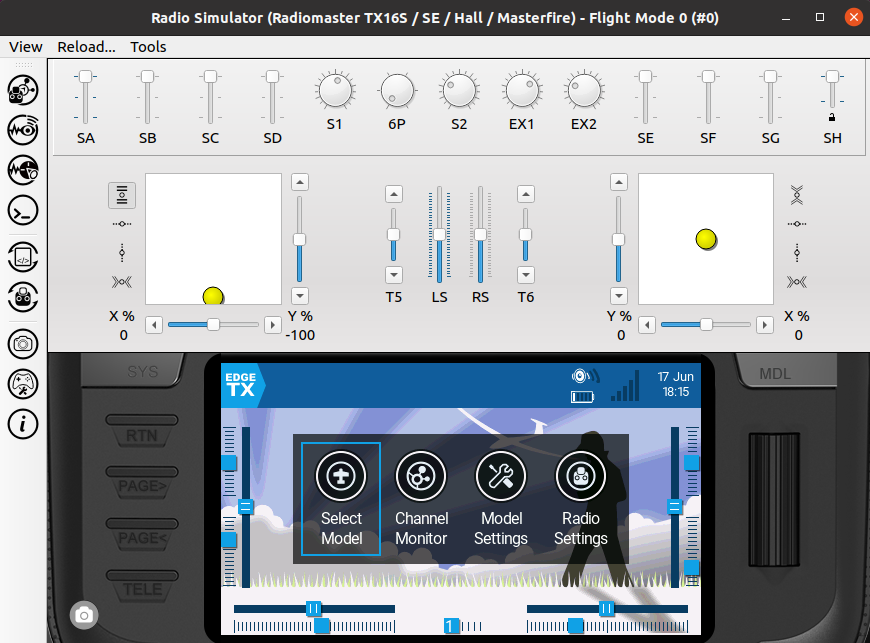
To build EdgeTX simulator binary and simulator target for TX16S, issue:
make -j`nproc` libsimulator && make -j`nproc` simulator
In order to build for other radio target, you need to re-run the cmake line above, with other PCB and PCBREV tags.
Before you run the simulator, copy the SD card content according to your radio target from https://github.com/EdgeTX/edgetx-sdcard/releases/tag/latest to your system and extract it e.g. to ~/edgetx/simu_sdcard/horus
Also, you should create a radio profile first with ./companion<ver>, before you can successfully run the full simulator.
To launch the simulator, change into native directory and issue: ./simulator<ver>. In the dialog that pops up, select SD Path as data source and under SD Image Path: browse to ~/edgetx/simu_sdcard/horus